
Chapter 6 · Spotting finished prints
Spotting: Removing Dust and Decades
No print left the darkroom perfect. Every speck of dust on the negative cast a shadow during enlargement and left a light spot on the paper. So next to every drying rack sat the tools for spotting: a size 0 or 00 brush, spotting dyes in a range of grays, a magnifying loupe. Dot by dot, dye was tapped into the light spots until they vanished into the surrounding tone — precision work that could take hours on a large print. And it was final: a misplaced dab stayed put.
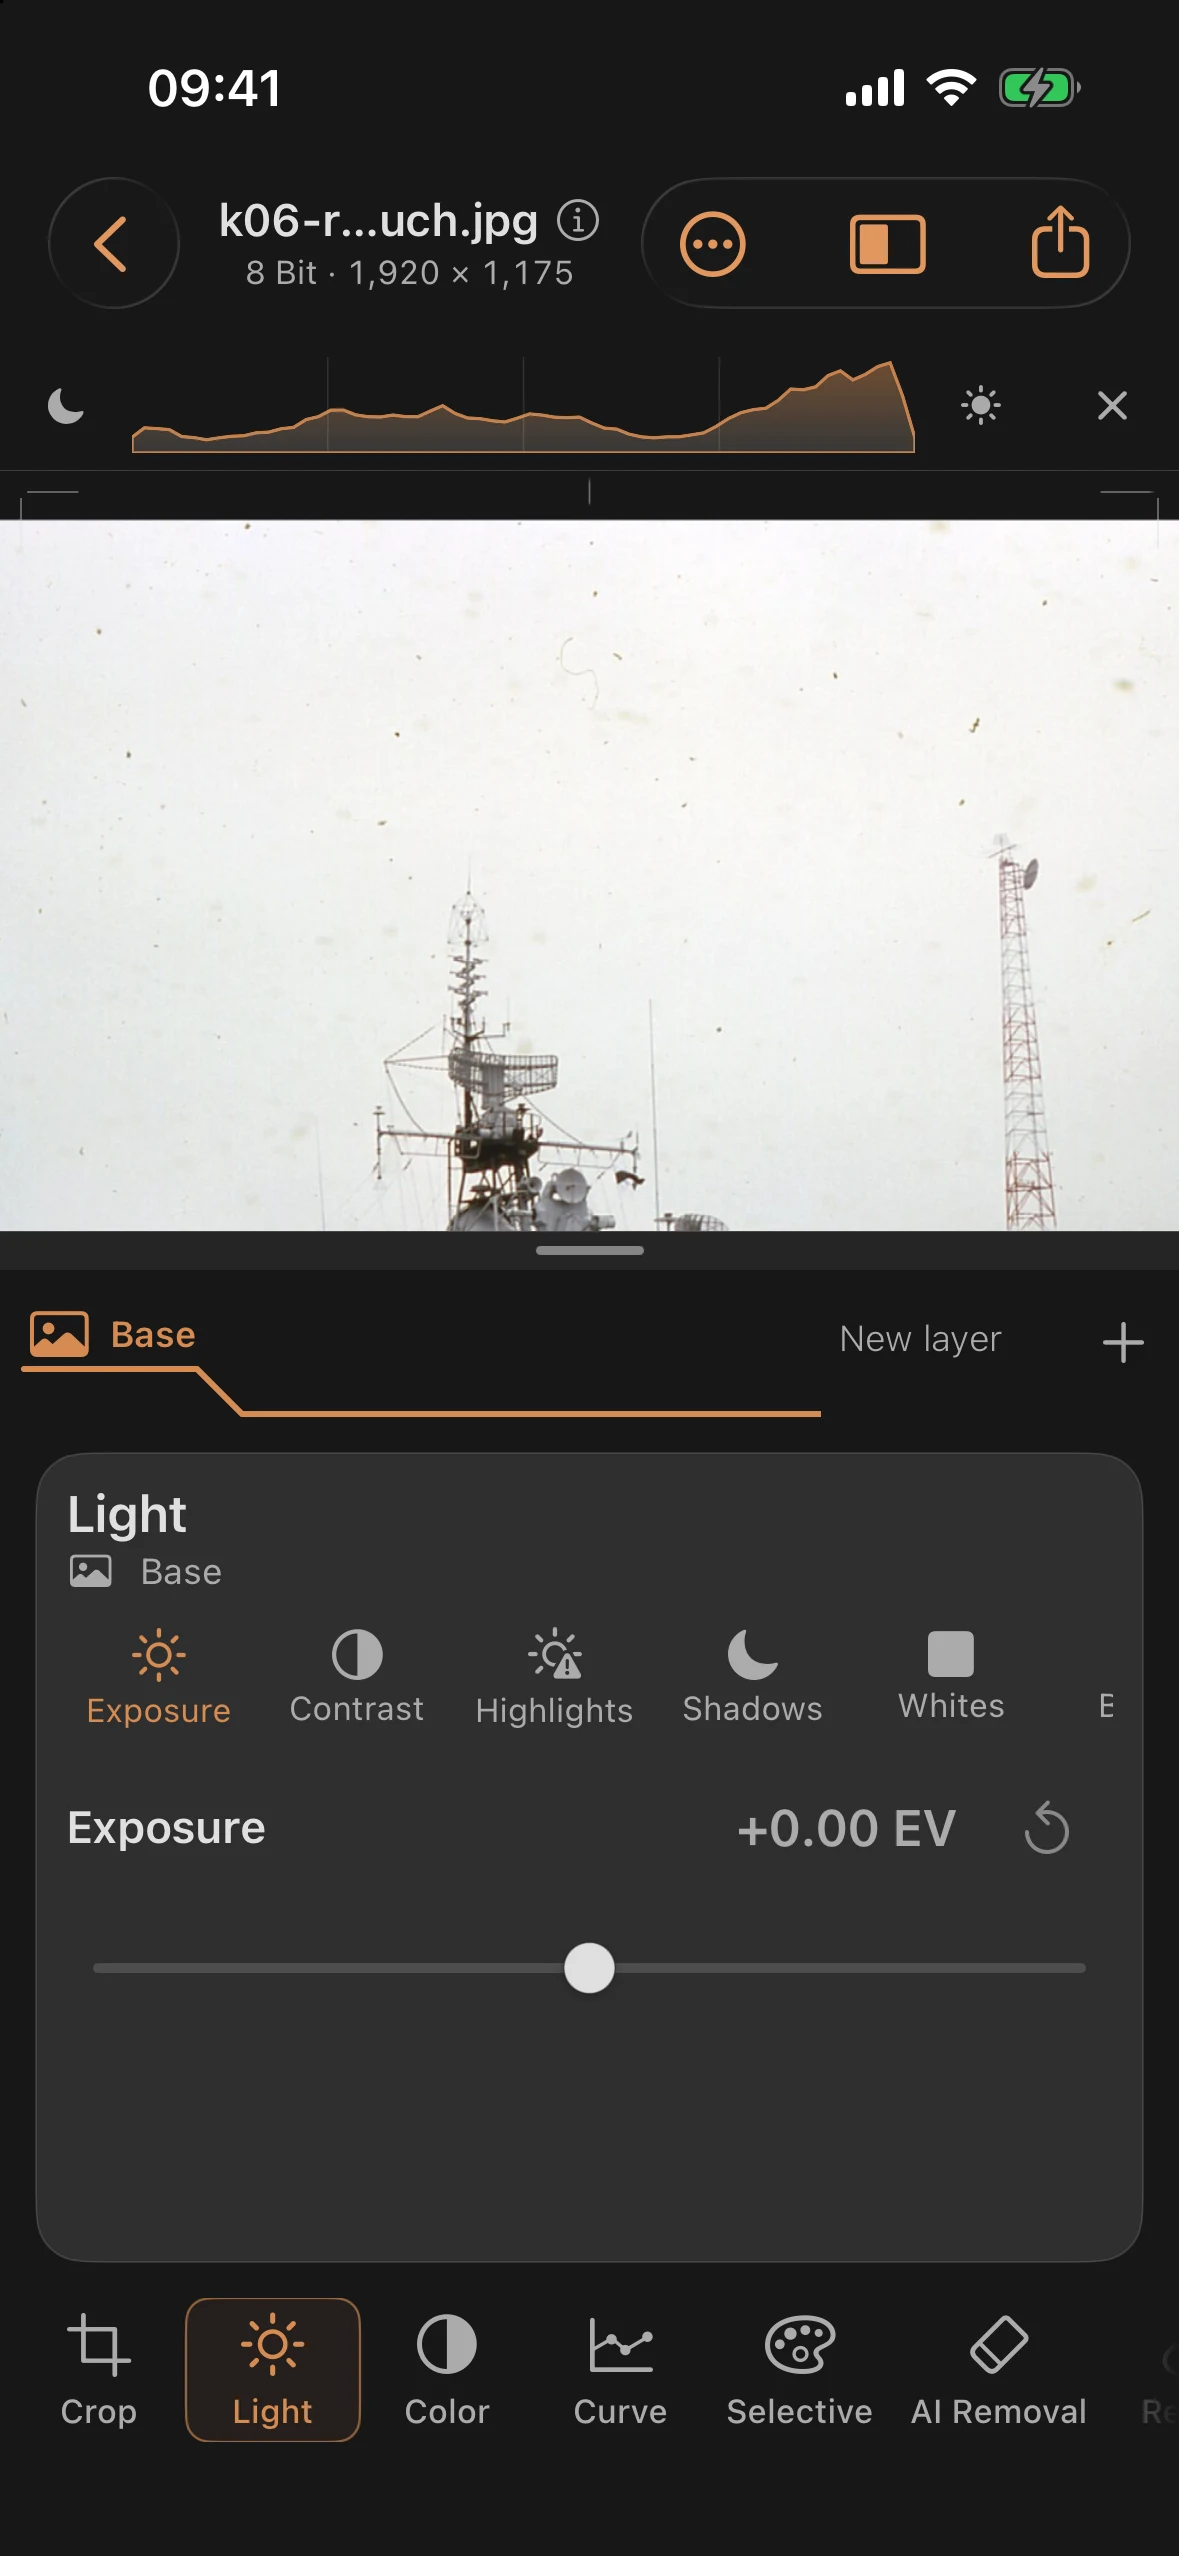
Our practice image genuinely needs this treatment: dust and fibers are scattered across the sky in the historical color scan. For the demonstration, we zoom in on one clearly recognizable curved fiber above the left mast. The task stays contained, and the result is unambiguous in a direct comparison.
Step 1: Examining the Scan
Inspect the curved dark fiber in the pale sky above the mast. The enlarged view makes its shape obvious, while the quiet surroundings provide enough clean sky texture for a convincing repair. Spotting follows an old darkroom rule: fix damage in smooth areas first, since a small spot in texture tends to hide itself.
Step 2: The Smart Repair Brush
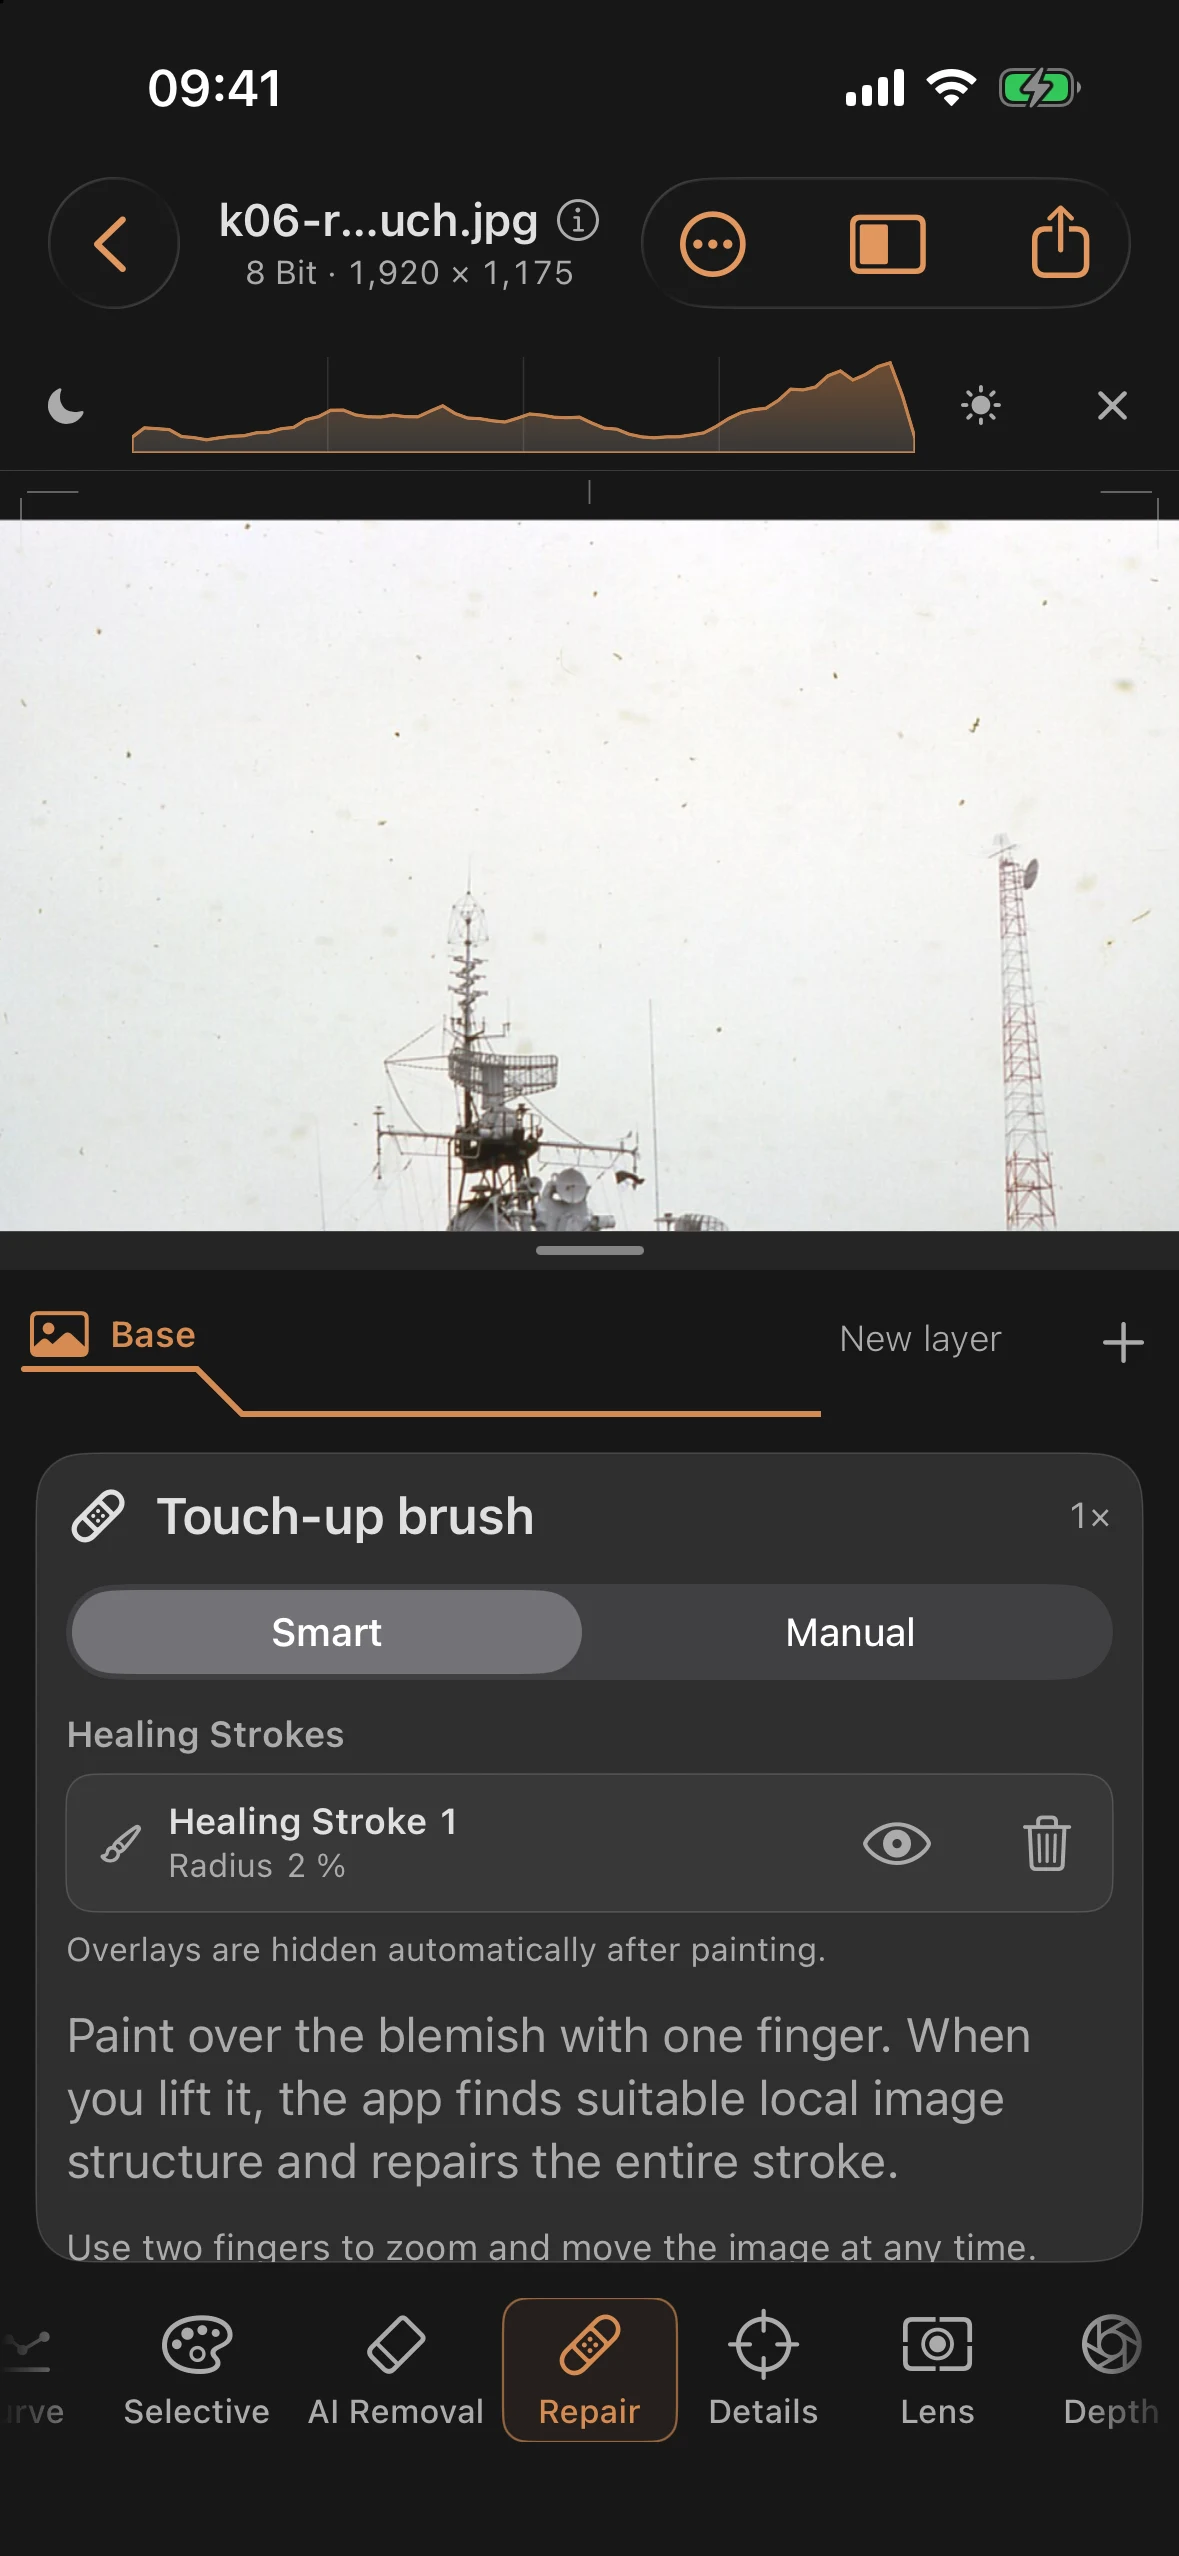
Open the Repair tool in Smart mode. Paint over the flaw with a finger — once you lift it, the app searches for a matching local texture and repairs the whole stroke. Luminance and color from the source are matched automatically to the surroundings, and the markers fade out after painting so you can judge the result unobstructed.
Every stroke lands separately in the repair list: there you can reveal it, check it, and delete it if needed — the shaky dab that used to stay in the print forever is a reversible layer here. Two fingers let you zoom and pan the image at any time without painting. For cases where the automatic match misses, there’s Manual mode: drag from the target to a source point you choose yourself.
Before and after
Before
After
The difference from classic spotting isn’t just speed: digitally, you repair structure, not just brightness. Where the brush once laid down a gray tone, the repair brush inserts matching image texture — and you can always pull the result back and check it again.
.jpg)