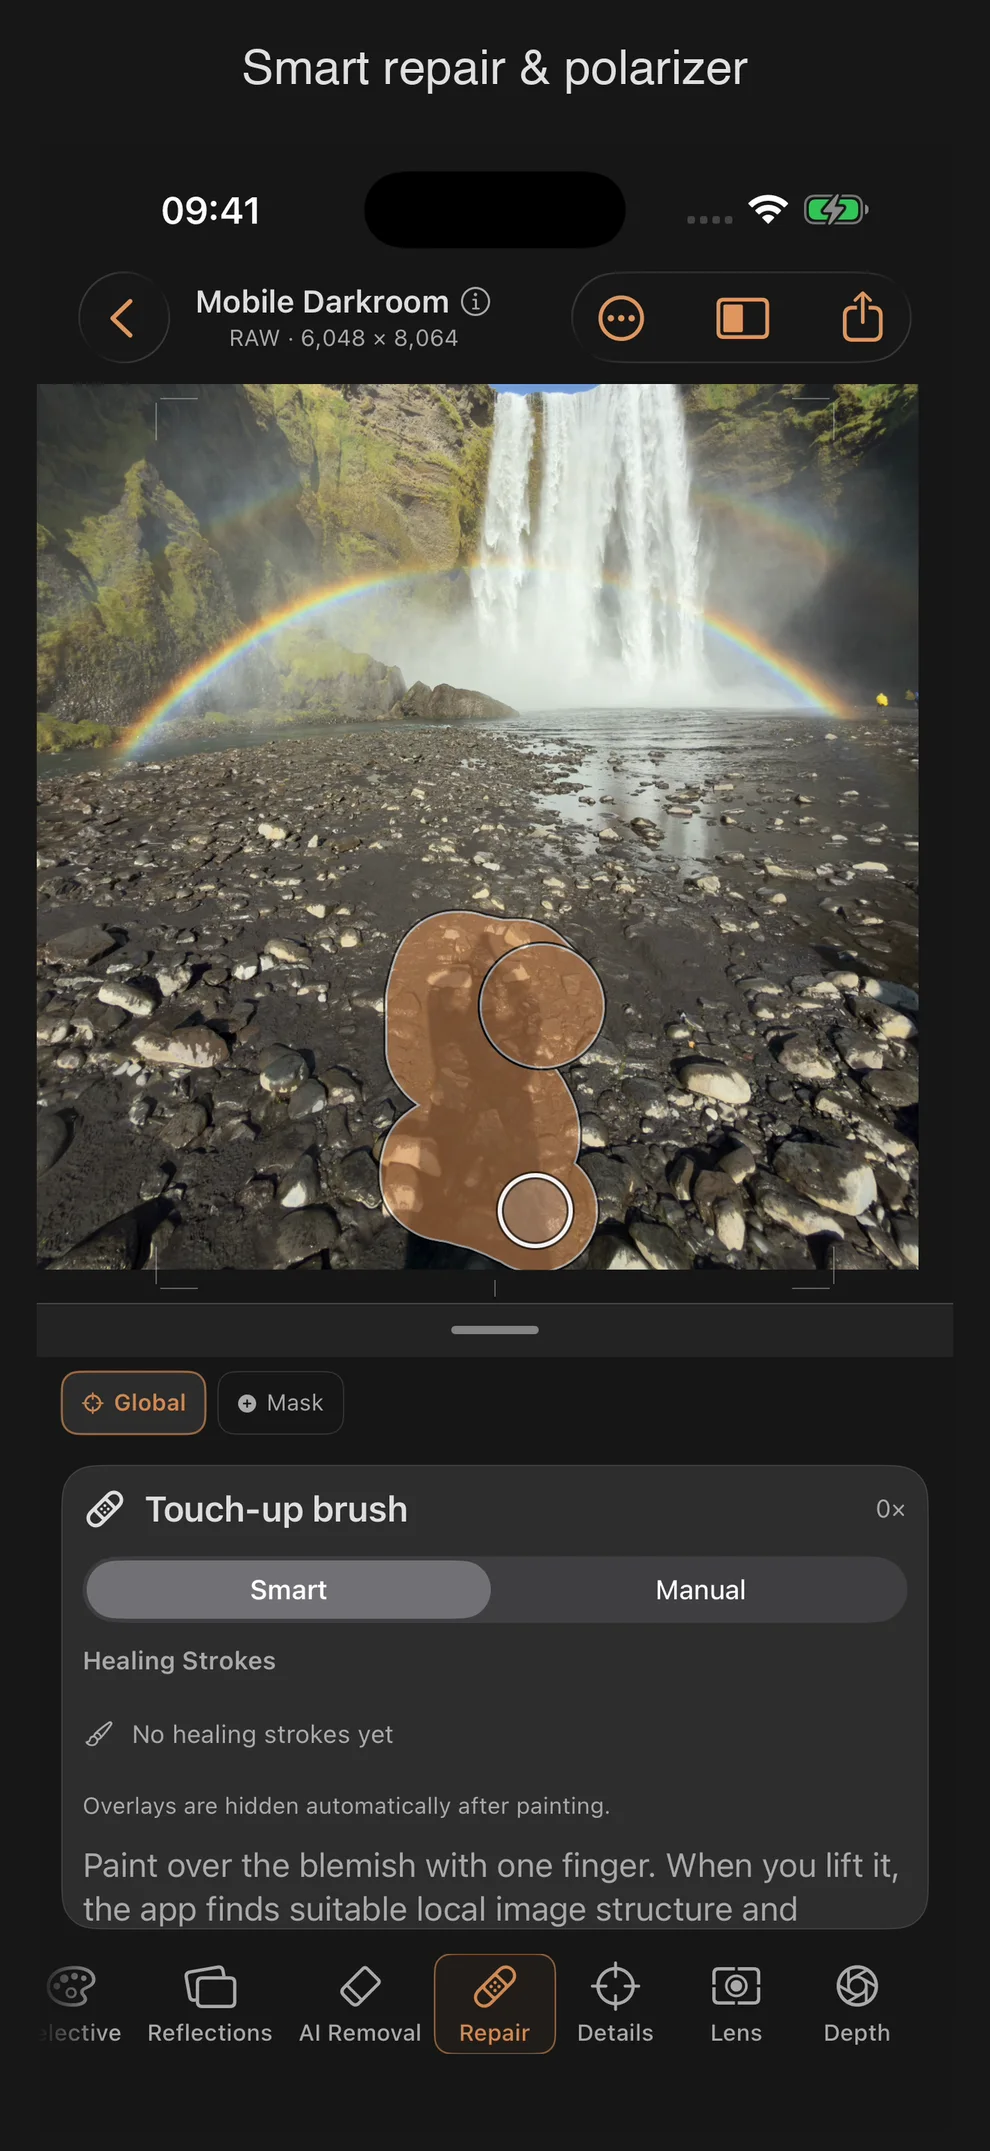
Repair: The Touch-Up Brush
The Repair tool — titled “Touch-Up Brush” in the panel — removes dust, spots, and small blemishes. It has two modes that differ noticeably in how you use them.
The two modes
| Mode | Operation |
|---|---|
| Smart | paint over the blemish with one finger |
| Manual | drag from the target to a source you choose |
Smart:
“Paint over the blemish with one finger. Once you lift your finger, the app searches for a matching local image structure and repairs the whole stroke.”
Manual:
“Drag from the target you want to repair to a suitable source. This manual source stays traceable at all times.”
Controls
| Control | Range | Default | Effect |
|---|---|---|---|
| Radius | 1 to 20% | 5% | Size of the repaired area |
| Target X / Target Y (accessibility) | 0 to 100 | 50 | Position of the target without a touch gesture |
| Source X / Source Y (accessibility, Manual only) | 0 to 100 | 42 | Position of the source without a touch gesture |
RAW difference: none.
Other explainer text
“Markers automatically fade out after painting.”
“Use two fingers to zoom and pan the image at any time.”
“Searching locally for a matching image structure…” — while the app computes the structure in Smart mode
“No repair strokes yet” — while the stroke list is empty
Stroke list
Every repair entry shows its type (“Brush Stroke” for Smart, “Manual Repair” for Manual), a running number, and its radius as a percentage. An eye-icon toggle shows or hides each stroke individually, and a delete button removes it entirely.
Accessible positioning
An expandable “Accessible Positioning” section offers an alternative, slider-based way to place repairs without a touch gesture — including a button that triggers the repair using the position values you’ve set.
Color matching happens internally
Every Smart repair automatically computes a color match between source and target (red, green, blue, and luminance components). This adjustment is not exposed as a control — it’s computed entirely in the background and can’t be fine-tuned manually.
Practical tips
- Use Smart mode for irregular blemishes like dust or scratches — it searches for matching structure nearby on its own.
- Switch to Manual when you need a specific, predictable source — for example, to extend a repeating pattern (like sky or water) deliberately.
- A smaller radius keeps the automatic structure search from unintentionally pulling in neighboring areas — for fine detail, prefer several small strokes over one large one.
- Chapter 6 of the tutorial series (“Spotting: Removing Dust and Decades”) compares both modes side by side on a historical subject.
Retouching and image adjustments
Intelligent repair searches for its source before global light and color edits, masks, and film effects. Brightness and color matching uses the same image stage where the repair is applied, so subsequent edits affect the repaired area too. Changing RAW exposure recalculates the match. Manual mode remains a clone brush.
Adjusting Radius displays a light circle with a dark outline directly on the image. It accounts for zoom and crop; the pixel readout gives the diameter, twice the radius, in the original image. The preview works in both intelligent and manual modes and disappears shortly after release.
Remove distracting objects with AI
The separate AI Removal tool fills selected image areas: paint over the area, choose Calculate, review the result, then Apply or Discard. The repair brush remains available for small blemishes and deliberately chosen cloning sources. Both types of retouch stay anchored to the subject when you later rotate or correct perspective.