
Chapter 7 · Sepia & warm toning
Toning: Warmth from Chemistry
Toning was chemistry, not taste alone: in the sepia bath, the silver of a finished print was first bleached and then converted into silver sulfide — the image turned brownish and more stable, since silver sulfide ages more slowly than pure silver. Selenium toning, in turn, deepened the blacks toward a cool violet and likewise protected against fading; Adams himself lightly toned nearly all his prints with selenium. There was also a gentler route through the paper itself: warm-tone papers delivered the creamy look straight from the emulsion, with no second bath at all.
The practice image takes warmth well: the adobe mission church at Taos Pueblo, whose mud walls call for earth tones anyway. Two paths lead to the goal — the bath and the paper.
Step 1: The Neutral Print
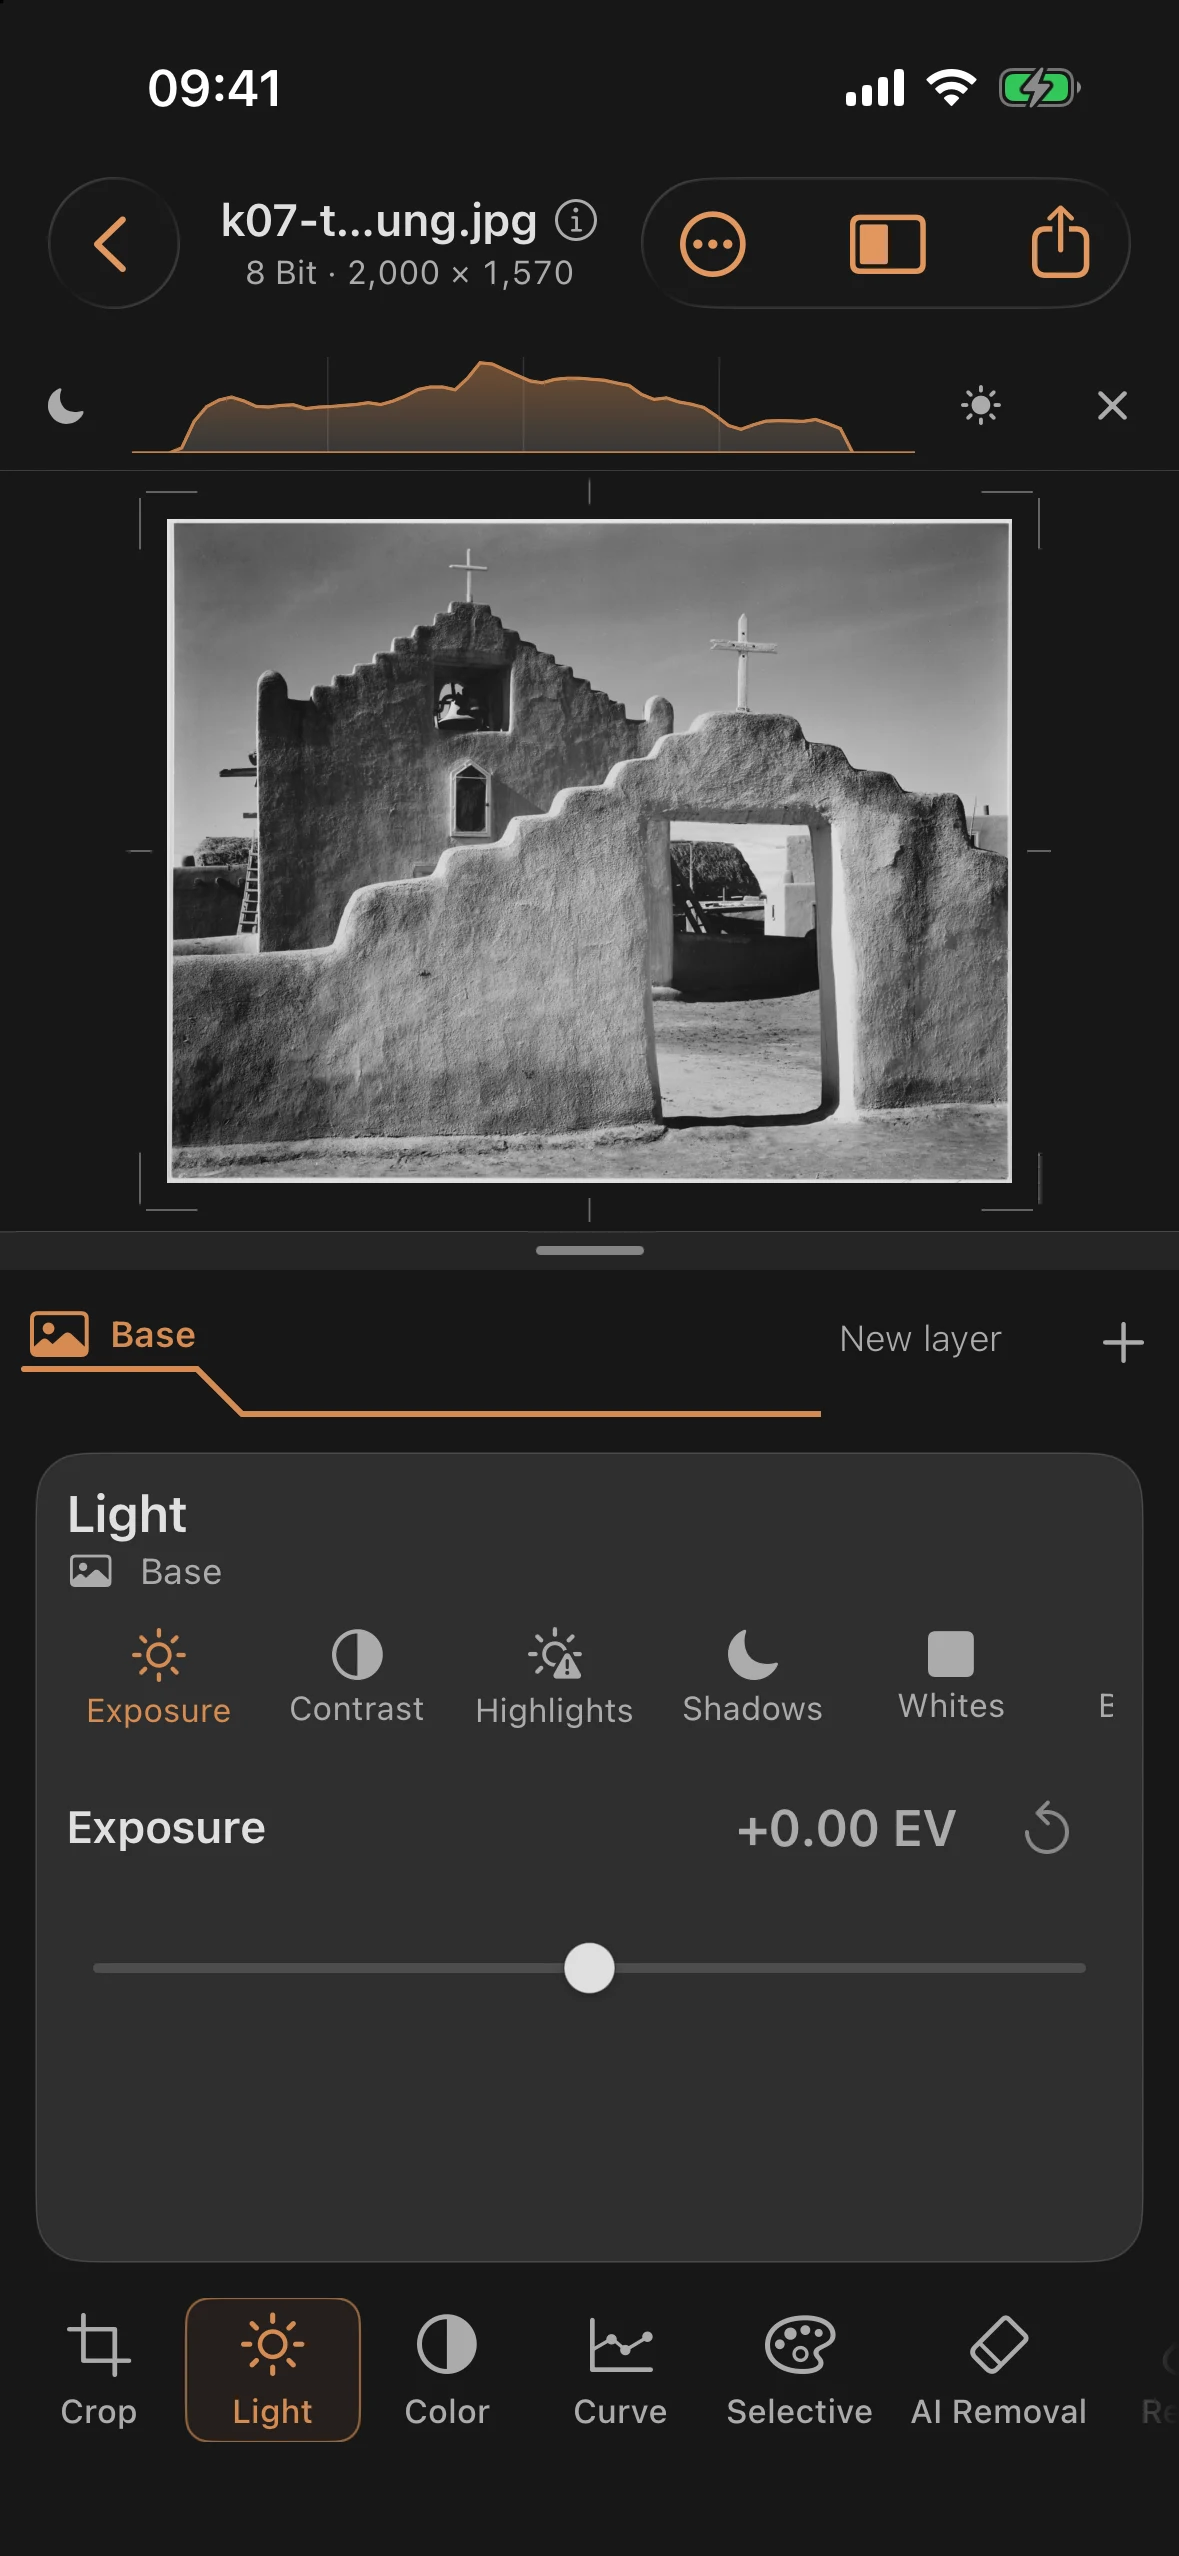
The starting scan is a neutral black-and-white print: the bell tower and cemetery gate stand clear in the light, the grays are cleanly distributed. A good base — toning is always the last step, never the first. Tone a flat image and you get a flat brown image.
Step 2: The Sepia Bath
The first route simulates the bath. One distinction matters: in the darkroom, toning followed development, fixing, and thorough washing. A classic two-bath sepia toner first bleached the image silver and then converted it to silver sulfide in the toning bath. The whole print stayed in the bath; for an even tone, processing continued until the densest image areas had been converted fully and uniformly.
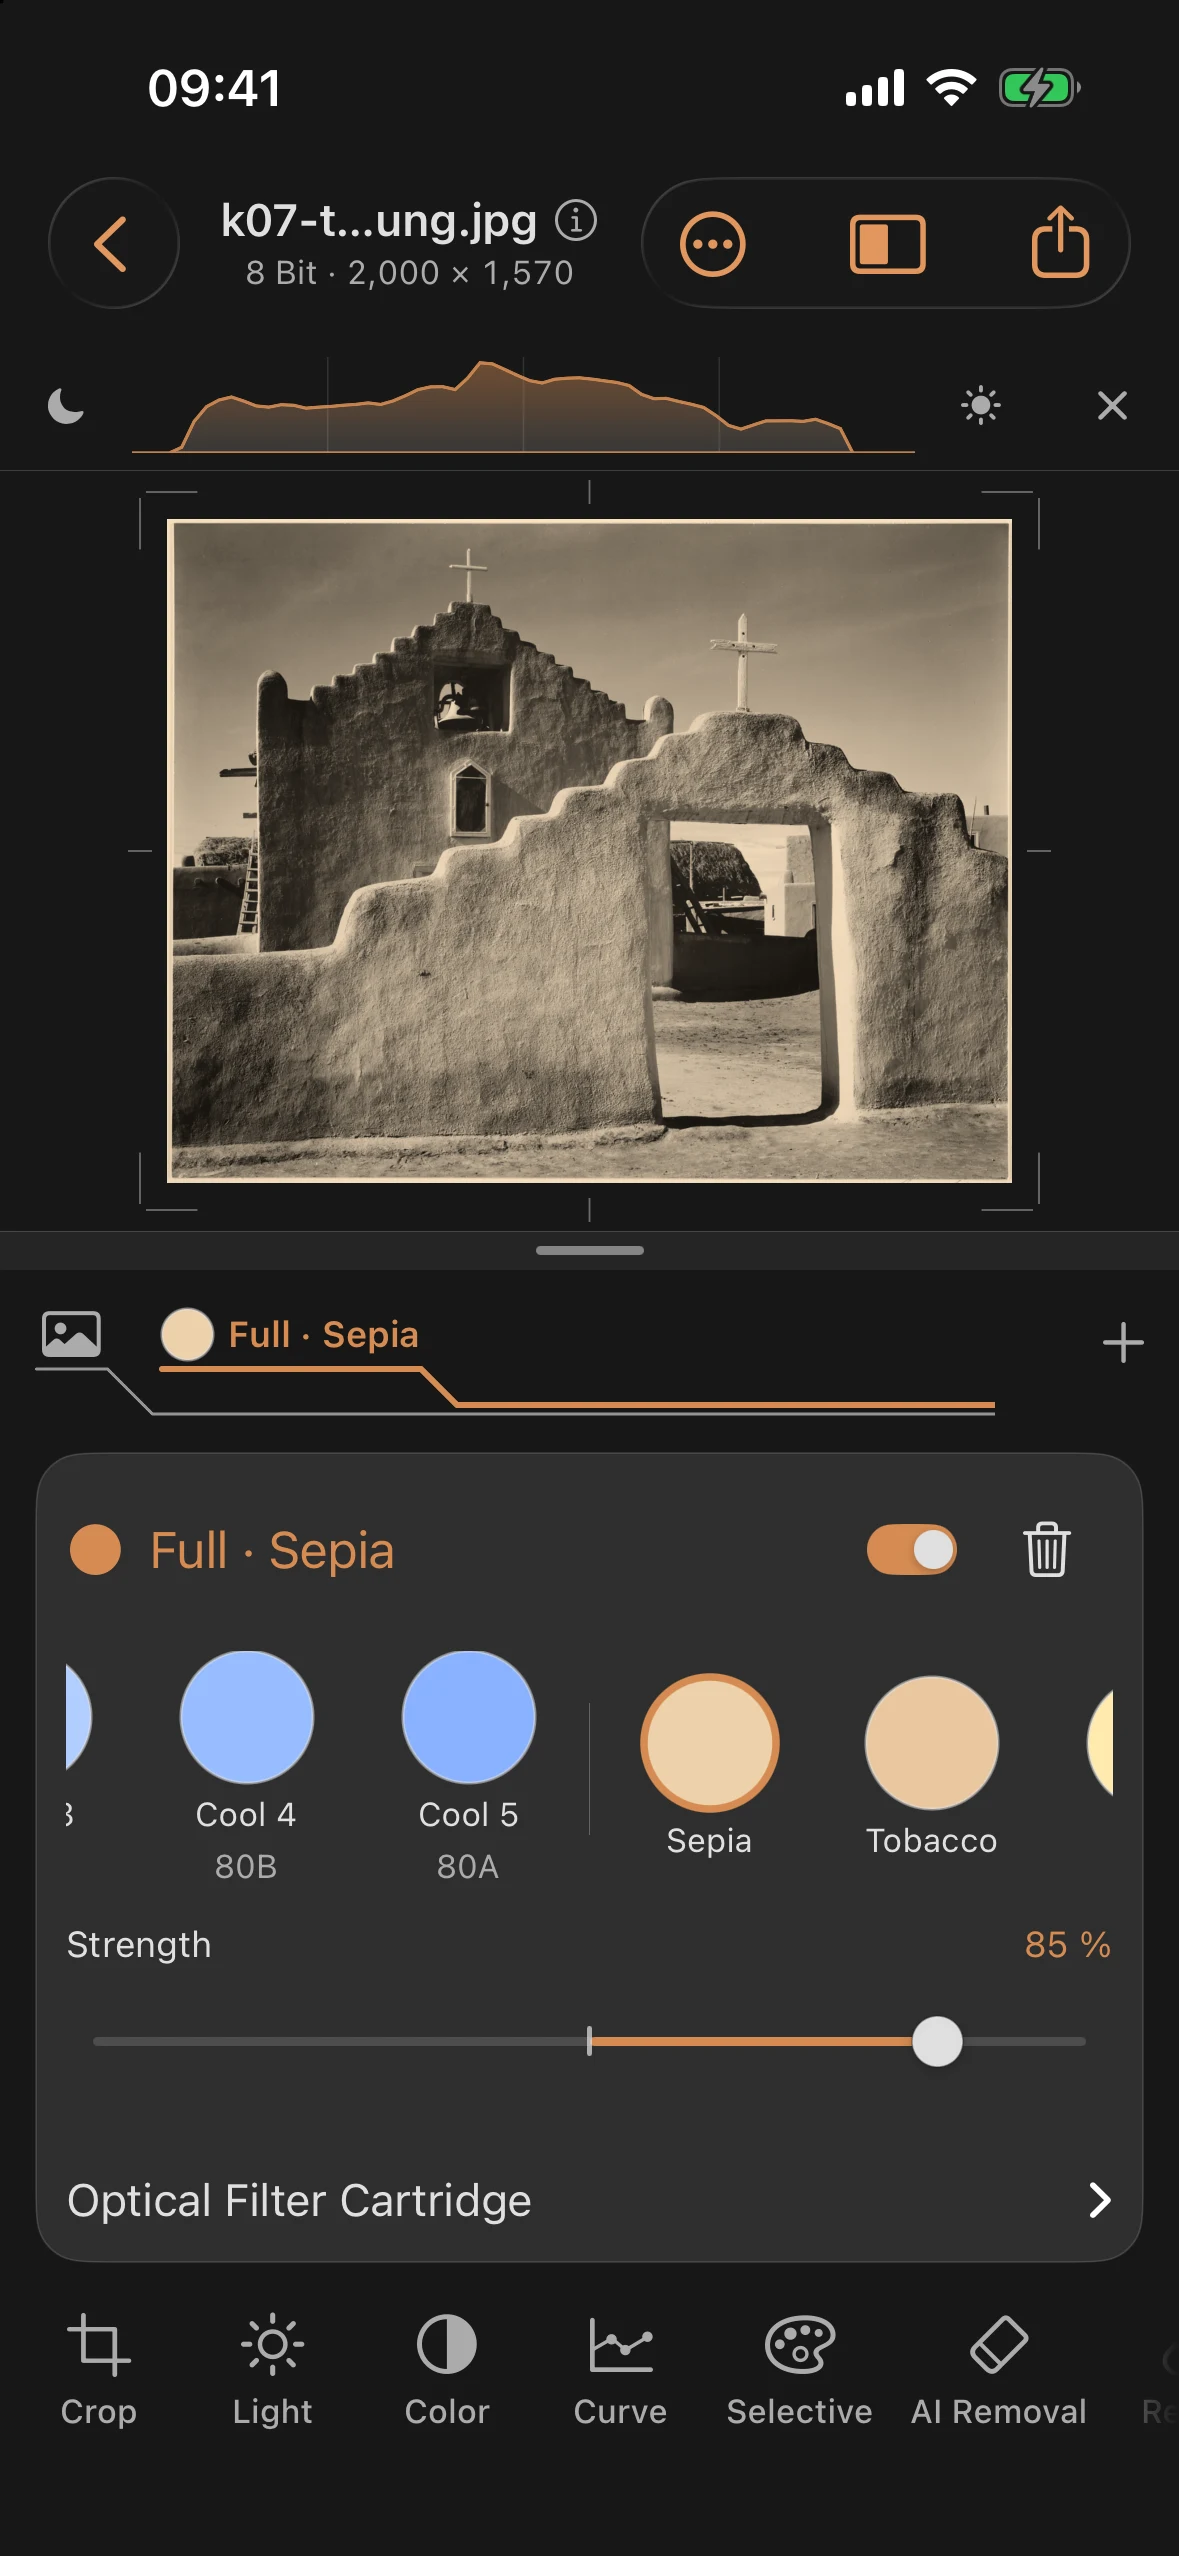
Mobile Darkroom recreates the colour impression digitally. Tap + in the layer ribbon, choose Filter, then Full and, under Toning, the color Sepia. Set Strength to 85%. Unlike a graduated filter in sepia, the full filter acts evenly across the whole image, and exposure compensation keeps the brightness of the print. The brown is easier to see in the highlights and midtones while dense shadows remain visually dark. This is a visual approximation of the finished toned print, not a simulation of the chemical reaction in the paper.
Step 3: Warm-Tone Paper
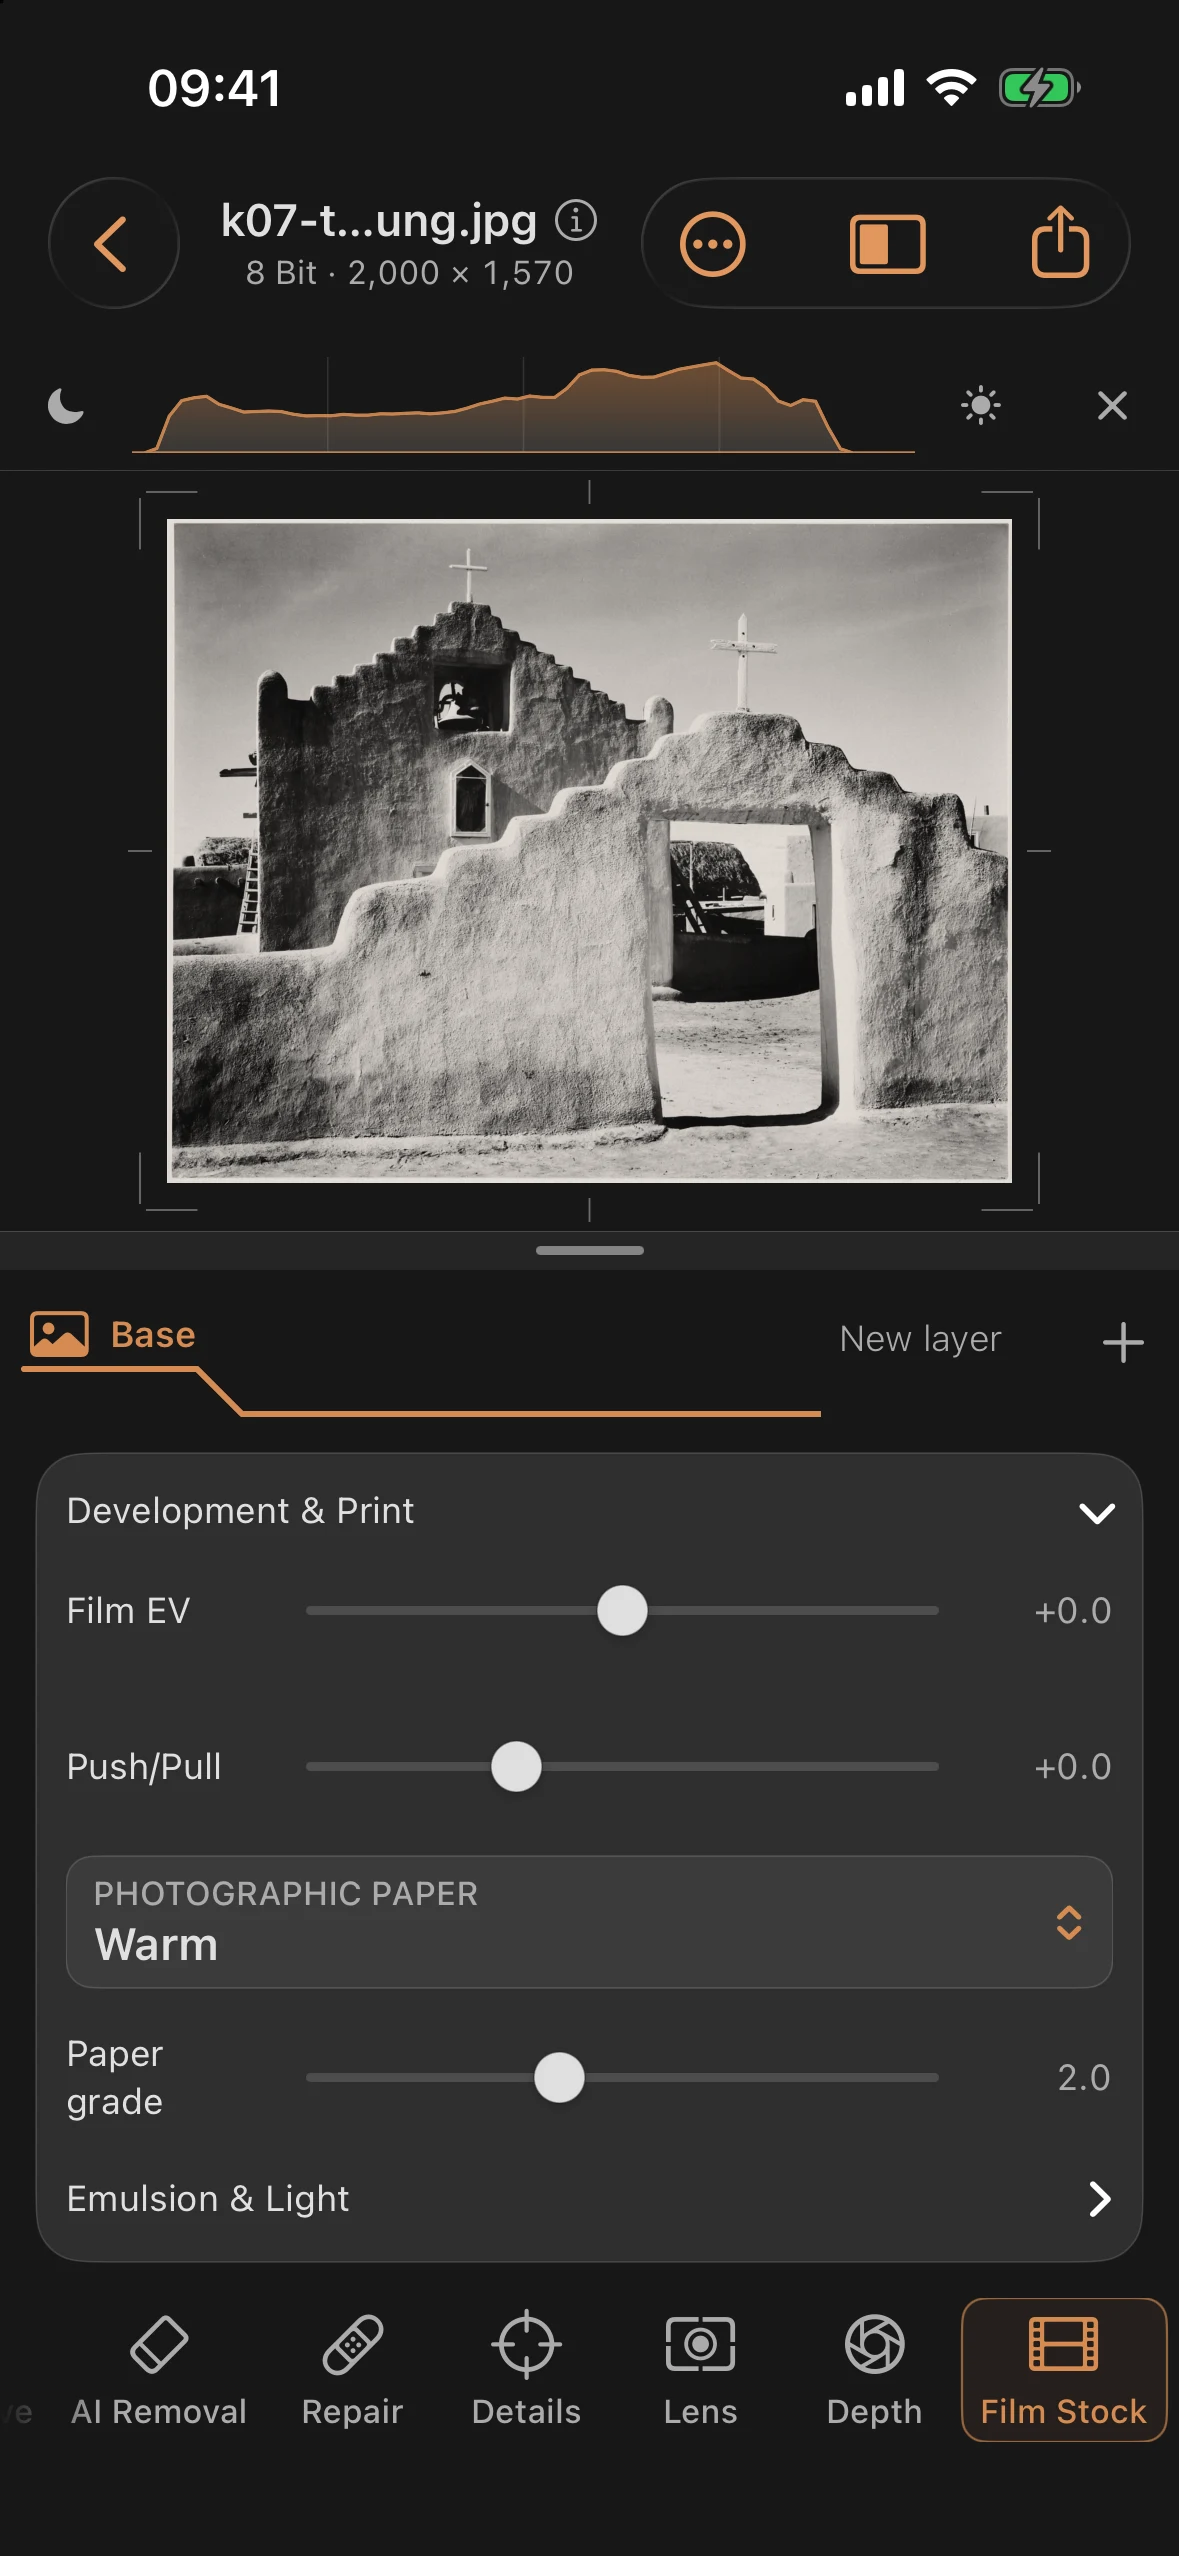
The second route goes through the paper. Remove the sepia filter again and choose Film Stock → Black & white → Mono 400. Set the output to Photo print; the Warm-Tone Photographic Paper selection is under Development & Print:
| Setting | Value |
|---|---|
| Film | Mono 400 |
| Output | Photo print |
| Photographic paper | Warm-Tone Photographic Paper |
| Film strength | 100% |
| Film Grain | 25% |
| Grain size | 40% |
| Halation | 12% |
The result is more restrained than the sepia bath: no brown cast, just a creamy underlying warmth that seems to come from the emulsion itself. A hint of halation lays a fine glow around the sunlit wall edges.
Before and after
Before
After
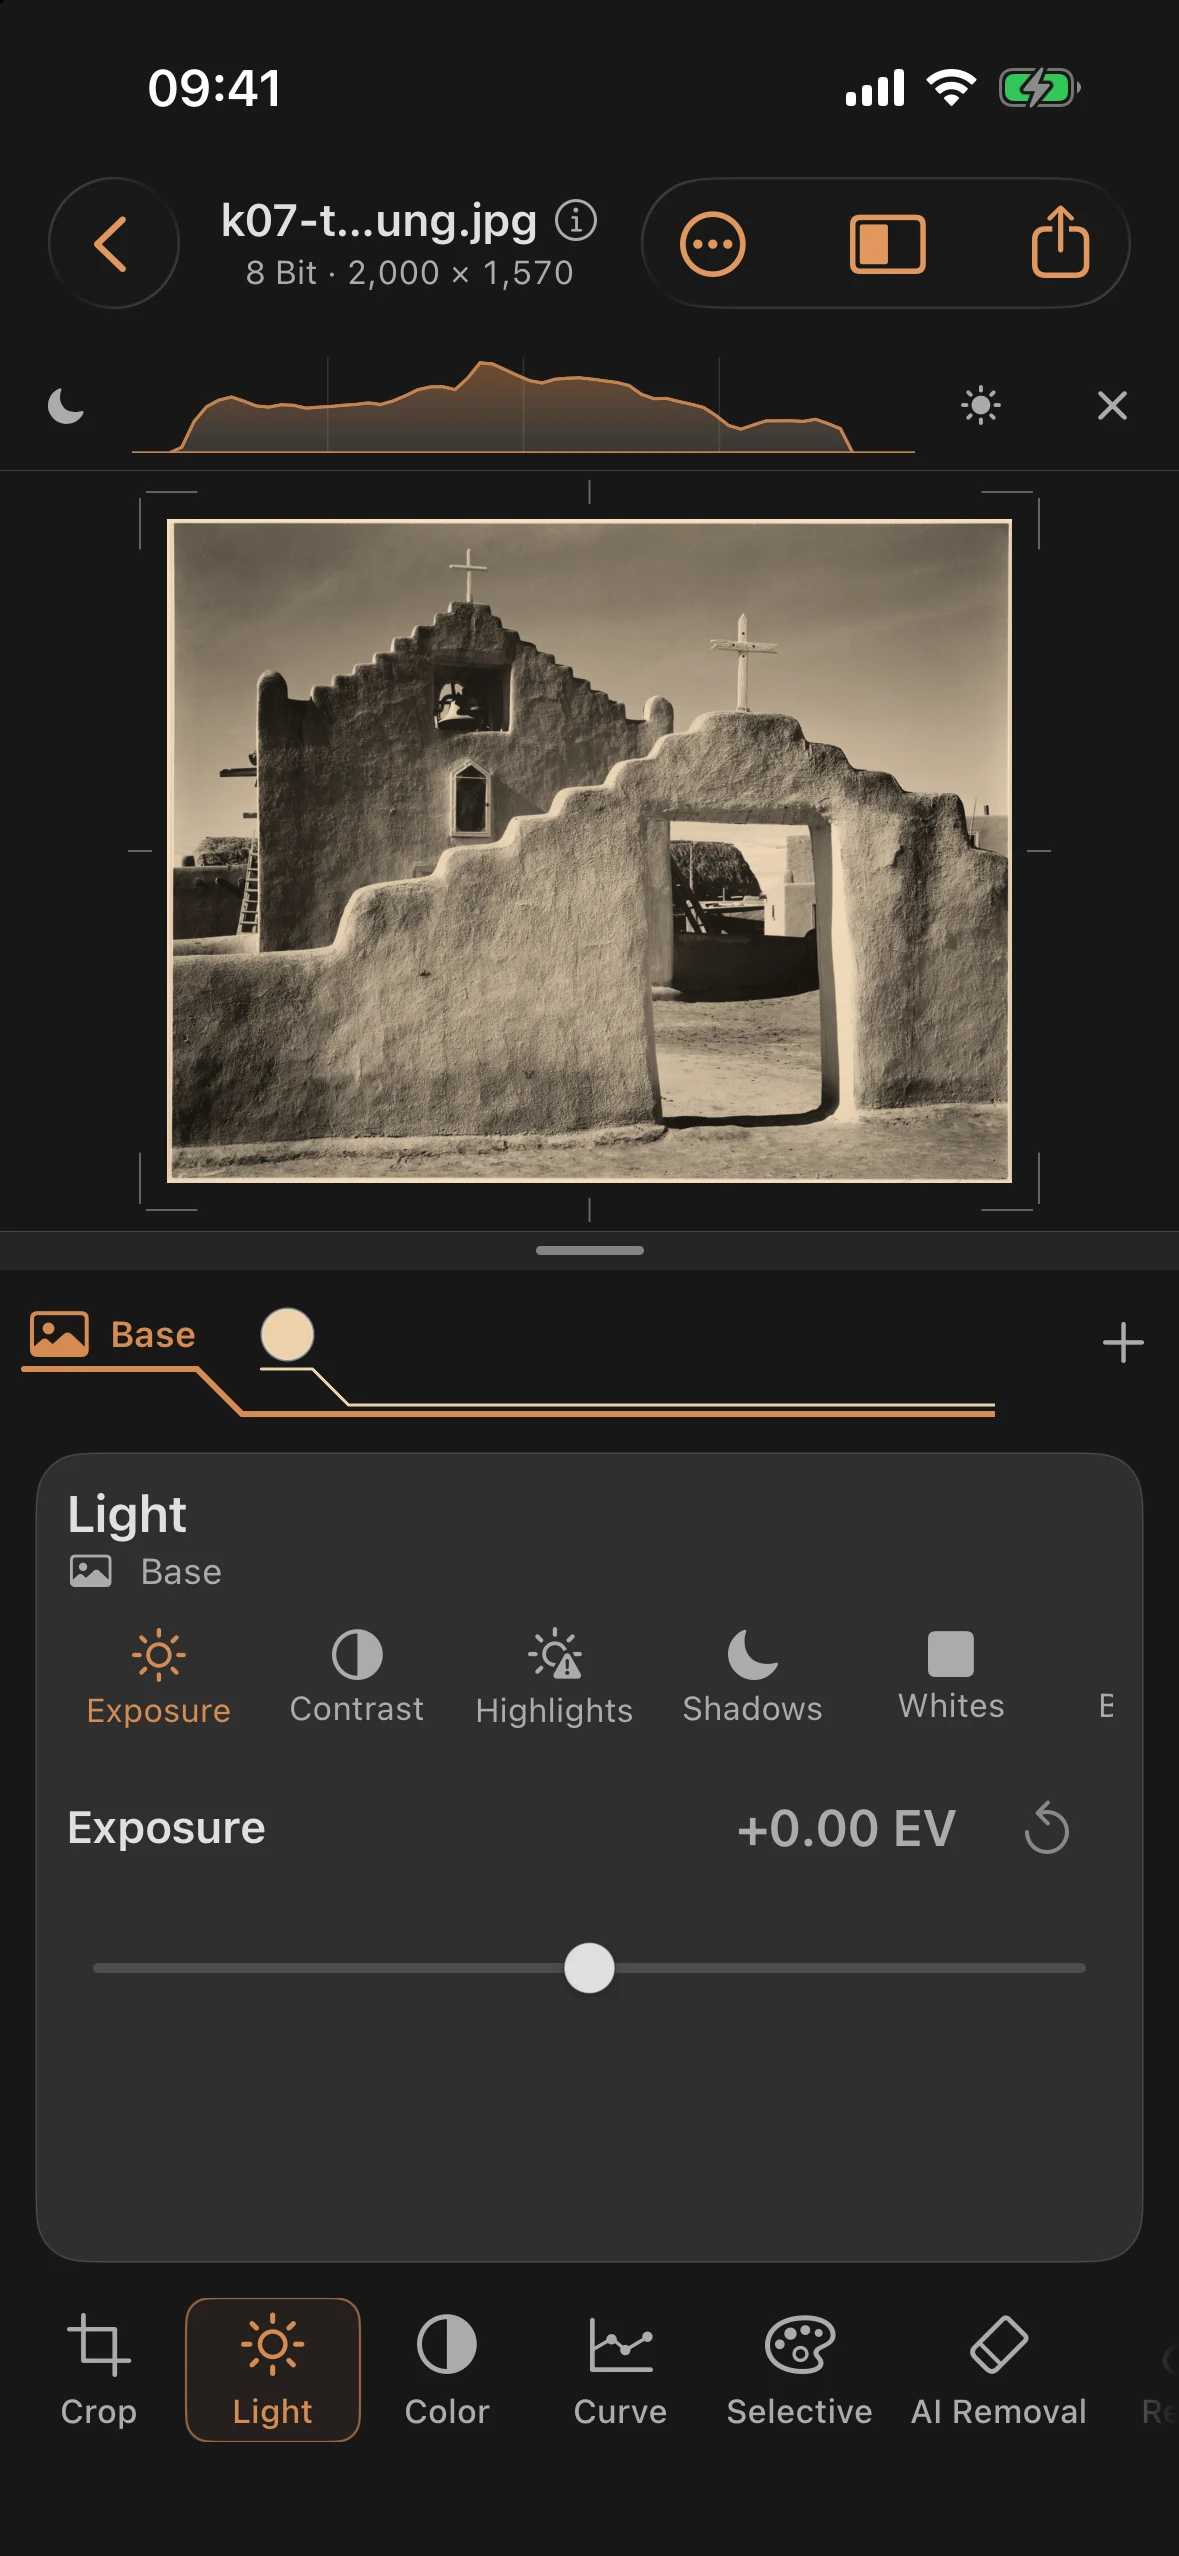
A darkroom rule of thumb that holds just as true digitally: toning is interpretation, not correction. It comes last, it stays subtle — and it only works on a print that was already right beforehand.