
Chapter 2 · Dodge & burn at the enlarger
Dodge & Burn: Shaping Light with Your Hands
In the darkroom, light from the enlarger fell through the negative onto the paper. If you wanted a passage lighter, you held something in the light while it printed — a hand, a piece of card on a wire — and dodged it. If a passage needed to be darker, you covered the rest of the image and burned it in, often through a hole in a card. Every print was a small choreography of seconds and hand movements.
The most famous of these choreographies belongs to “Moonrise, Hernandez, New Mexico”: Adams burned in the sky by hand on every single print, more than two minutes of work per sheet — and no two prints ever matched exactly. (The image itself is a private work and stays unpictured here for that reason — you can still practice the technique behind it on any subject.)
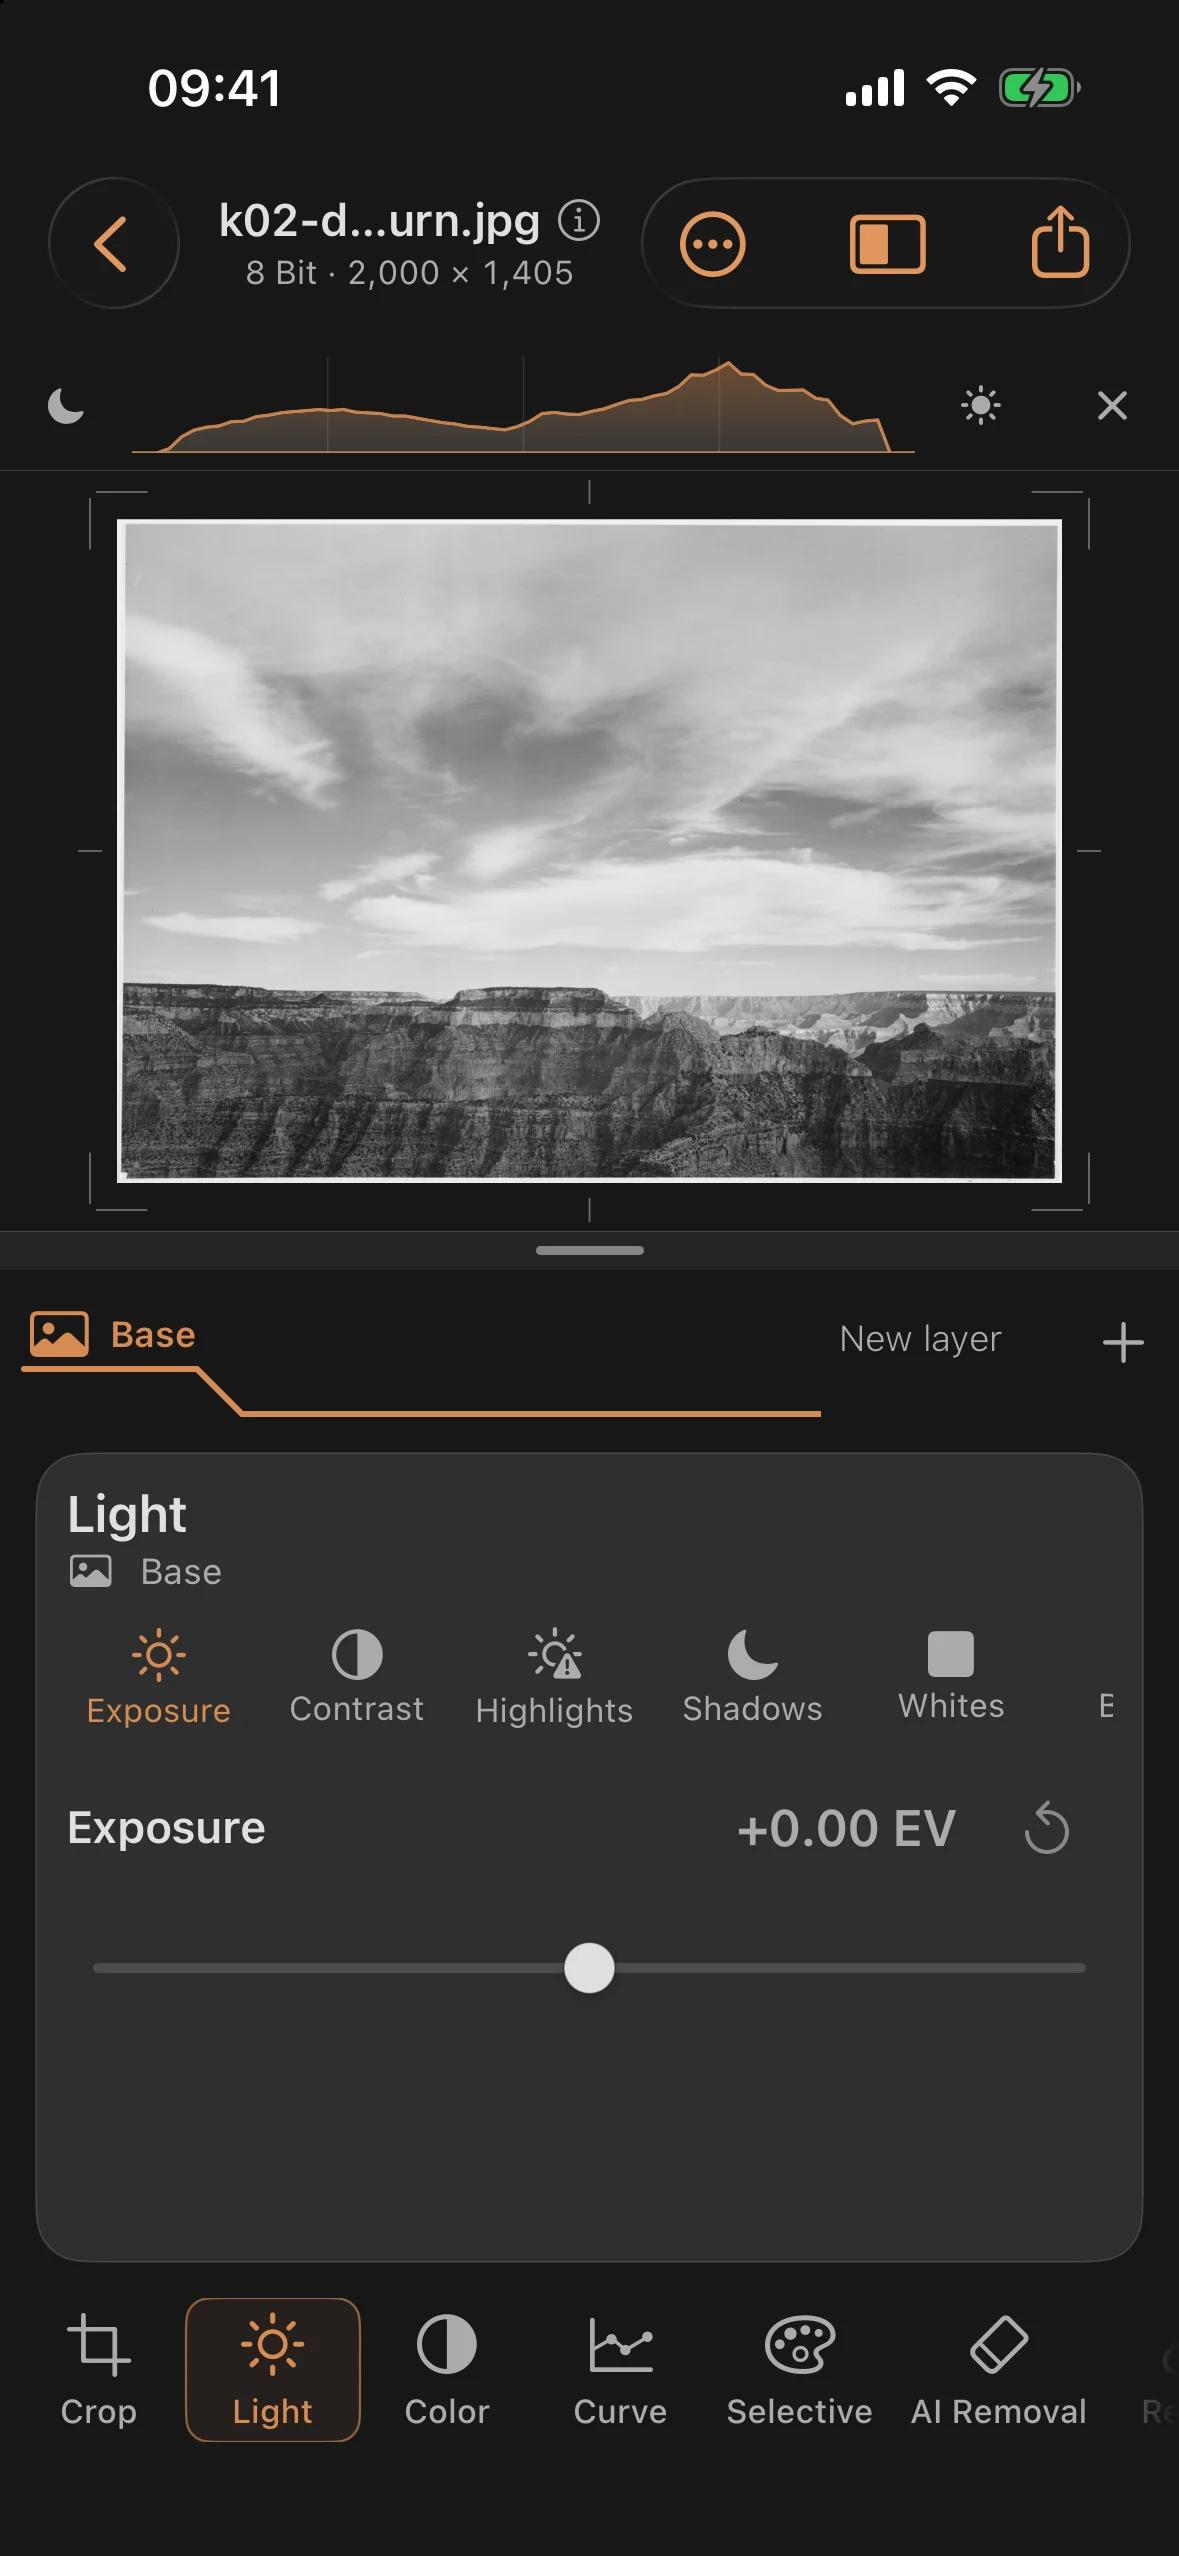
Digitally, the same gesture is called a local mask. Our practice image is a Grand Canyon photograph from the Mural Project: a dark canyon rim below, a cloudy sky above that nearly blows out to white in the flat scan.
Step 1: Reading the Starting Image
The sky holds detail, but it sits too bright to read; the cloud banks blur into the haze. The foreground, by contrast, is largely fine. A global adjustment would shift both at once — this calls for the local gesture: burn in the sky only.
Step 2: Burning In the Sky
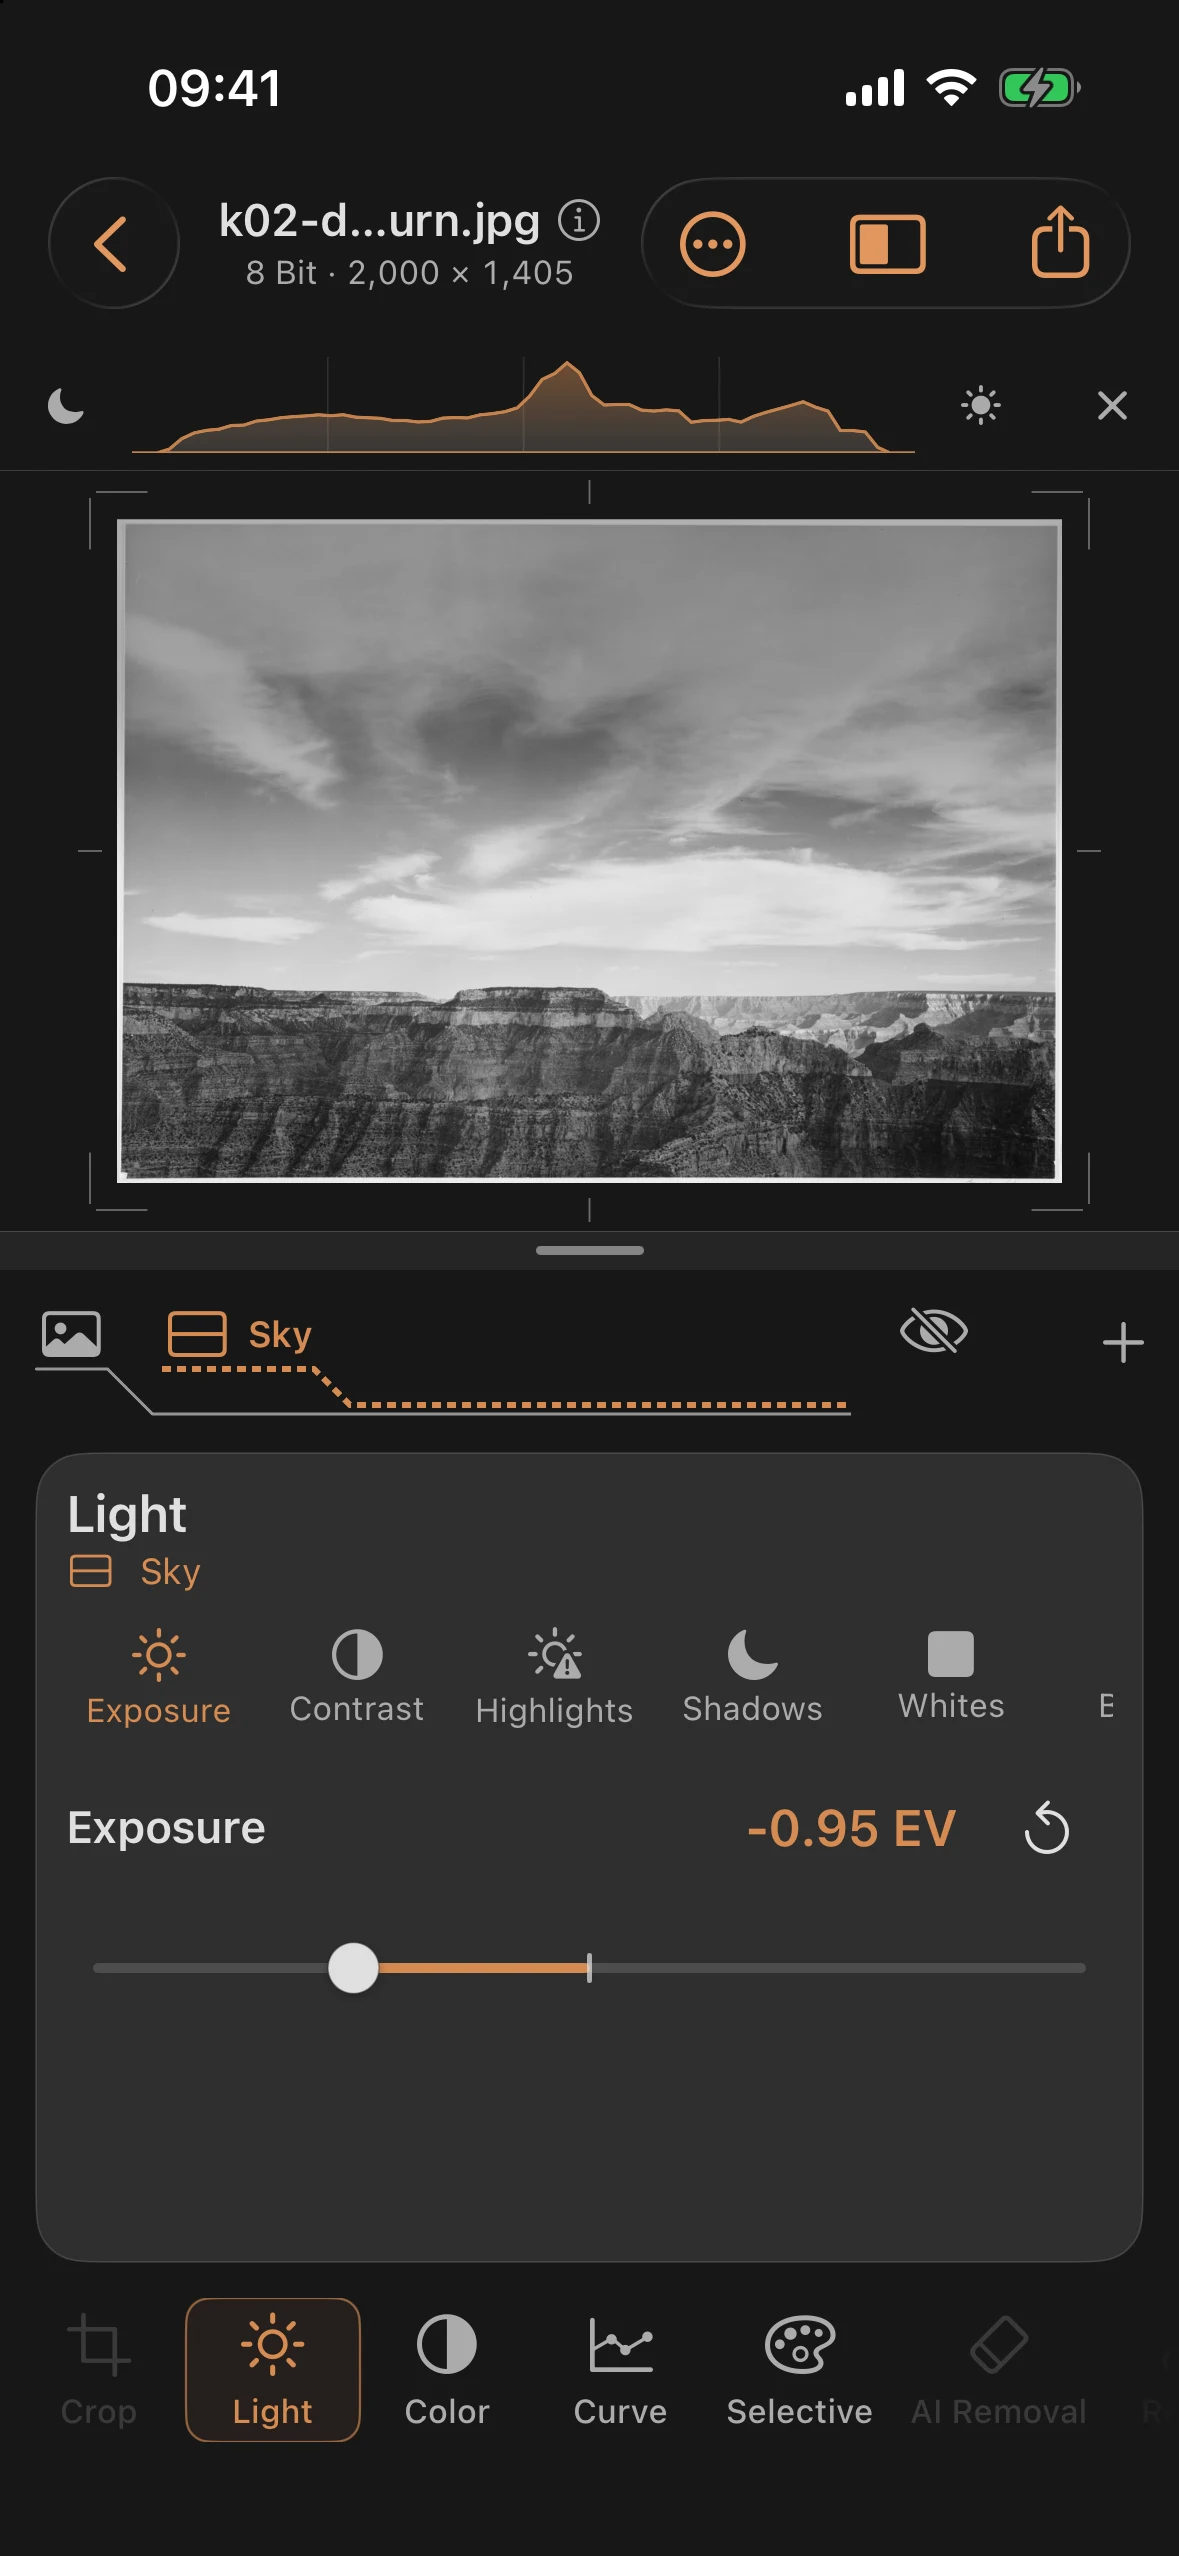
Tap + on the layer ribbon, choose Mask, then Linear. The mask hangs over the image like a gradient: solid before the solid line, fading smoothly to zero by the dashed line. Drag it so it reaches down over the sky and fades out at the horizon — the angle control sits at 90° for this.
Inside the mask, Light, Color, Curve, Selective and Details are available. In the Light tool, just for the sky:
| Control | Value |
|---|---|
| Exposure | −0.95 EV |
| Highlights | −45 |
| Contrast | +15 |
Just under a stop less light — the same order of magnitude used to burn in at the enlarger too. The clouds gain volume, the haze gives way to clear separation.
Step 3: Dodging and the Finish
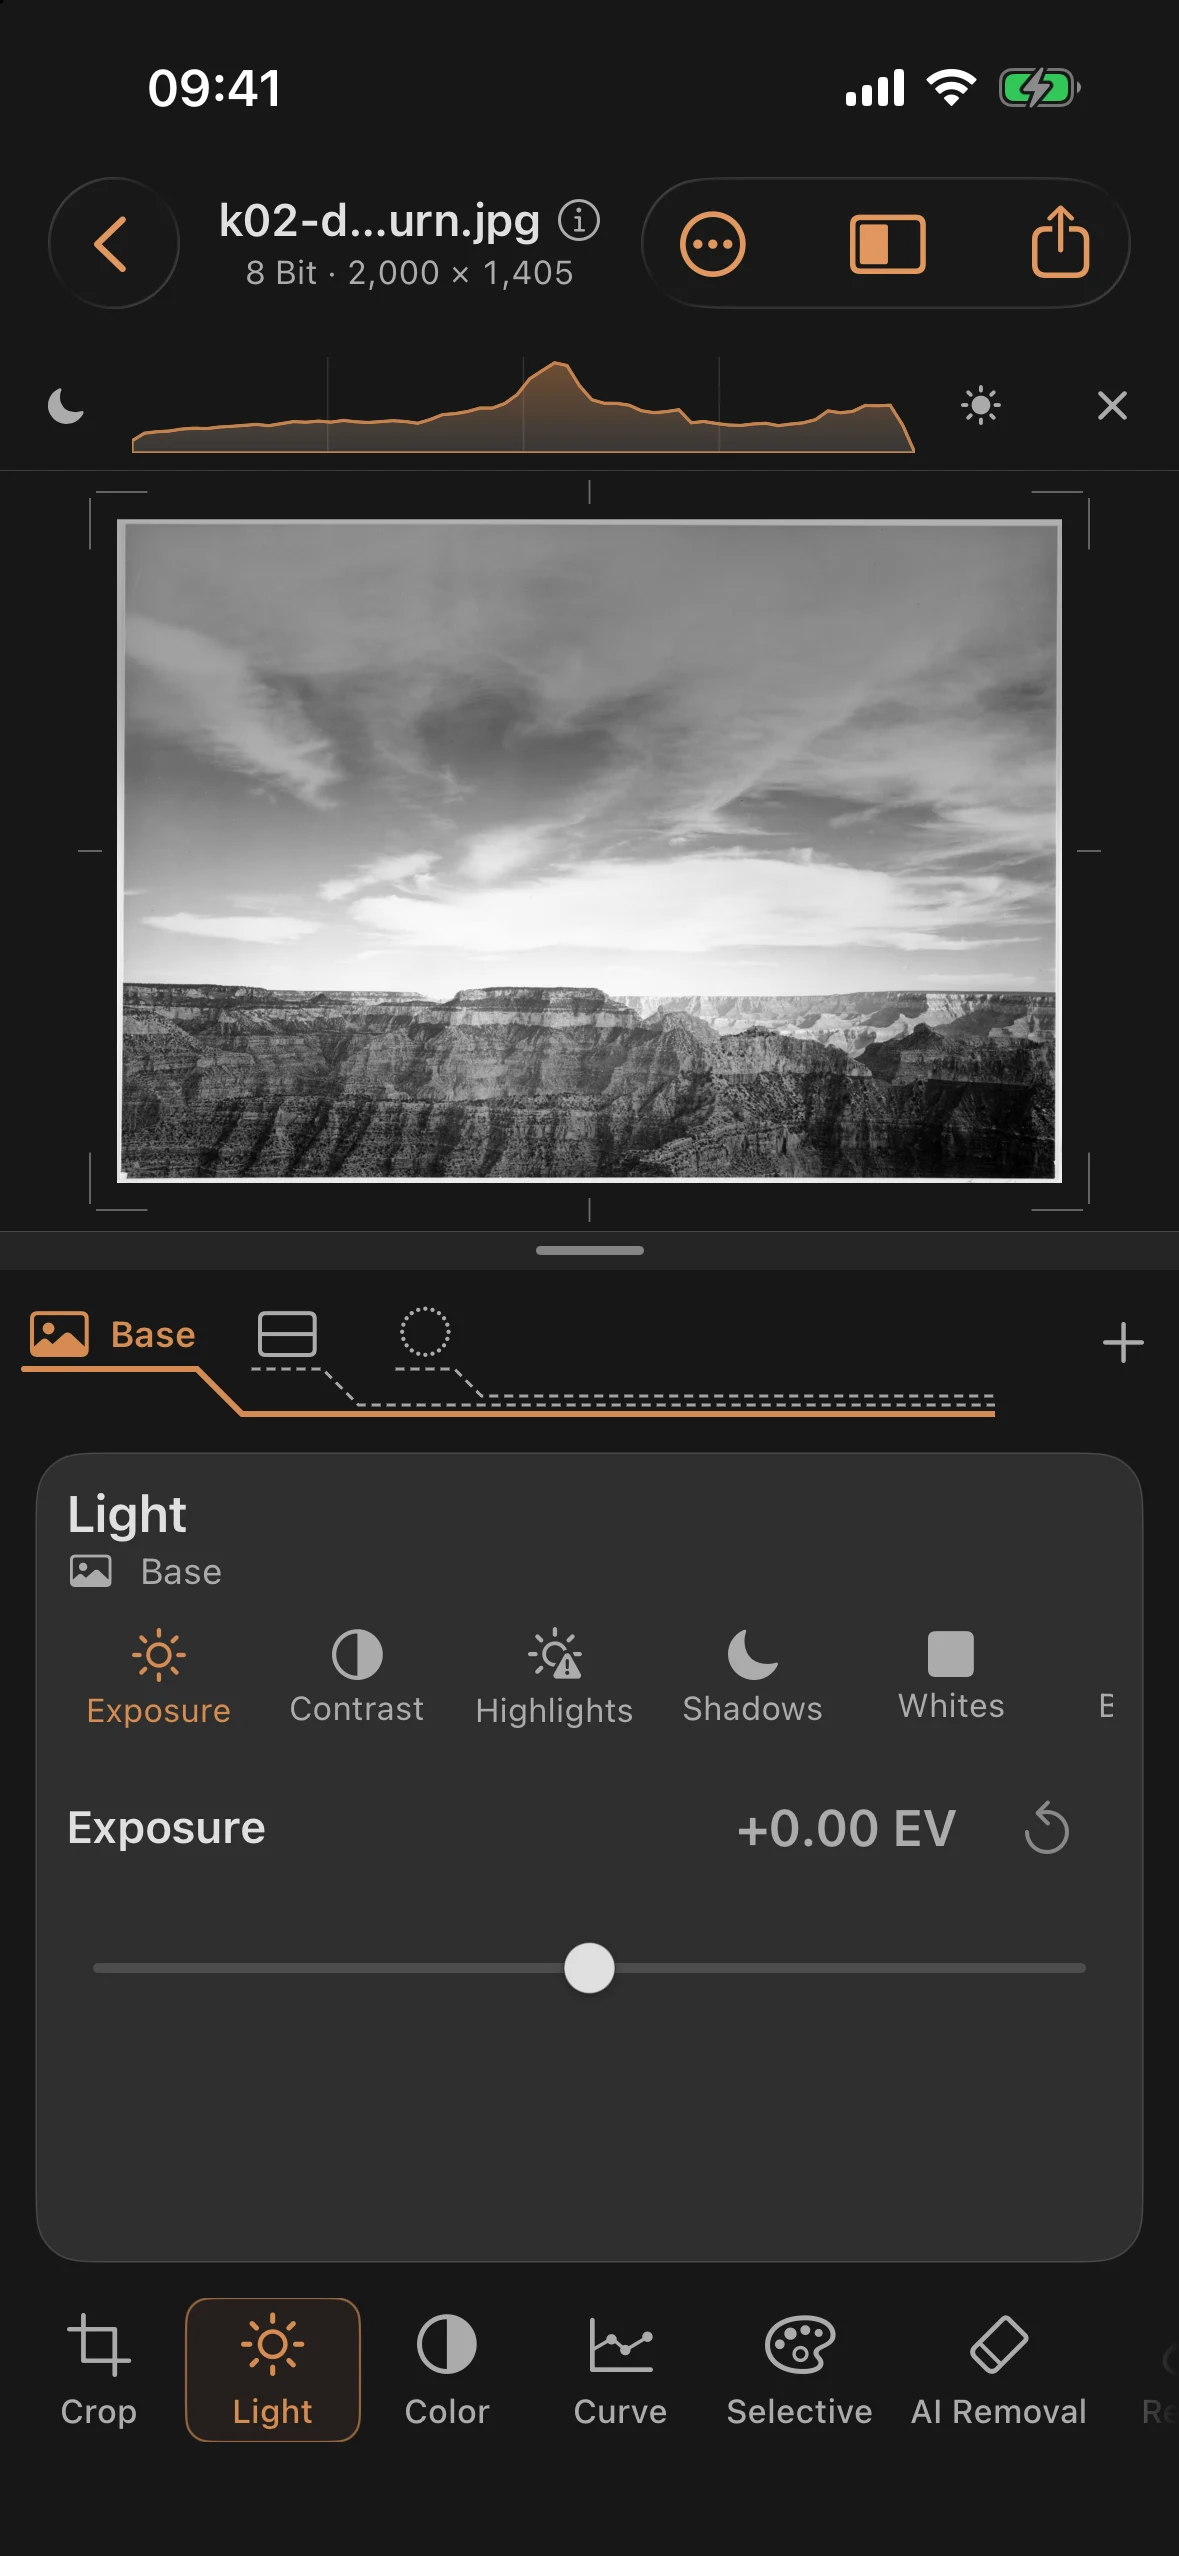
Now the counter-move: dodging. A second mask — Radial this time, laid over the sunlit canyon wall — gets Exposure +0.55 EV and Shadows +35: the rock steps out of the murk, as if a hand had shielded it under the enlarger light.
Back in the Base, the overall image gets some grounding: Blacks −20 anchors the canyon shadows, Contrast +15 ties foreground and background together, and Highlights −25 keeps the cloud bank above the rim from blowing out. Both masks stay untouched through all of this — and stay reachable at any time: unlike at the enlarger, you don’t have to repeat the choreography for every print.
Before and after
Before
After
Burning in and dodging are the same gesture with the sign flipped — this chapter used both. And if the edge of your subject isn’t a straight line, use the paintbrush or the automatic subject mask instead of Linear — more on that in the manual.