
Chapter 1 · Zone system & previsualization
Reading the Negative: Zones Instead of Guesswork
In the 1930s, Ansel Adams and Fred Archer developed an idea that changed photography: the zone system. It divides the world into eleven levels of brightness — Zone 0 is pure black, Zone V a middle gray, Zone X pure white. Before pressing the shutter, the photographer decides which detail in the scene should land on which zone: the shadow under the tree on Zone III, just barely holding detail; the sunlit snow on Zone VIII, bright but not blown out. Adams called this previsualization — seeing the finished print before the shutter ever clicks.
That same mindset carries straight into digital editing. Instead of pulling sliders until it “looks okay somehow,” you read the image first: where do the deepest shadows sit, where are the brightest highlights, what should read as middle gray? Then you place the values with intent. Our practice negative is one of the best-known images from the Mural Project: the Teton range with the Snake River in the foreground, photographed in 1941/42 for the US Department of the Interior and now in the public domain.
Step 1: Reading the Negative
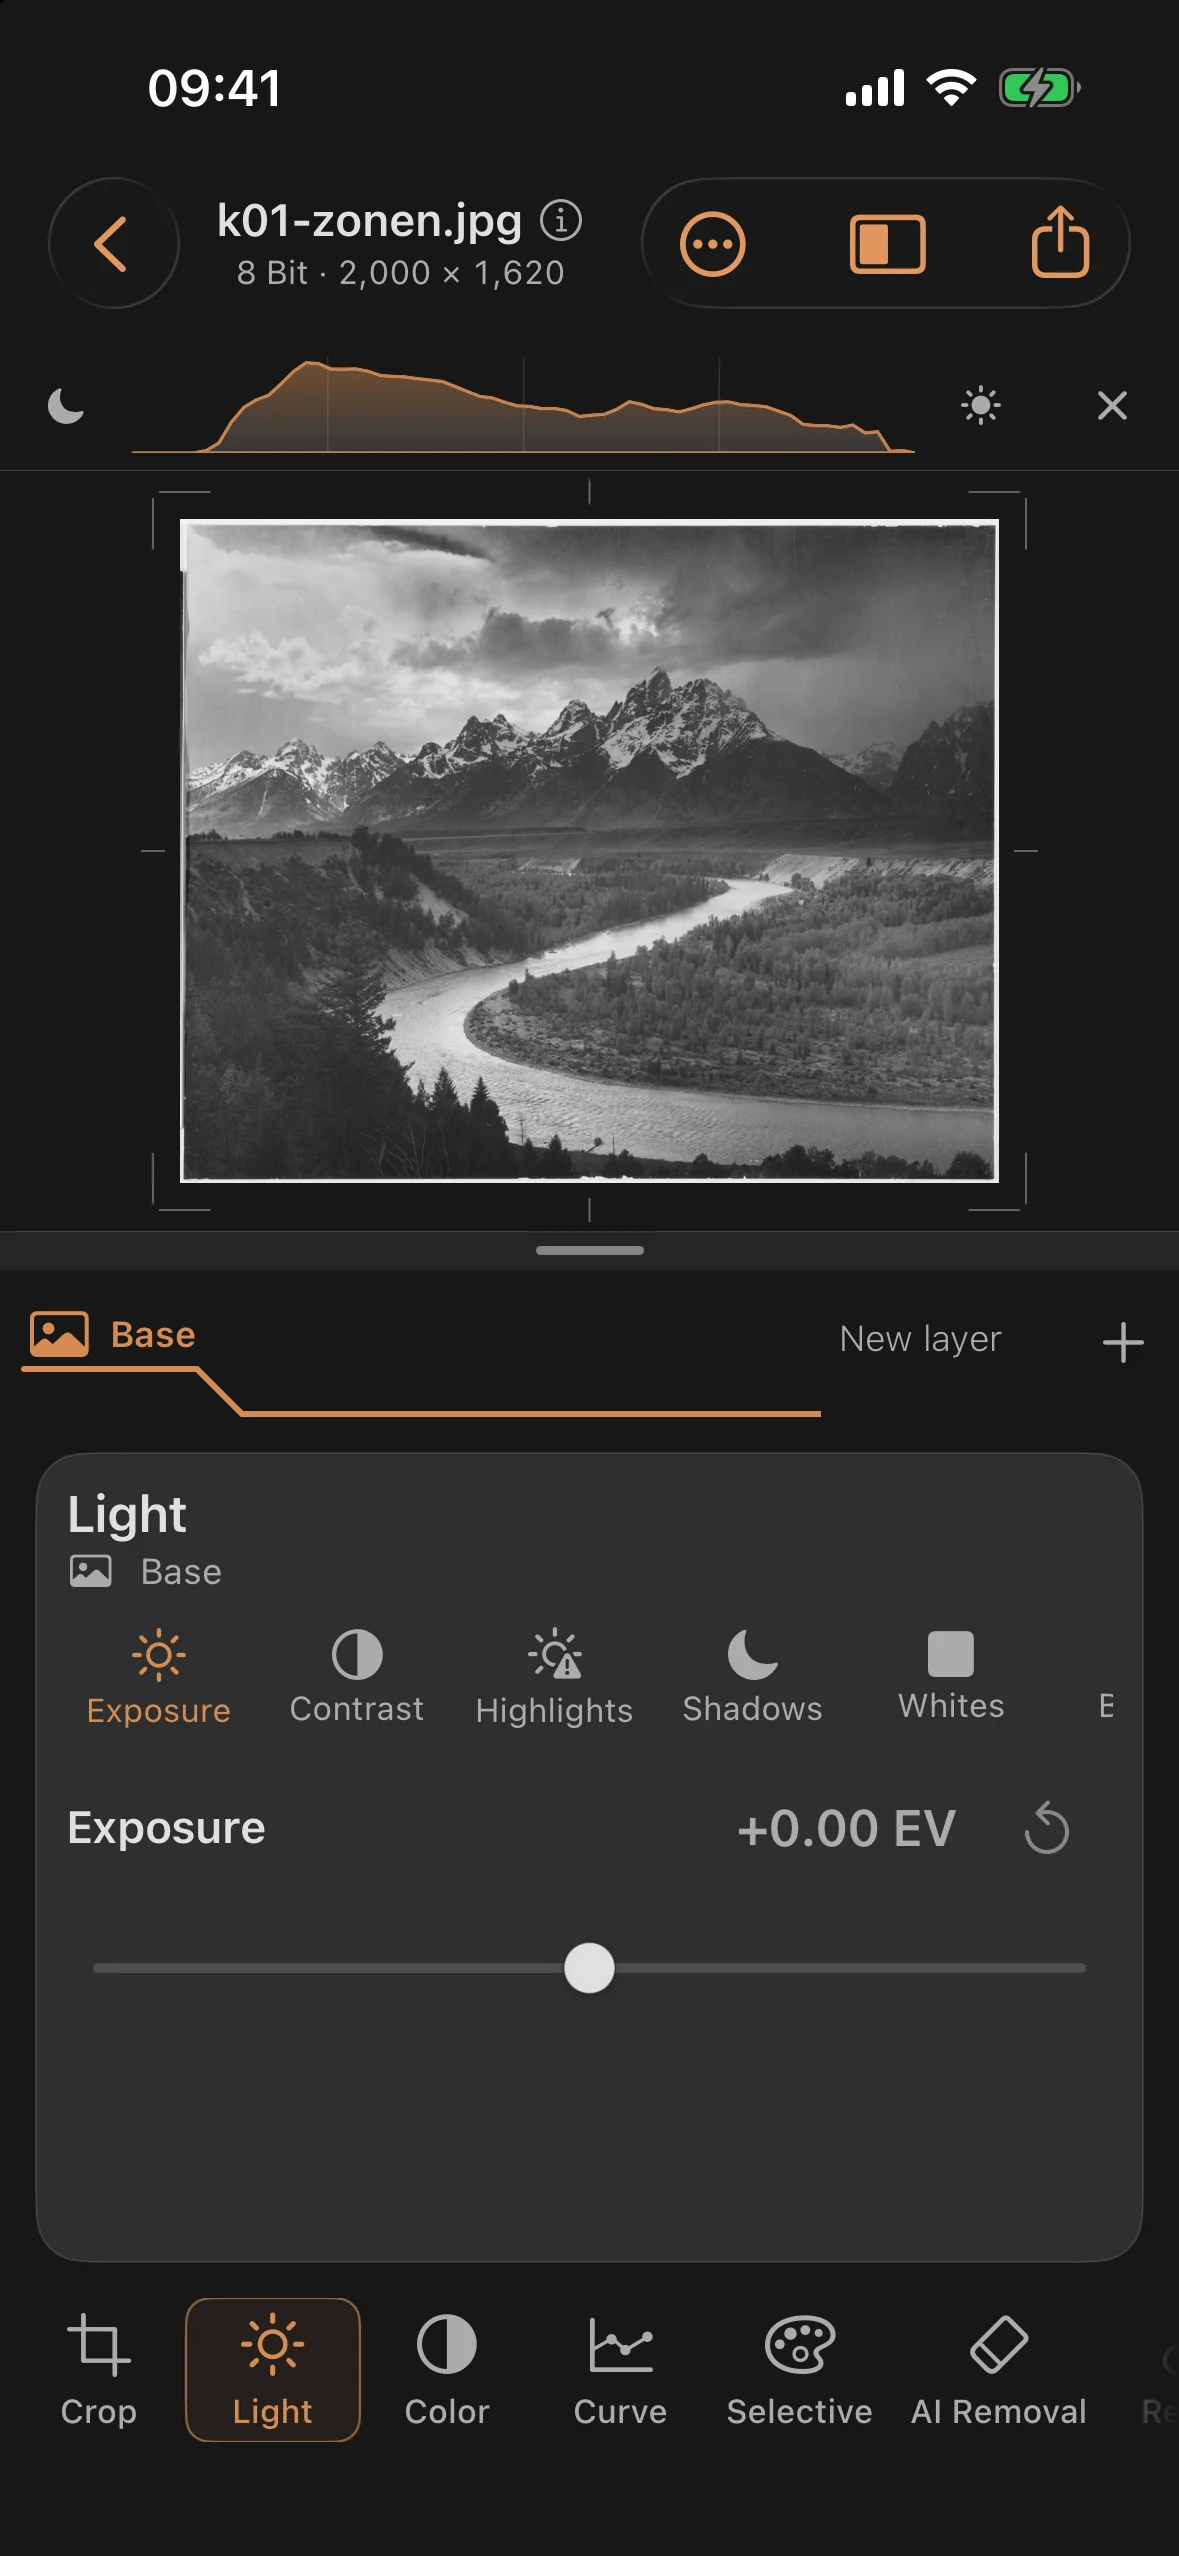
Load the image and look at it before you change anything. The scan of the print is soft: the river gleams silver, but the brightest light never reaches pure white; the wooded slopes crush toward black without ever getting there. The whole image crowds into the middle zones — typical for a reproduction. Our previsualization: the river on Zone VIII, the dark woods on Zone II–III, the sky above as a calm middle gray.
Step 2: Setting the Endpoints
First, anchor both ends of the scale — in classic terms, set Zone 0 and Zone X. In the Light tool:
| Control | Value |
|---|---|
| Exposure | +0.10 EV |
| Whites | +12 |
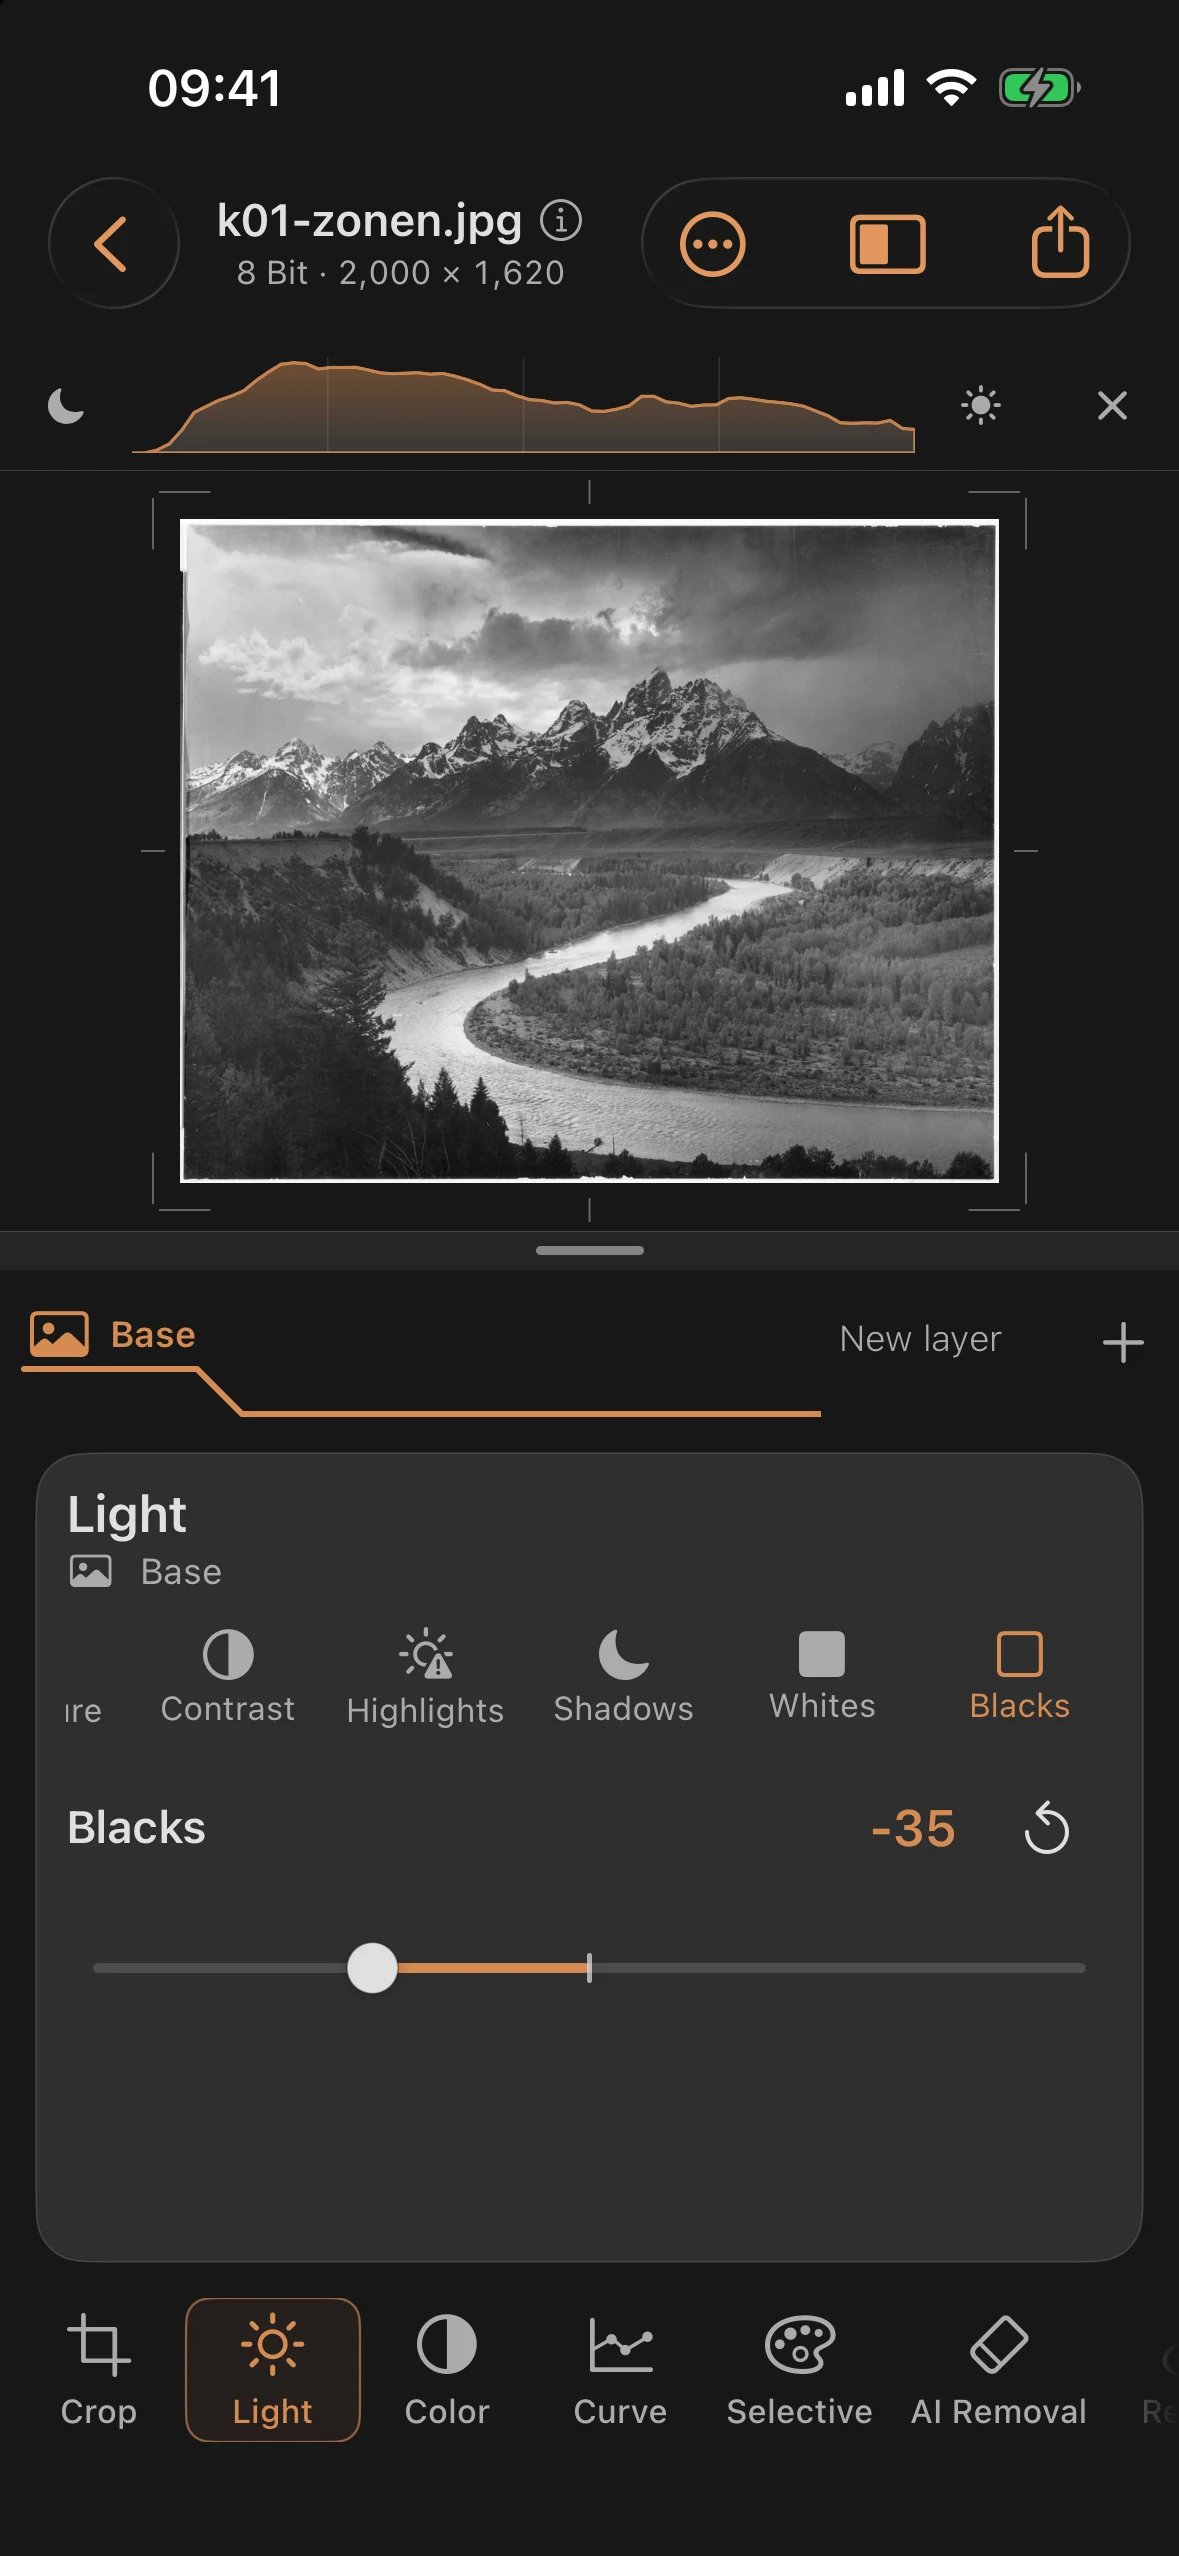
| Blacks | −35 |
Blacks −35 pulls the darkest woodland toward true black, Whites +12 brings the highlights on the water close to pure white — deliberately only far enough that snowfields and clouds keep their texture — both without shifting the midtones. The slight lift in exposure compensates for the overall dark reproduction. Already the image has a scale: there’s a bottom and a top again.
Step 3: Placing the Zones
Now the subject’s tones move onto their zones — the digital counterpart to Adams’ placement at exposure and development:
| Control | Value | Effect |
|---|---|---|
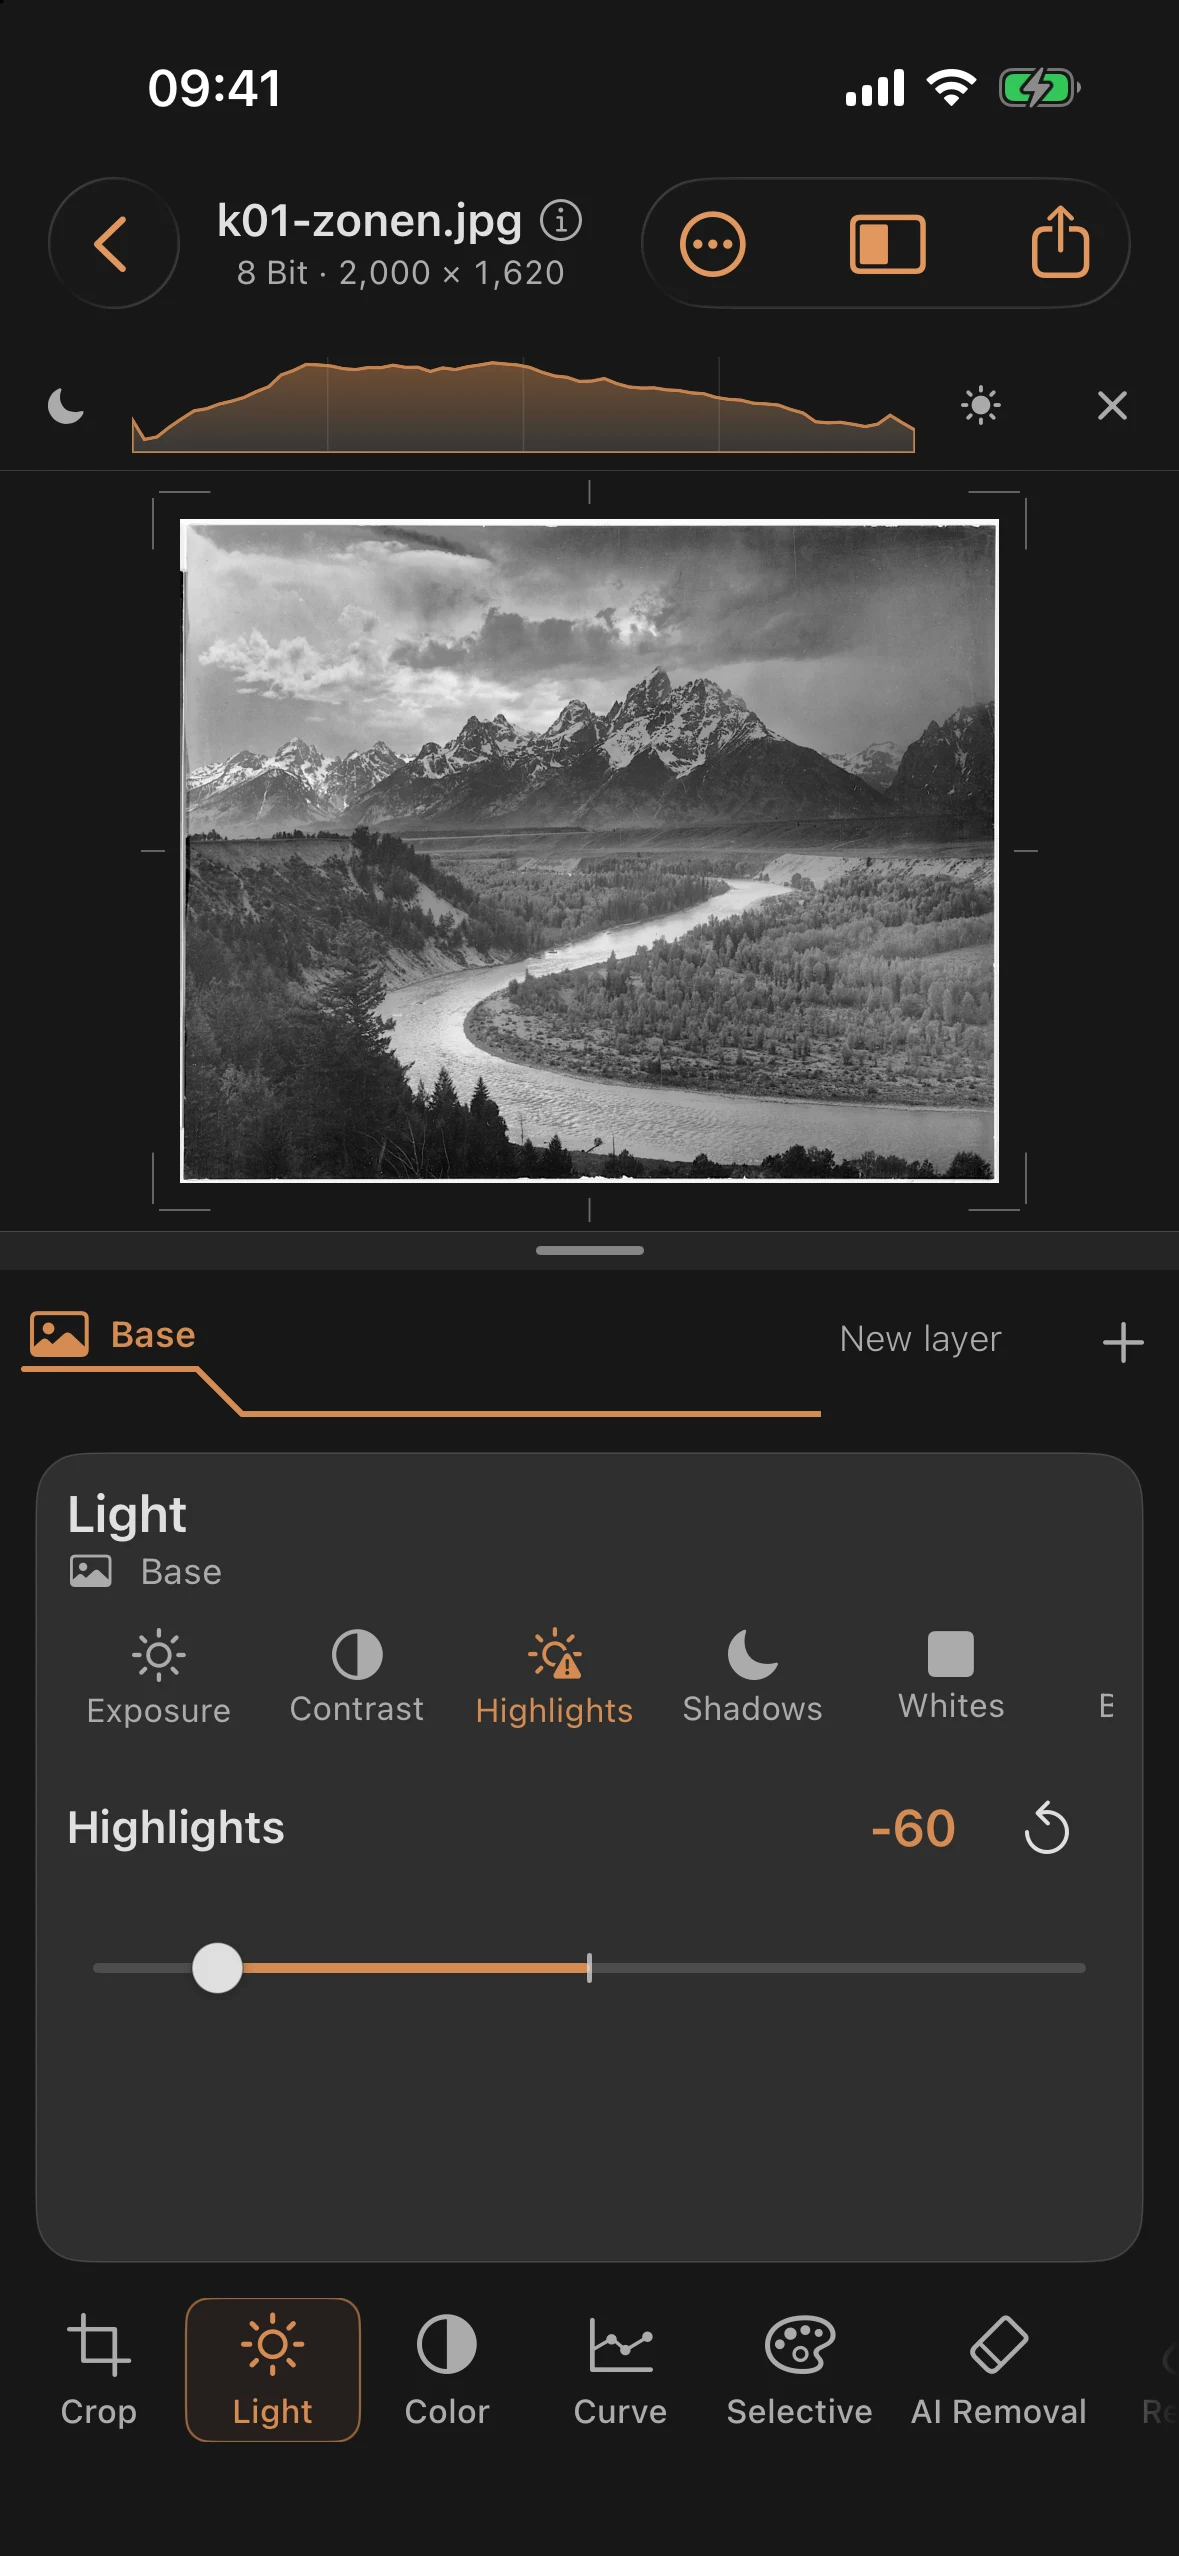
| Highlights | −60 | recovers detail in the snowfields and clouds |
| Shadows | +40 | opens up the woods without lifting the black point |
| Contrast | +22 | spreads the midtones, the river separates from the bank |
| Structure (Details) | +20 | emphasizes the rock and water edges |
Notice the division of labor: Whites/Blacks set the endpoints, Highlights/Shadows shift the zones in between. That separation is exactly what makes the zone system so controllable — every correction has an address.
Before and after
Before
After
This principle carries through every chapter that follows: see first, decide, then move. Next up it gets local — with the oldest gesture in the darkroom, dodge and burn.