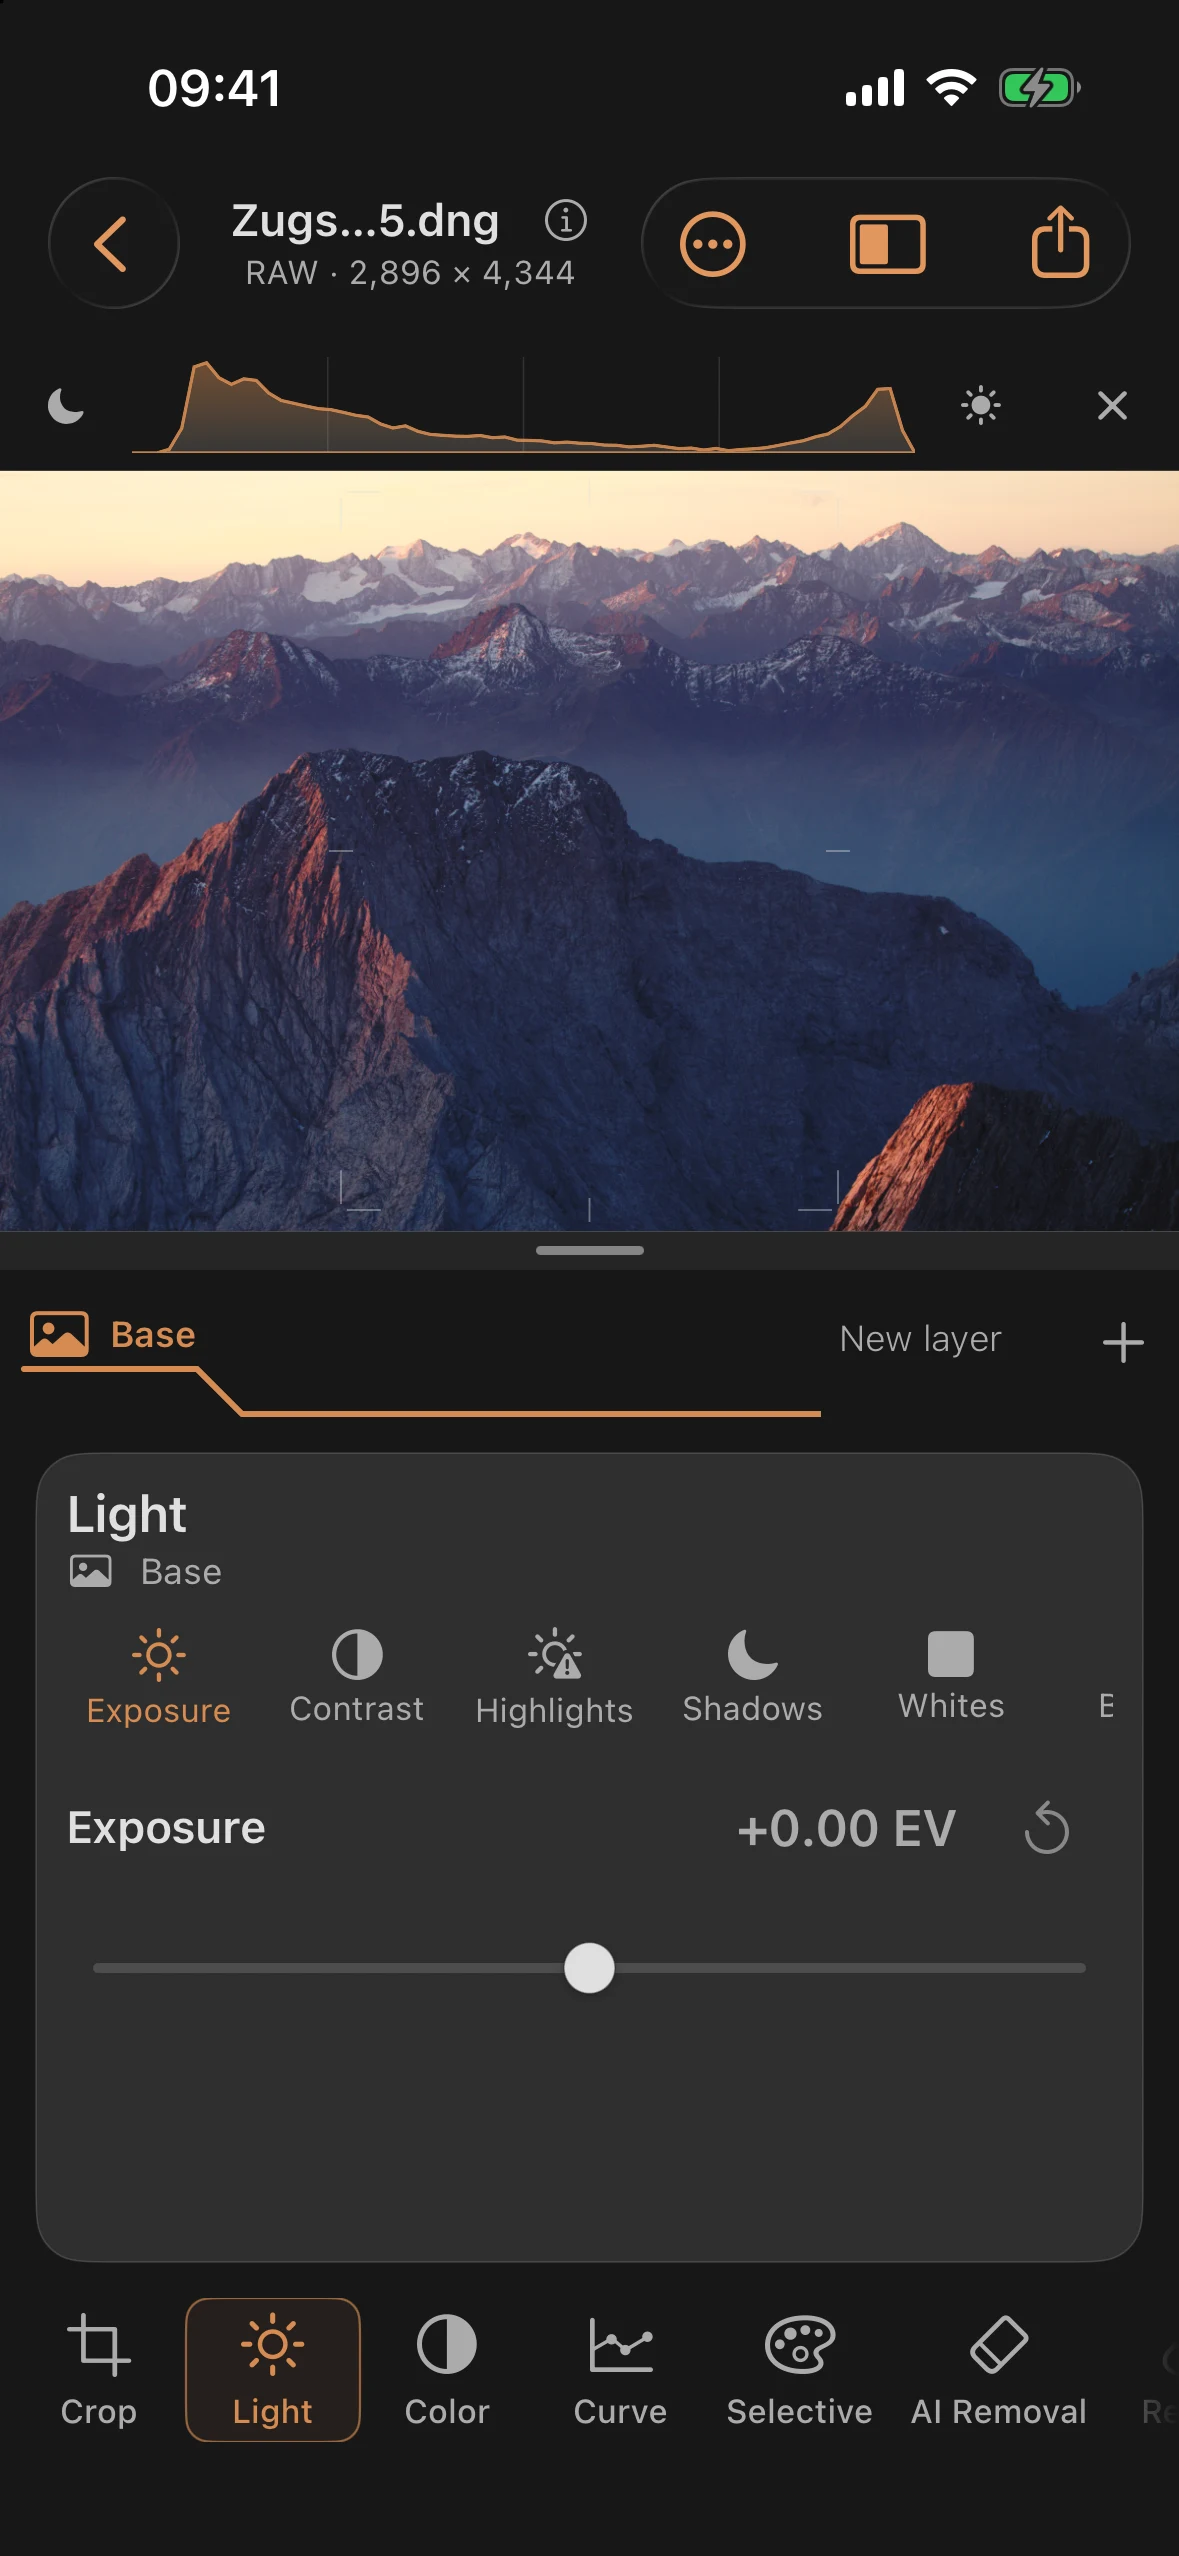
Light: Exposure and Tonal Range
The Light tool is the foundation of almost every edit: it controls how bright the image is overall and how the tonal values are distributed across the scale between black and white. The six controls follow a clear pattern — two set the endpoints, two shift the zones in between, and two govern overall brightness and midtone spread.
Controls
| Control | Range (RAW) | Range (JPEG/HEIF) | Default | Effect |
|---|---|---|---|---|
| Exposure | −5.0 to +5.0 EV | −2.0 to +2.0 EV | 0 | Overall brightness in stops |
| Contrast | −100 to +100 | −75 to +75 | 0 | Spread around the midtones |
| Highlights | −100 to +100 | −80 to +80 | 0 | Only the bright areas, without moving the white point |
| Shadows | −100 to +100 | −80 to +80 | 0 | Only the dark areas, without moving the black point |
| Whites | −100 to +100 | −80 to +80 | 0 | The upper endpoint of the scale (white point) |
| Blacks | −100 to +100 | −80 to +80 | 0 | The lower endpoint of the scale (black point) |
RAW and JPEG/HEIF
With RAW material, the full ranges are available. Recoverable detail depends on the capture and sensor; ±5 EV describes the control range, not guaranteed recovery headroom. With JPEG and HEIF, the app offers a narrower working window, because the already-developed material lacks that headroom and extreme values quickly produce banding. The window isn’t a hard cap: if you open an older document with an outlier value, that value stays reachable instead of jumping.
Working order
The proven order comes from the zone system (covered in depth in Chapter 1 of the tutorial series):
- Exposure first, roughly — get the image into the right overall range.
- Whites and Blacks anchor the scale everything else sits on.
- Highlights and Shadows recover or open up detail.
- Contrast last — spread the midtones if it’s still needed.
Practical tips
- Double-tapping the numeric value resets each control to zero individually; the circular-arrow button next to it does the same.
- The Light tool is also available inside every mask — the same controls, limited to the mask’s area (Chapter 2 of the tutorials shows this on a dodged-and-burned sky).
- “Shadows” here means the dark tonal values — not to be confused with the Depth tool, which controls depth of field.
Tone processing
Positive Shadows values lighten dark tones; negative values darken them. The direction is the same globally and inside masks. Blacks and Whites primarily affect the respective ends of the tonal scale; they are not layer blend modes such as Multiply or Screen. Use the histogram and clipping warnings to judge the current preview. Exposure changes brightness, not the chosen image framing.
For new RAW edits, global exposure is applied directly by the RAW decoder. Local mask exposure works on the developed image. Positive JPEG/HEIF exposure uses a soft highlight shoulder with a continuous transition through zero EV.
Contrast preserves colors around a fixed middle gray and behaves consistently across bit depths. Highlights, shadows, whites, and blacks also act on luminance. Older documents retain their previous processing. Update tone processing updates the active layer and supports Undo.