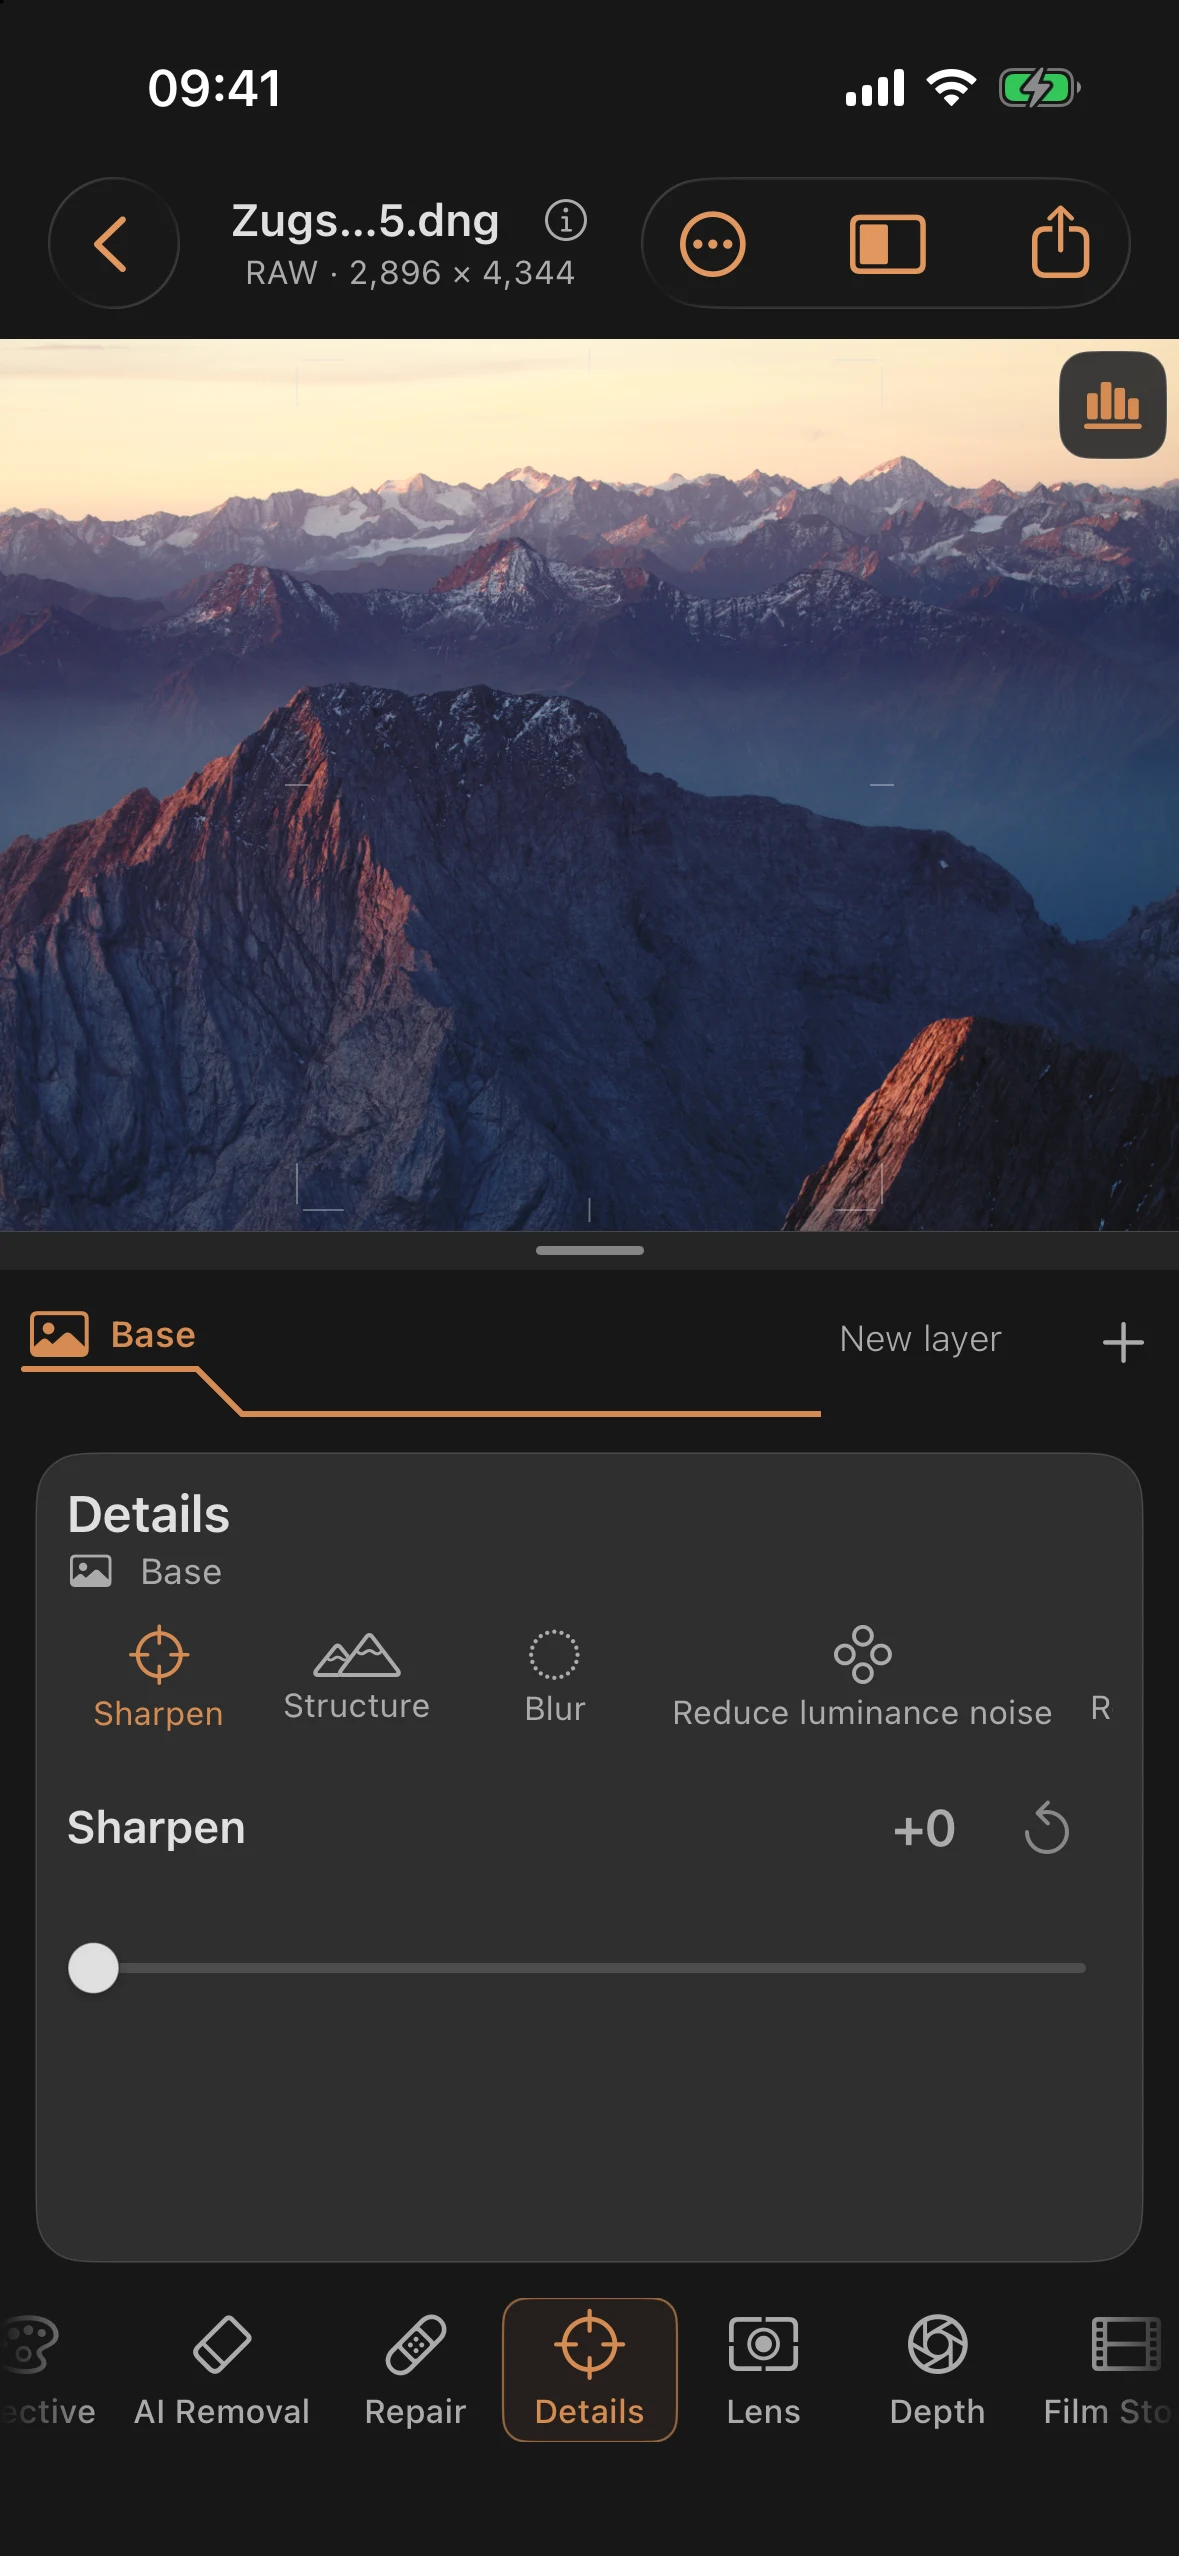
Details: Sharpening, Noise Reduction, and Blur
The Details tool works on the image’s fine structure: the first two controls emphasize edges and texture. Two more reduce image noise, while Blur deliberately softens the image.
Controls
| Control | Range (RAW) | Range (JPEG/HEIF) | Default | Effect |
|---|---|---|---|---|
| Sharpen | 0 to 100% | 0 to 75% | 0% | Emphasizes fine edges |
| Structure | 0 to 100% | 0 to 75% | 0% | Emphasizes mid-sized textures |
| Blur | 0 to 100% | 0 to 100% | 0% | Adds uniform blur independently of a depth map |
| Reduce luminance noise | 0 to 100% | 0 to 100% | 0% | Suppresses brightness noise |
| Reduce color noise | 0 to 100% | 0 to 100% | 0% | Suppresses color noise |
Note: noise controls stay unrestricted on JPEG/HEIF
Noise reduction and Blur use the full 0 to 100% range regardless of image format. Sharpen and Structure, in contrast, follow the usual pattern with a narrower non-RAW window.
Deliberate blur without a depth map
Blur works globally and inside masks without depth data or enabled depth blur. Create a brush or radial mask, select Details → Blur, and adjust the amount. Mask opacity and feathering control the transition to the surrounding image. This can be combined with optical filters, but it does not replace depth-dependent focus in the Depth tool. At 0% it is neutral.
Practical tips
- Apply noise reduction before Sharpen — otherwise you sharpen the noise you’re about to remove in the next step.
- Structure acts more broadly than Sharpen — often the better choice for texture in fabric, stone, or foliage, while Sharpen suits fine edges (eyes, eyelashes) better.
- Since Luminance and Color noise aren’t restricted on JPEG/HEIF, it’s worth checking both controls on grainy non-RAW material, even when Sharpen and Structure have already hit their narrower limits.
- Chapter 1 of the tutorial series (“Reading the Negative: Zones, Not Guesswork”) lays the groundwork for the relationship between exposure and visible noise, before you make targeted adjustments here.