
Chapter 3 · Paper grades & multigrade printing
Paper Grades: From Soft to Hard
Photographic paper came in grades: Grade 0 rendered every shade of gray in buttery softness, Grade 5 knew almost only black and white. If you wanted to rescue a flat negative, you reached for hard paper; if you needed to tame a contrasty one, for soft paper. Later came variable-contrast (multigrade) paper, whose grade could be dialed in steplessly with filters at the enlarger — and, with split-grade printing, a technique that combined soft and hard exposure within the same print.
The digital counterpart is the tone curve — it’s no accident that curve and grade share a family resemblance here. The x-axis is the tone going in, the y-axis the tone coming out. A steep curve means hard paper, a flat one soft. In Mobile Darkroom you work with five fixed points on a combined tone curve, with the histogram sitting behind it for orientation.
The practice image comes from Kings River Canyon: a snow-flecked cirque under towering thunderheads — a subject that lives or dies by its grade.
Step 1: Reading the Original
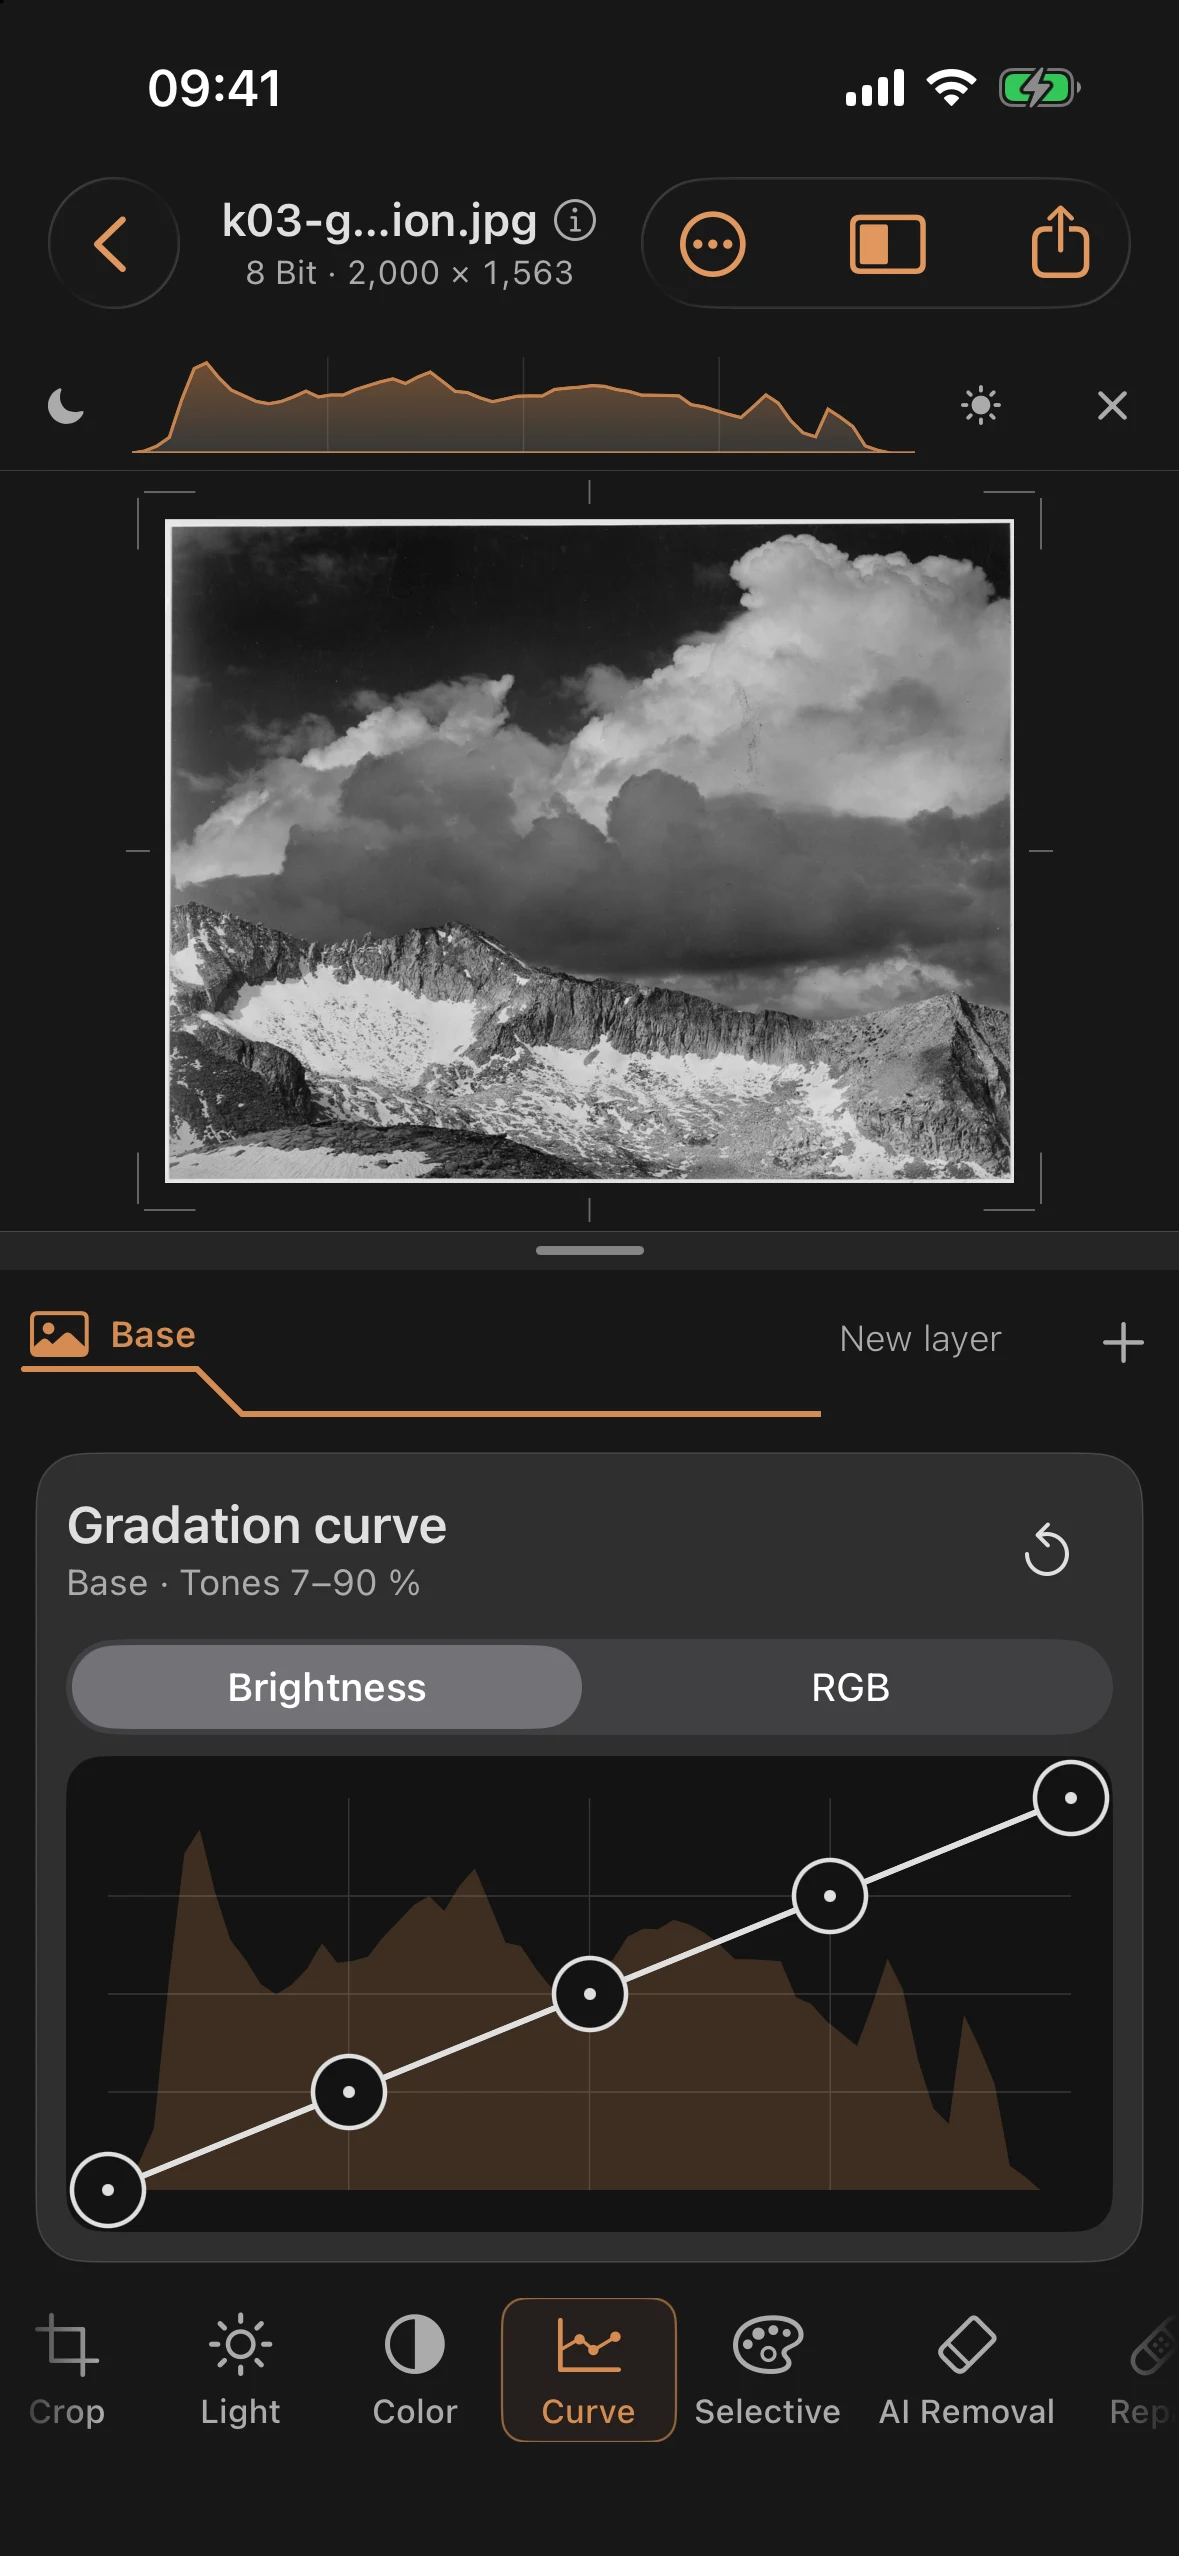
Open the Curve tool and select Brightness. The five points sit on the diagonal: every tone leaves the image exactly as it came in. This scan is no timid original — the histogram shows tones from 7 to 90%, and the storm clouds already carry drama. That is exactly what makes it a good test bench: the paper grade decides whether that drama gets velvety restraint or a razor edge.
Step 2: Soft Grade
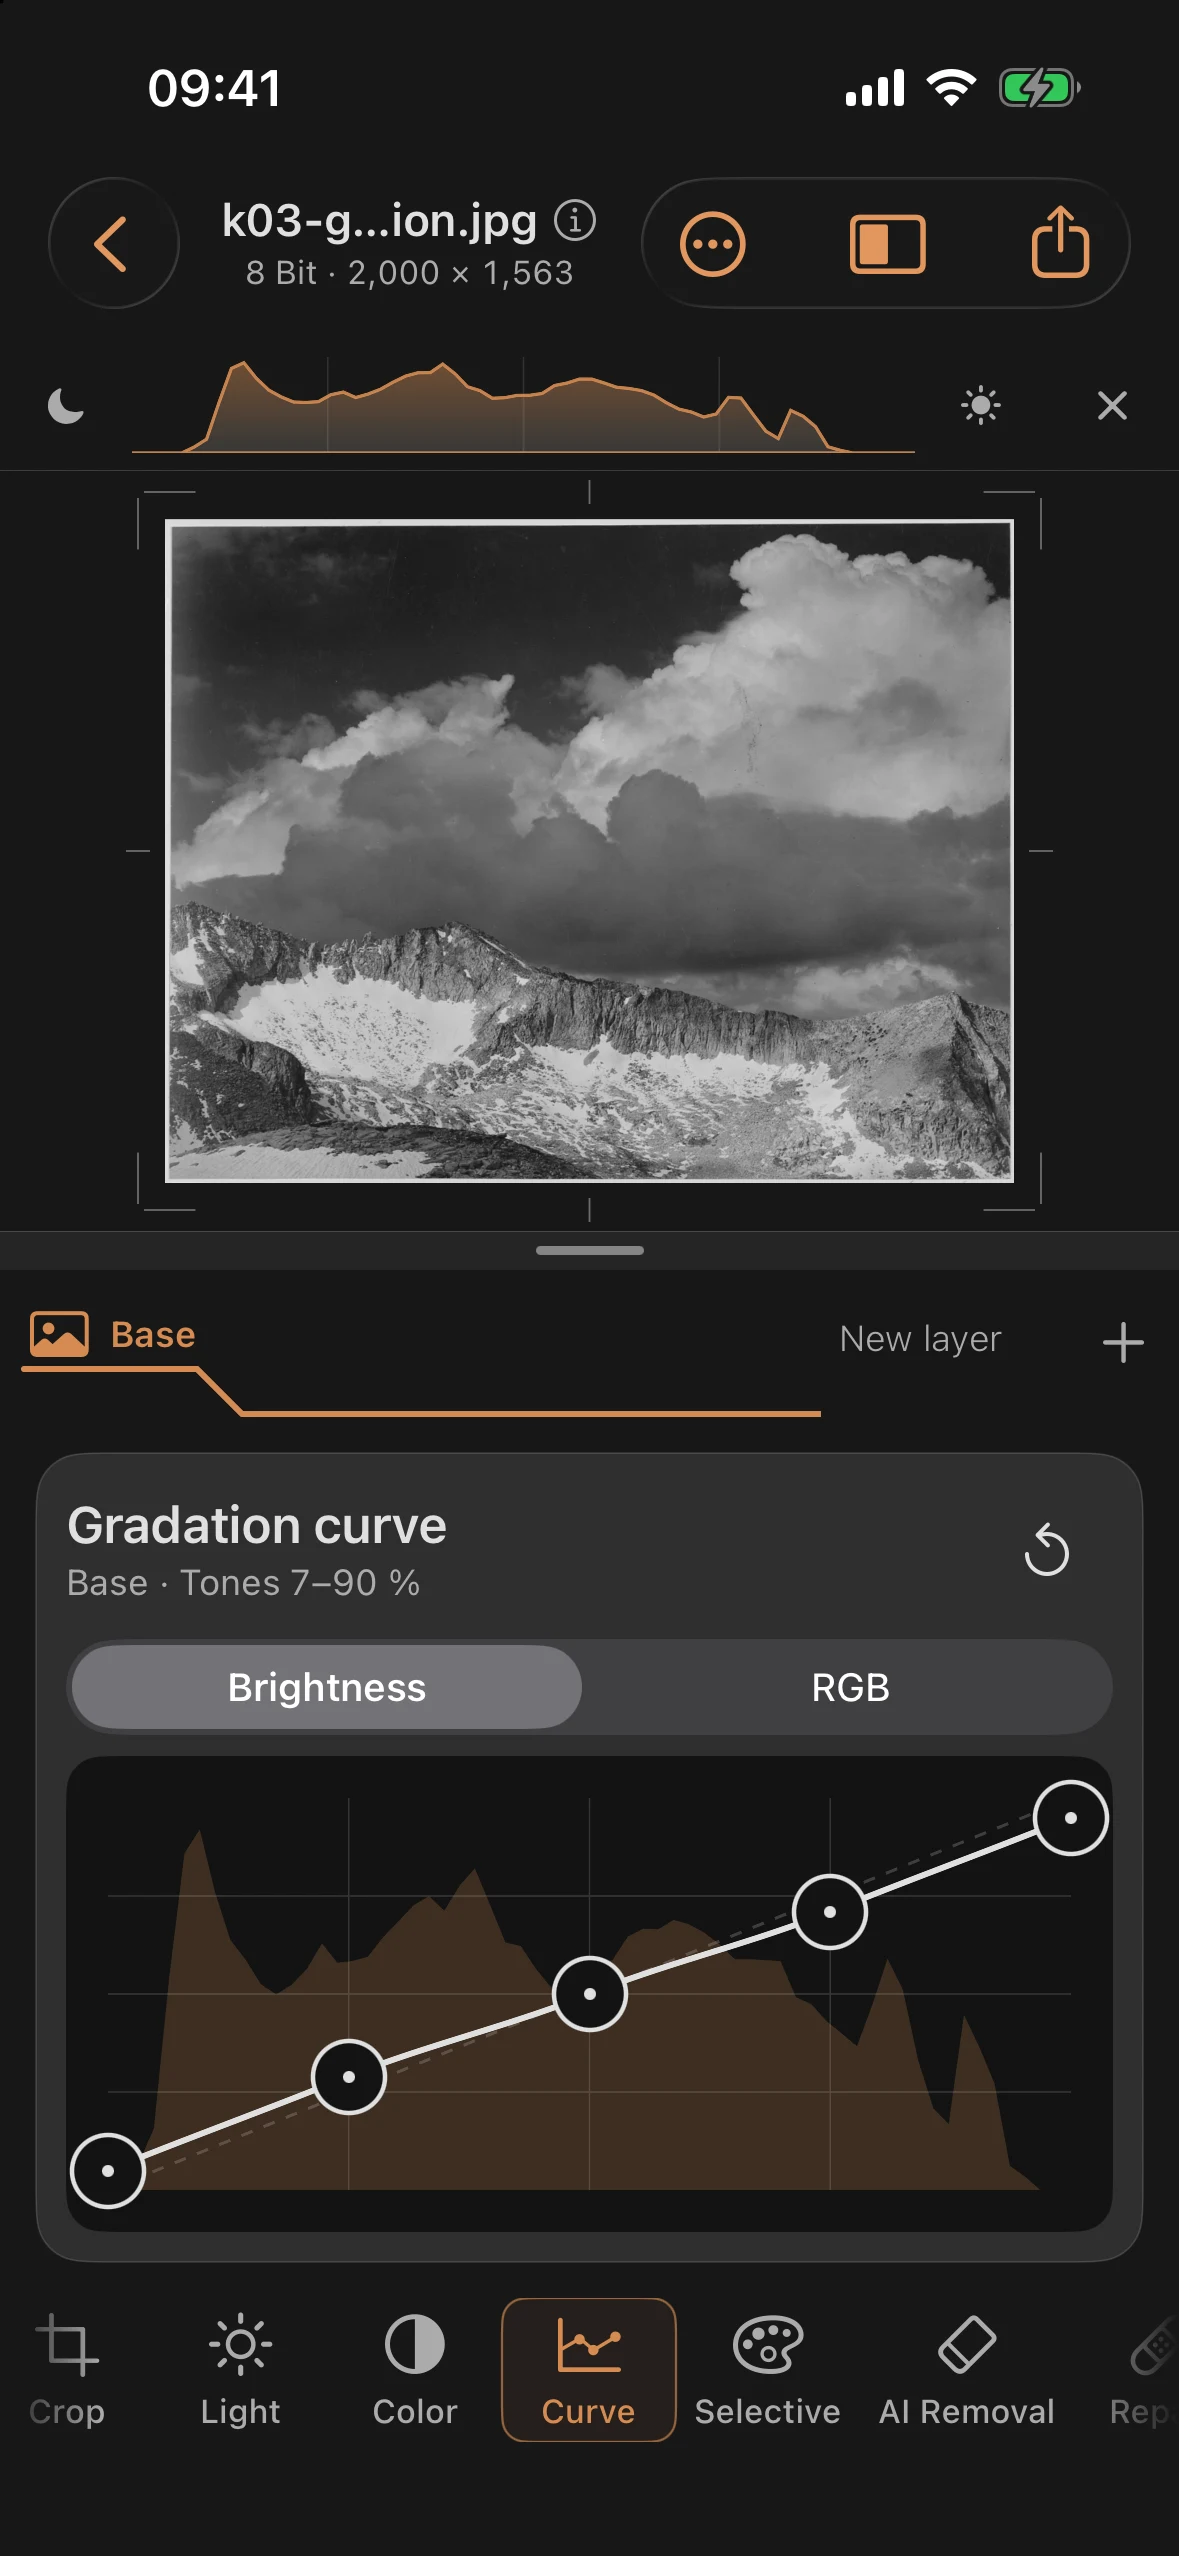
First, the character of soft paper — deliberately the wrong choice for this subject, but you should see both ends of the scale at least once. Lift the black point and pull back the highlights:
| Point | from → to |
|---|---|
| Black point | 0% → 5% |
| Quarter-tone | 25% → 29% |
| Three-quarter-tone | 75% → 71% |
| White point | 100% → 95% |
The curve goes flatter than the diagonal: no true black, no pure white, everything pulls together. This is how Grade 0 printed — velvety, gray, forgiving. Portraits and misty landscapes thank you for it; thunderheads don’t.
Step 3: Hard Grade
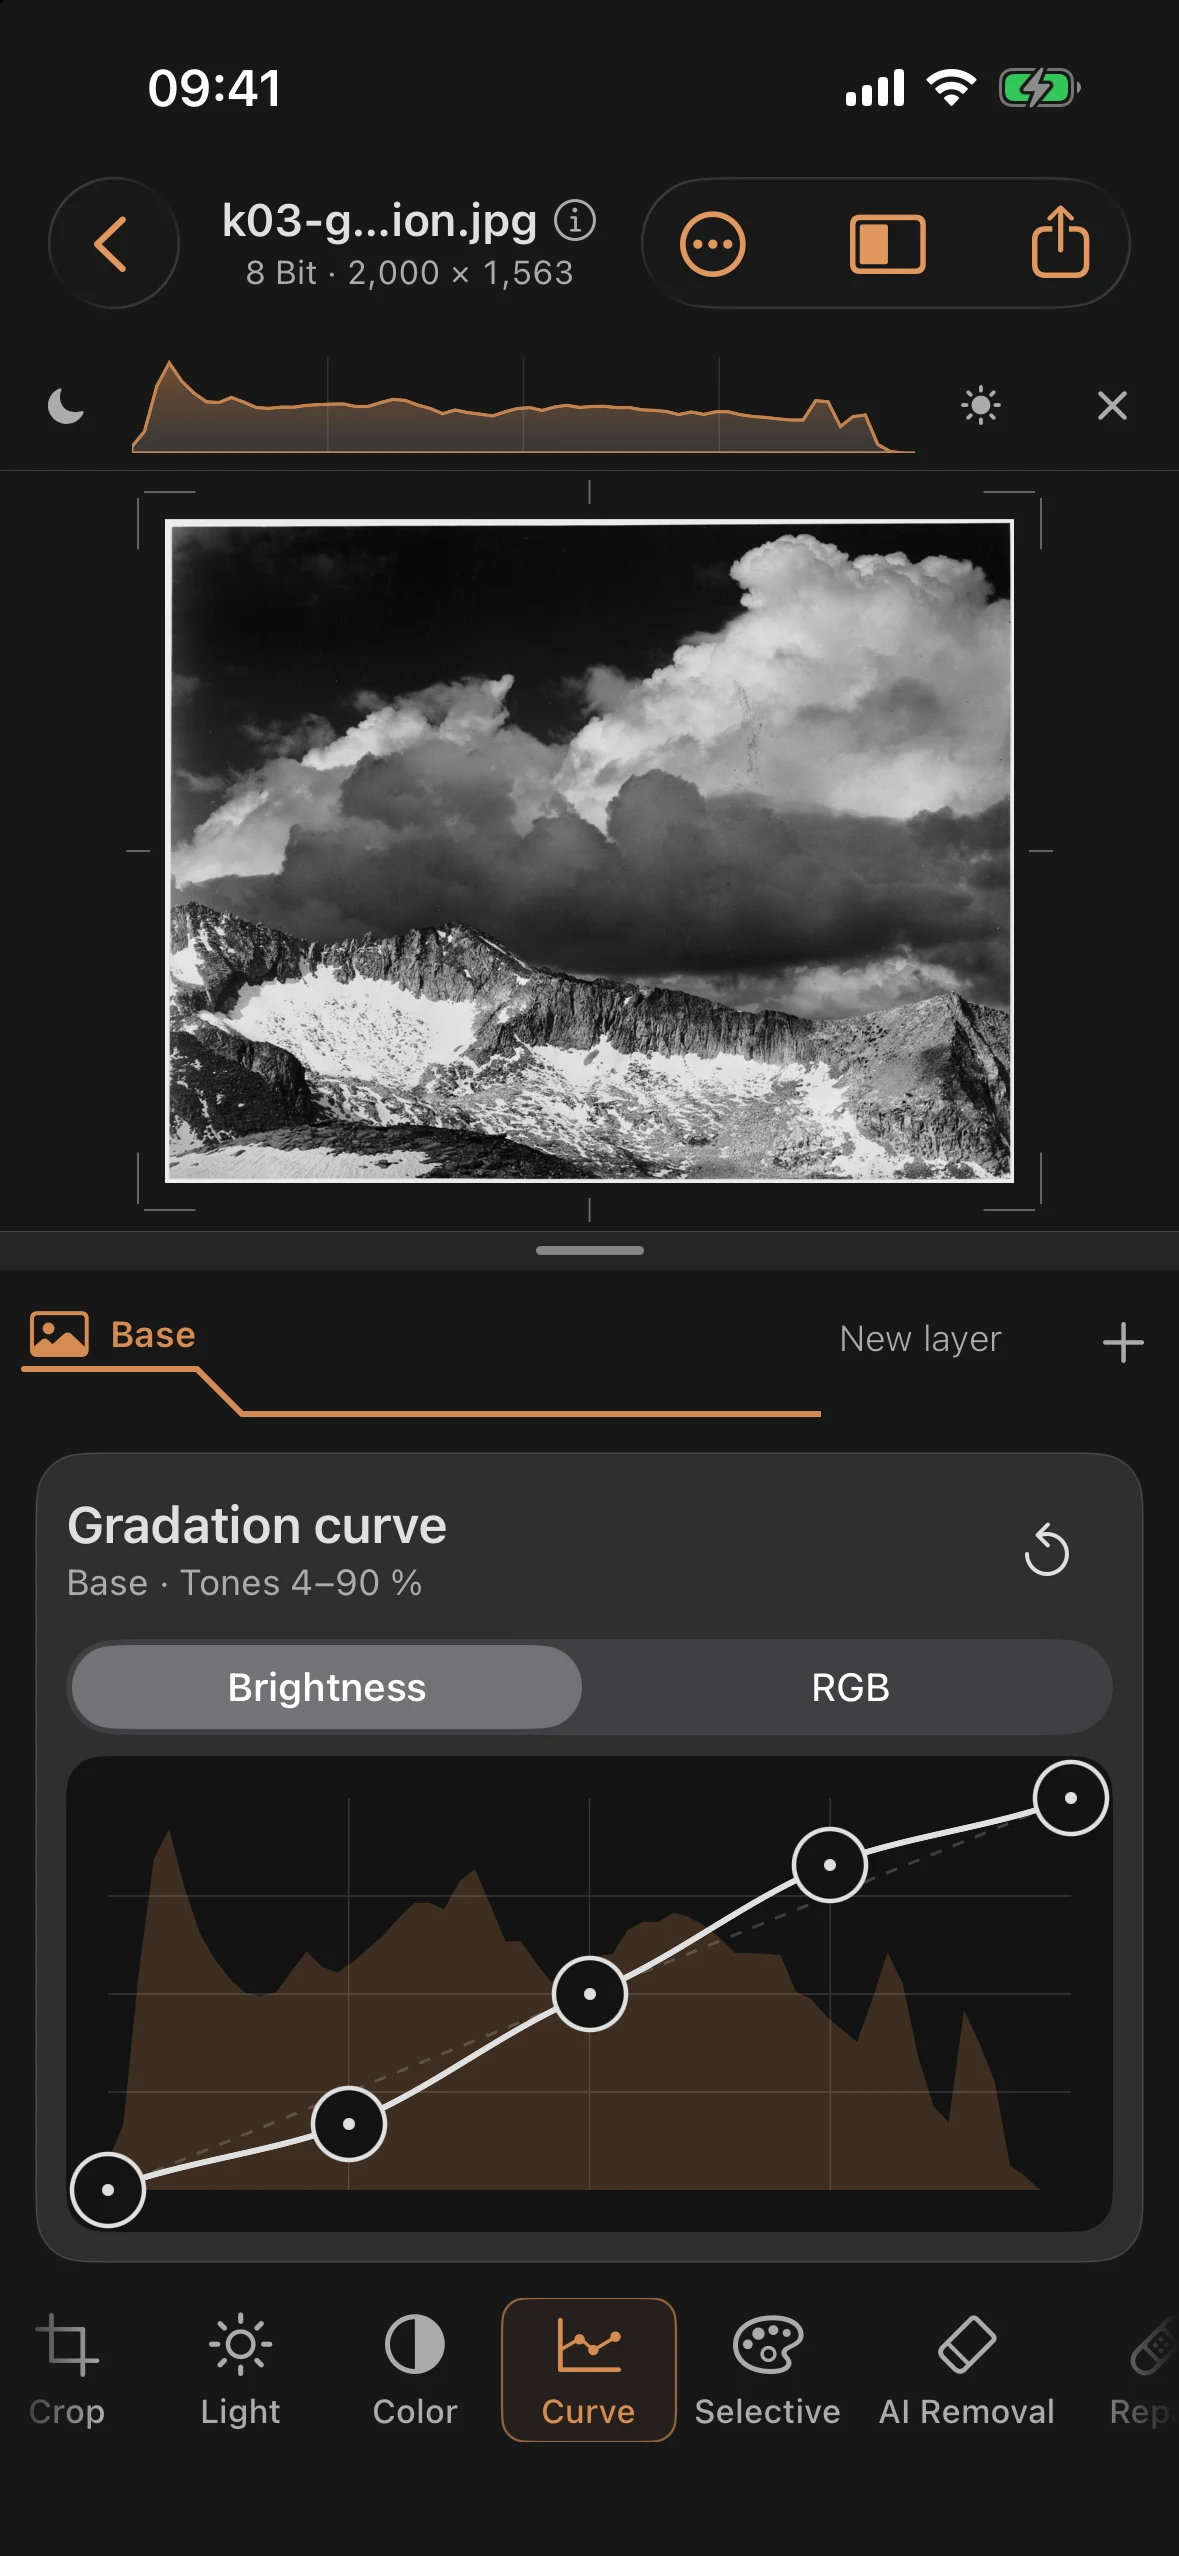
Reset the curve first, returning its endpoints to 0 → 0 and 100 → 100. Now the opposite: the S-curve, digital hard paper:
| Point | from → to |
|---|---|
| Quarter-tone | 25% → 17% |
| Three-quarter-tone | 75% → 83% |
Add Blacks −15 in the Light tool so the deepest shadows really sit down. The steepness between the two moved points is the contrast: the cloud white breaks open, the rock face gets an edge, the sky behind the cumulus towers falls almost to black — the drama this photograph was composed for.
Before and after
Before
After
Unlike the contrast slider, the curve acts exactly where you touch it: you decide which tones get spread and which are left alone. And because the curve is also available inside every mask, split-grade printing is possible too: a hard curve in the sky, a soft one in the foreground.