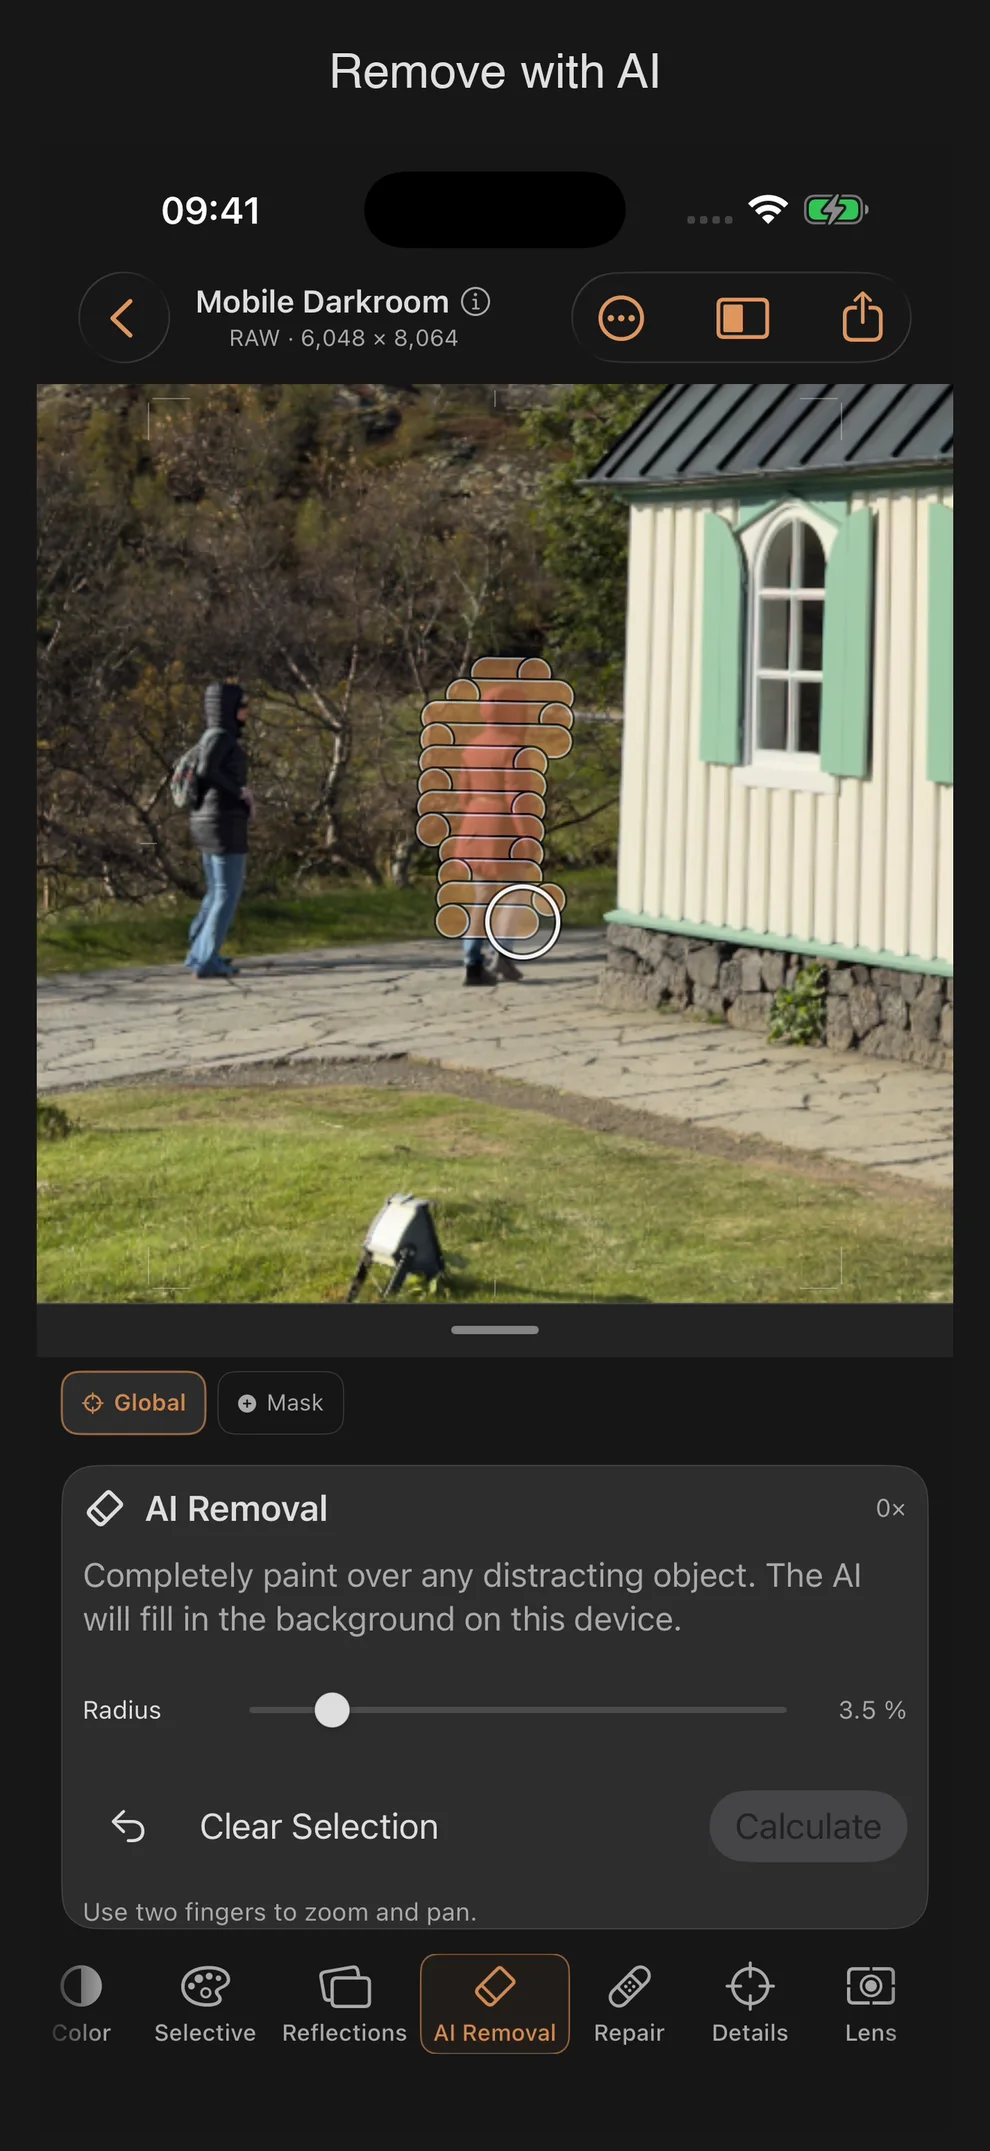
AI Removal: remove distracting image content
AI Removal fills selected image areas from their surroundings. Processing runs entirely on your device, using a model included with the app.
Select, calculate, review
- Select Base and open AI Removal.
- Paint over the distraction with one finger. You can mark several areas. Use two fingers to zoom and pan.
- Adjust Radius if needed: 0.5 to 20%, with a default of 3.5%. The circle preview shows the brush size on the image.
- Undo the last selection stroke or choose Clear Selection to start again.
- Tap Calculate. Inspect edges, textures and transitions in the preview.
- Choose Apply to save the correction, or Discard.
The expandable accessible positioning controls let you place the selection using Target X and Target Y sliders.
When the result is saved
Only Apply changes the image and edit history. Export is disabled while a selection or an unreviewed result is open. Apply or discard the draft first. Switching tools, changing the document or closing it discards an unapplied draft.
Applied corrections remain in the local project and support Undo. Reopening and exporting use the stored result. Rotation and perspective correction keep the retouch anchored to the subject.
AI Removal or the repair brush?
AI Removal fills content from the surrounding image. Use it for distracting objects and inspect the result before applying it. The separate Repair tool offers a smart brush for small blemishes and manual cloning from a chosen source.
Limitations and practical tips
- Mark the distraction closely and leave enough intact surroundings.
- Large or complex selections can produce soft or implausible textures. Discard the result and try a smaller selection if needed.
- The tool does not reconstruct the actual hidden scene. It fills content from image context and does not accept text prompts for image generation.
- Inspect the correction at a closer zoom before applying it.