
Chapter 10 · Depth of field & lens character
What the Darkroom Couldn't Do: Choosing Depth
In 1932, Adams co-founded Group f/64 with Edward Weston and others — named after the smallest aperture on a large-format camera. Their creed: everything sharp, from the thistle in the foreground to the horizon. It was also an answer to a technical truth: depth of field was sealed at the moment of exposure. No enlarger, no bath, no mask could dissolve a sharp background into blur after the fact. Of every technique in this series, this is the one the darkroom truly never had.
Digitally, it’s possible — if the image knows what’s in front and what’s behind. Mobile Darkroom uses either the captured depth map that iPhones embed in portrait photos, or a local AI depth estimation (Depth Anything V2 Small) that runs entirely on the device and is flagged as an estimate. The practice image is once again the color sample photo — a shot taken with the f/64 reflex: everything sharp.
Step 1: Everything Sharp: the f/64 Legacy
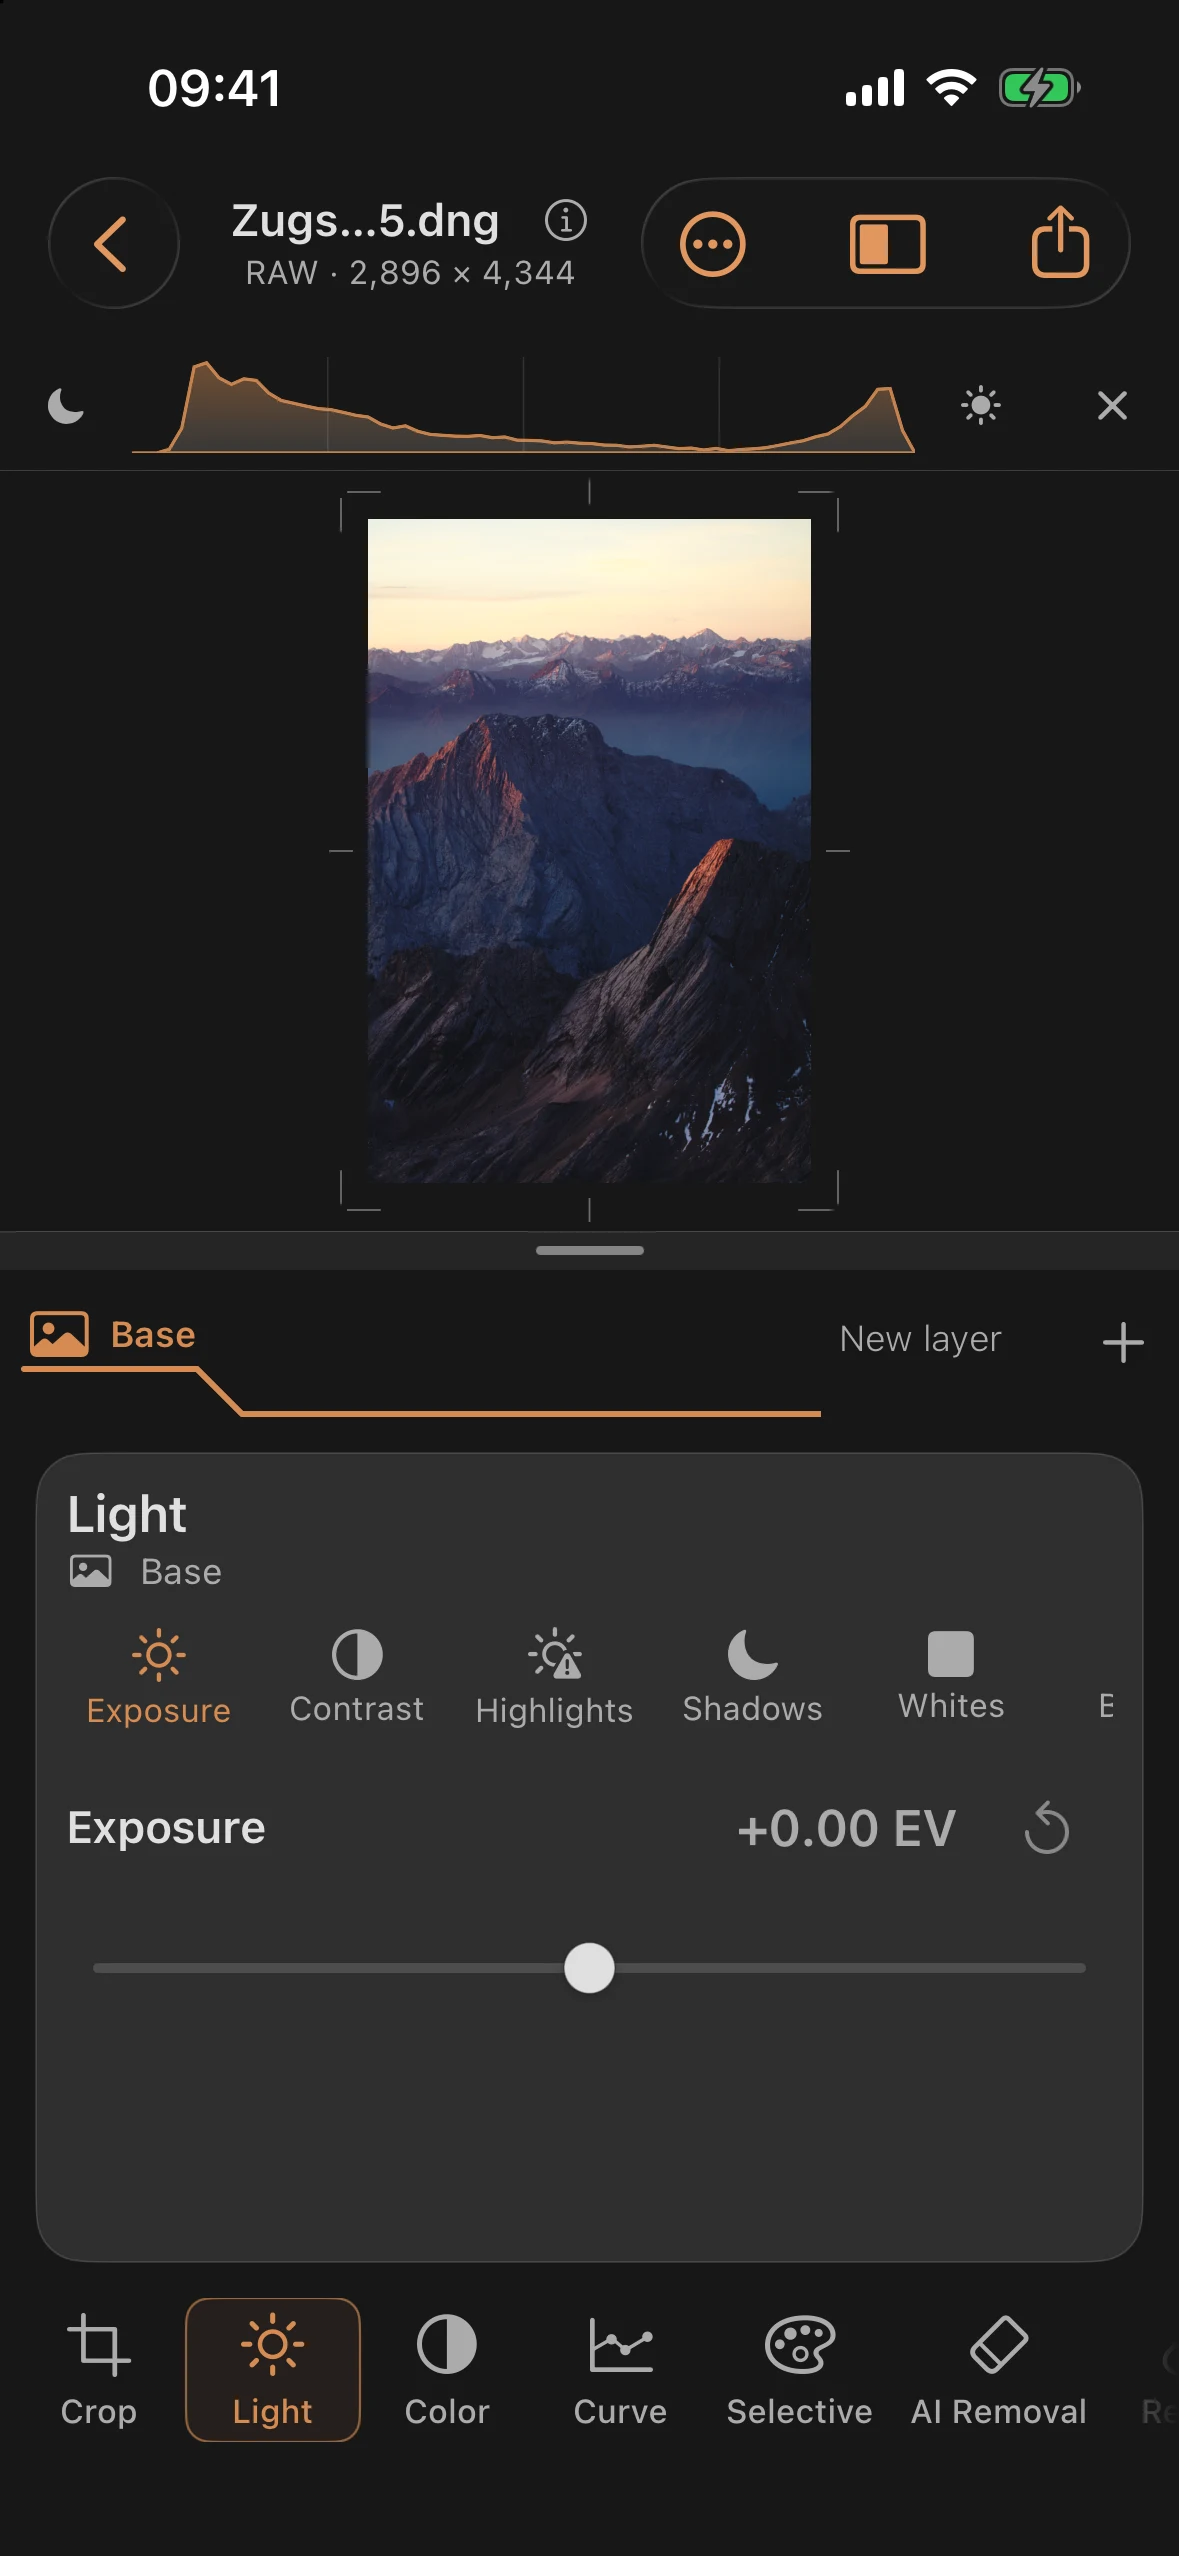
Look at the starting image: summit cross, rock ridge, lake, and valley — all equally sharp, all equally loud. Group f/64 would have wanted it exactly this way. But an image where everything is sharp leaves the choice of subject to the viewer. Aperture was the tool photographers once used to make that choice — only irrevocably, at the moment of exposure.
Step 2: Choosing the Depth
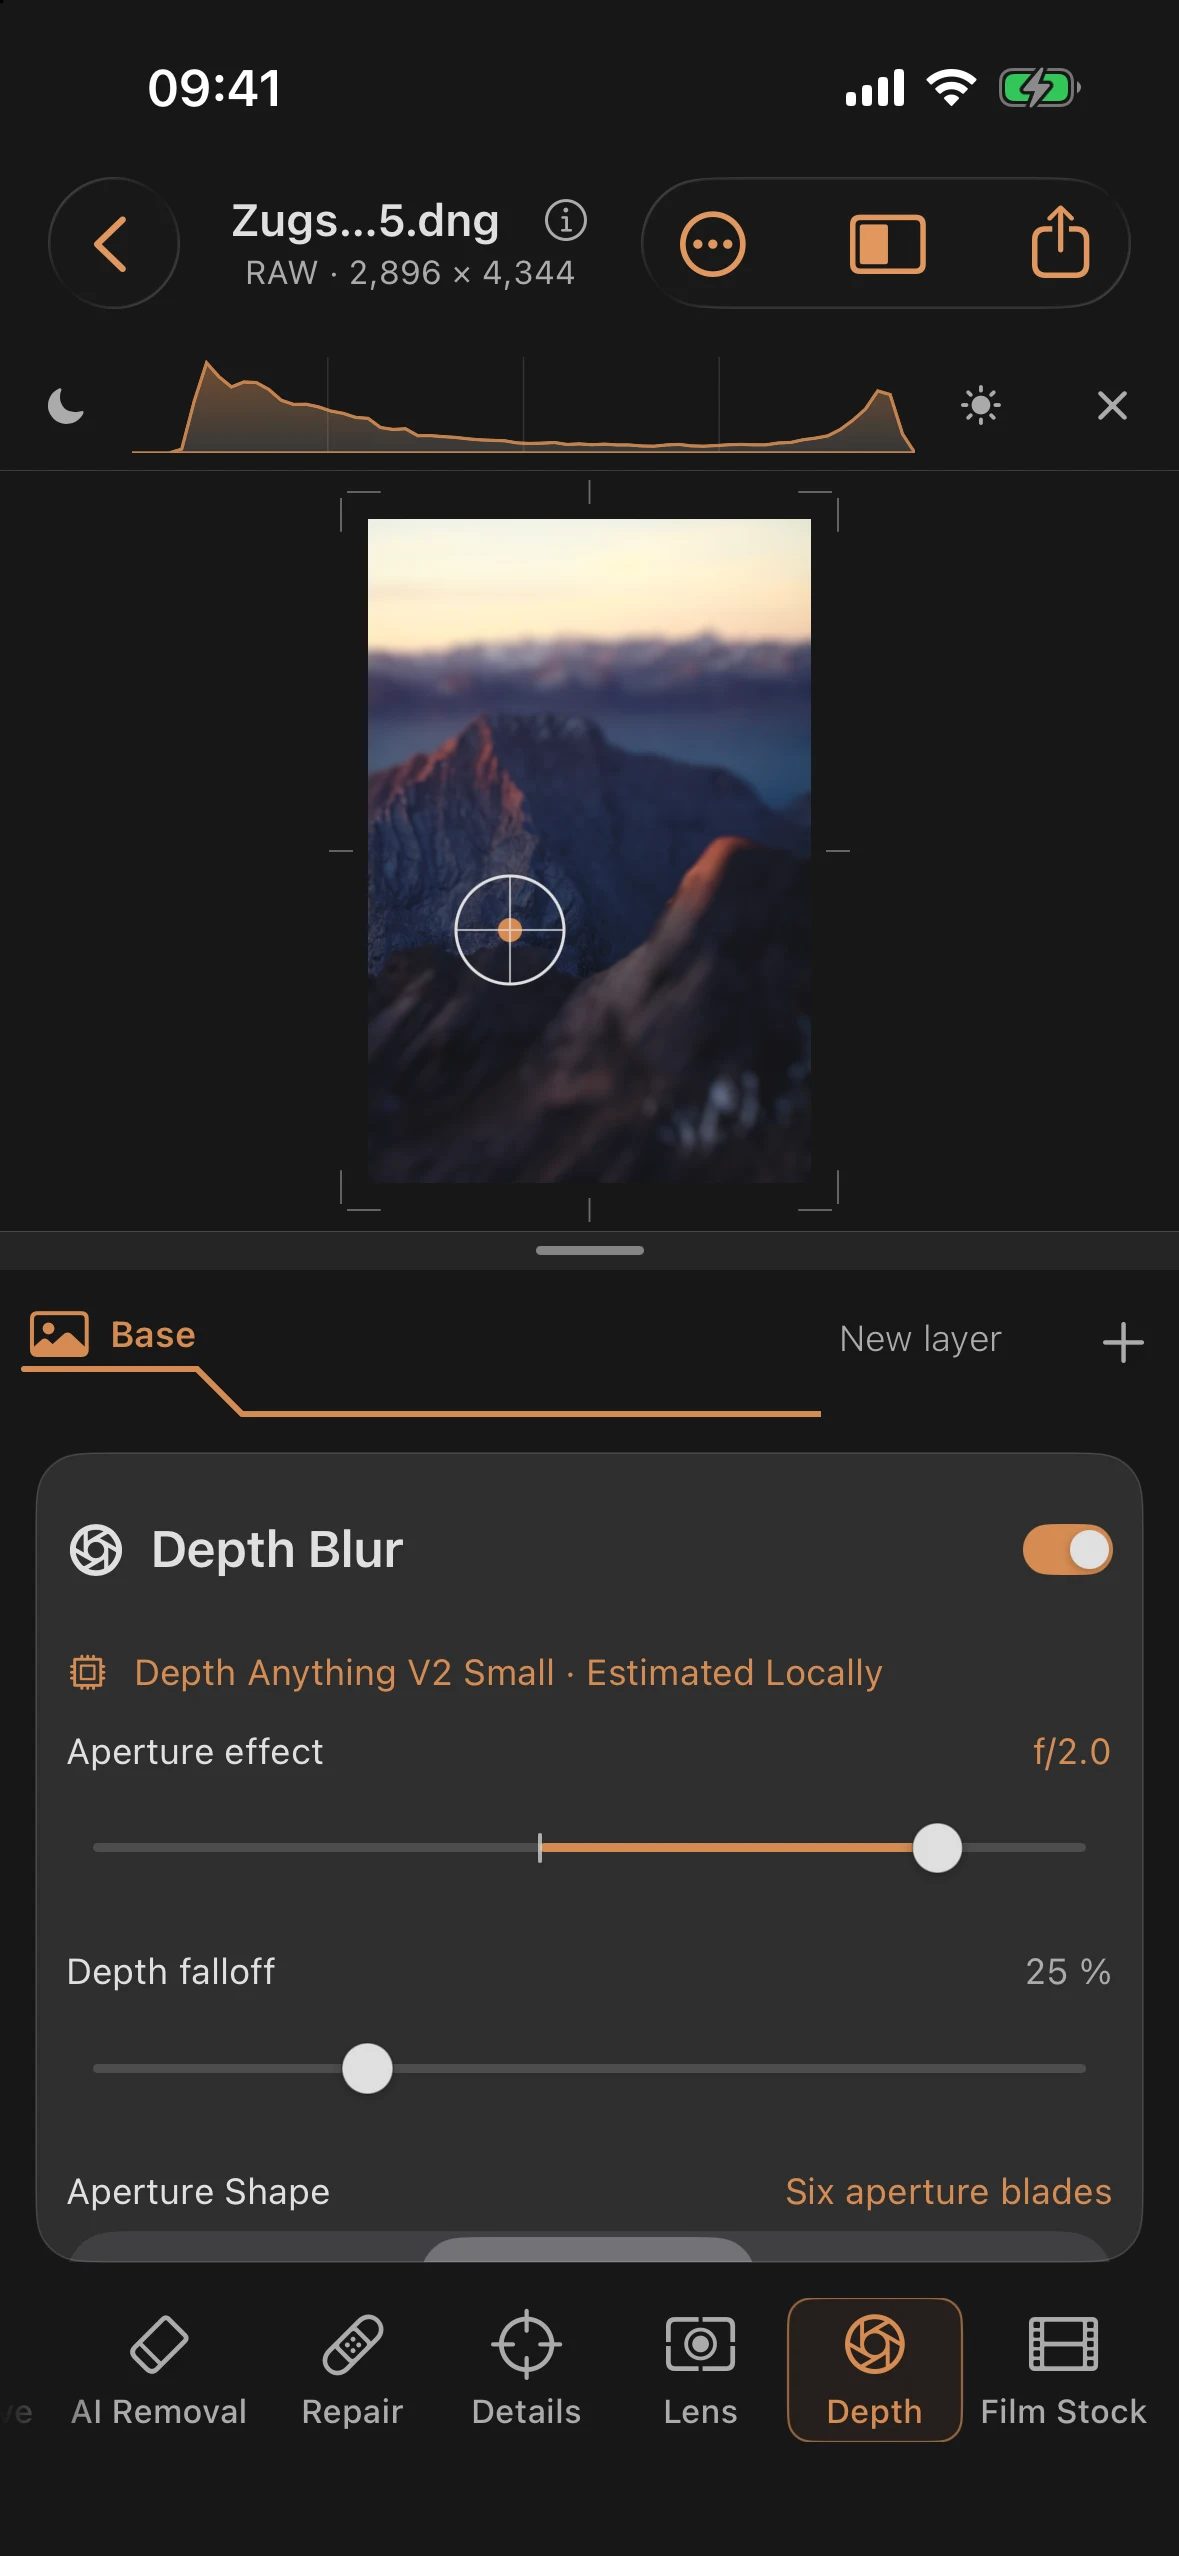
Open the Depth tool. Without an embedded depth map, the local estimation starts running; the photo stays editable while it does. Then:
| Setting | Value |
|---|---|
| Depth source | AI-estimated (on-device) |
| Focus point | tapped on the subject |
| Aperture effect | f/2.0 |
| Aperture shape | 6 blades |
You set the focus directly on the image — tap or drag. Everything on the focus plane stays sharp, while the image falls off softly in front of and behind it; the hexagonal aperture shape shapes the highlights in the blur, the way a real six-blade aperture would. Documentary sharpness becomes guidance for the eye: the cross first, then the rest.
Depth falloff sits directly below Aperture effect and controls how gradually sharpness fades across depths. Check the silhouettes of blurred objects too: their edges should soften along with the objects. Glass, fine structures, and hidden backgrounds remain difficult for an estimated depth map; use a more restrained aperture effect if artifacts are visible.
If you like the optical settings, Save as my default uses them for new photos. Focus point, depth source, and activation remain specific to each image; existing projects are not changed.
Step 3: Character: Swirl 58
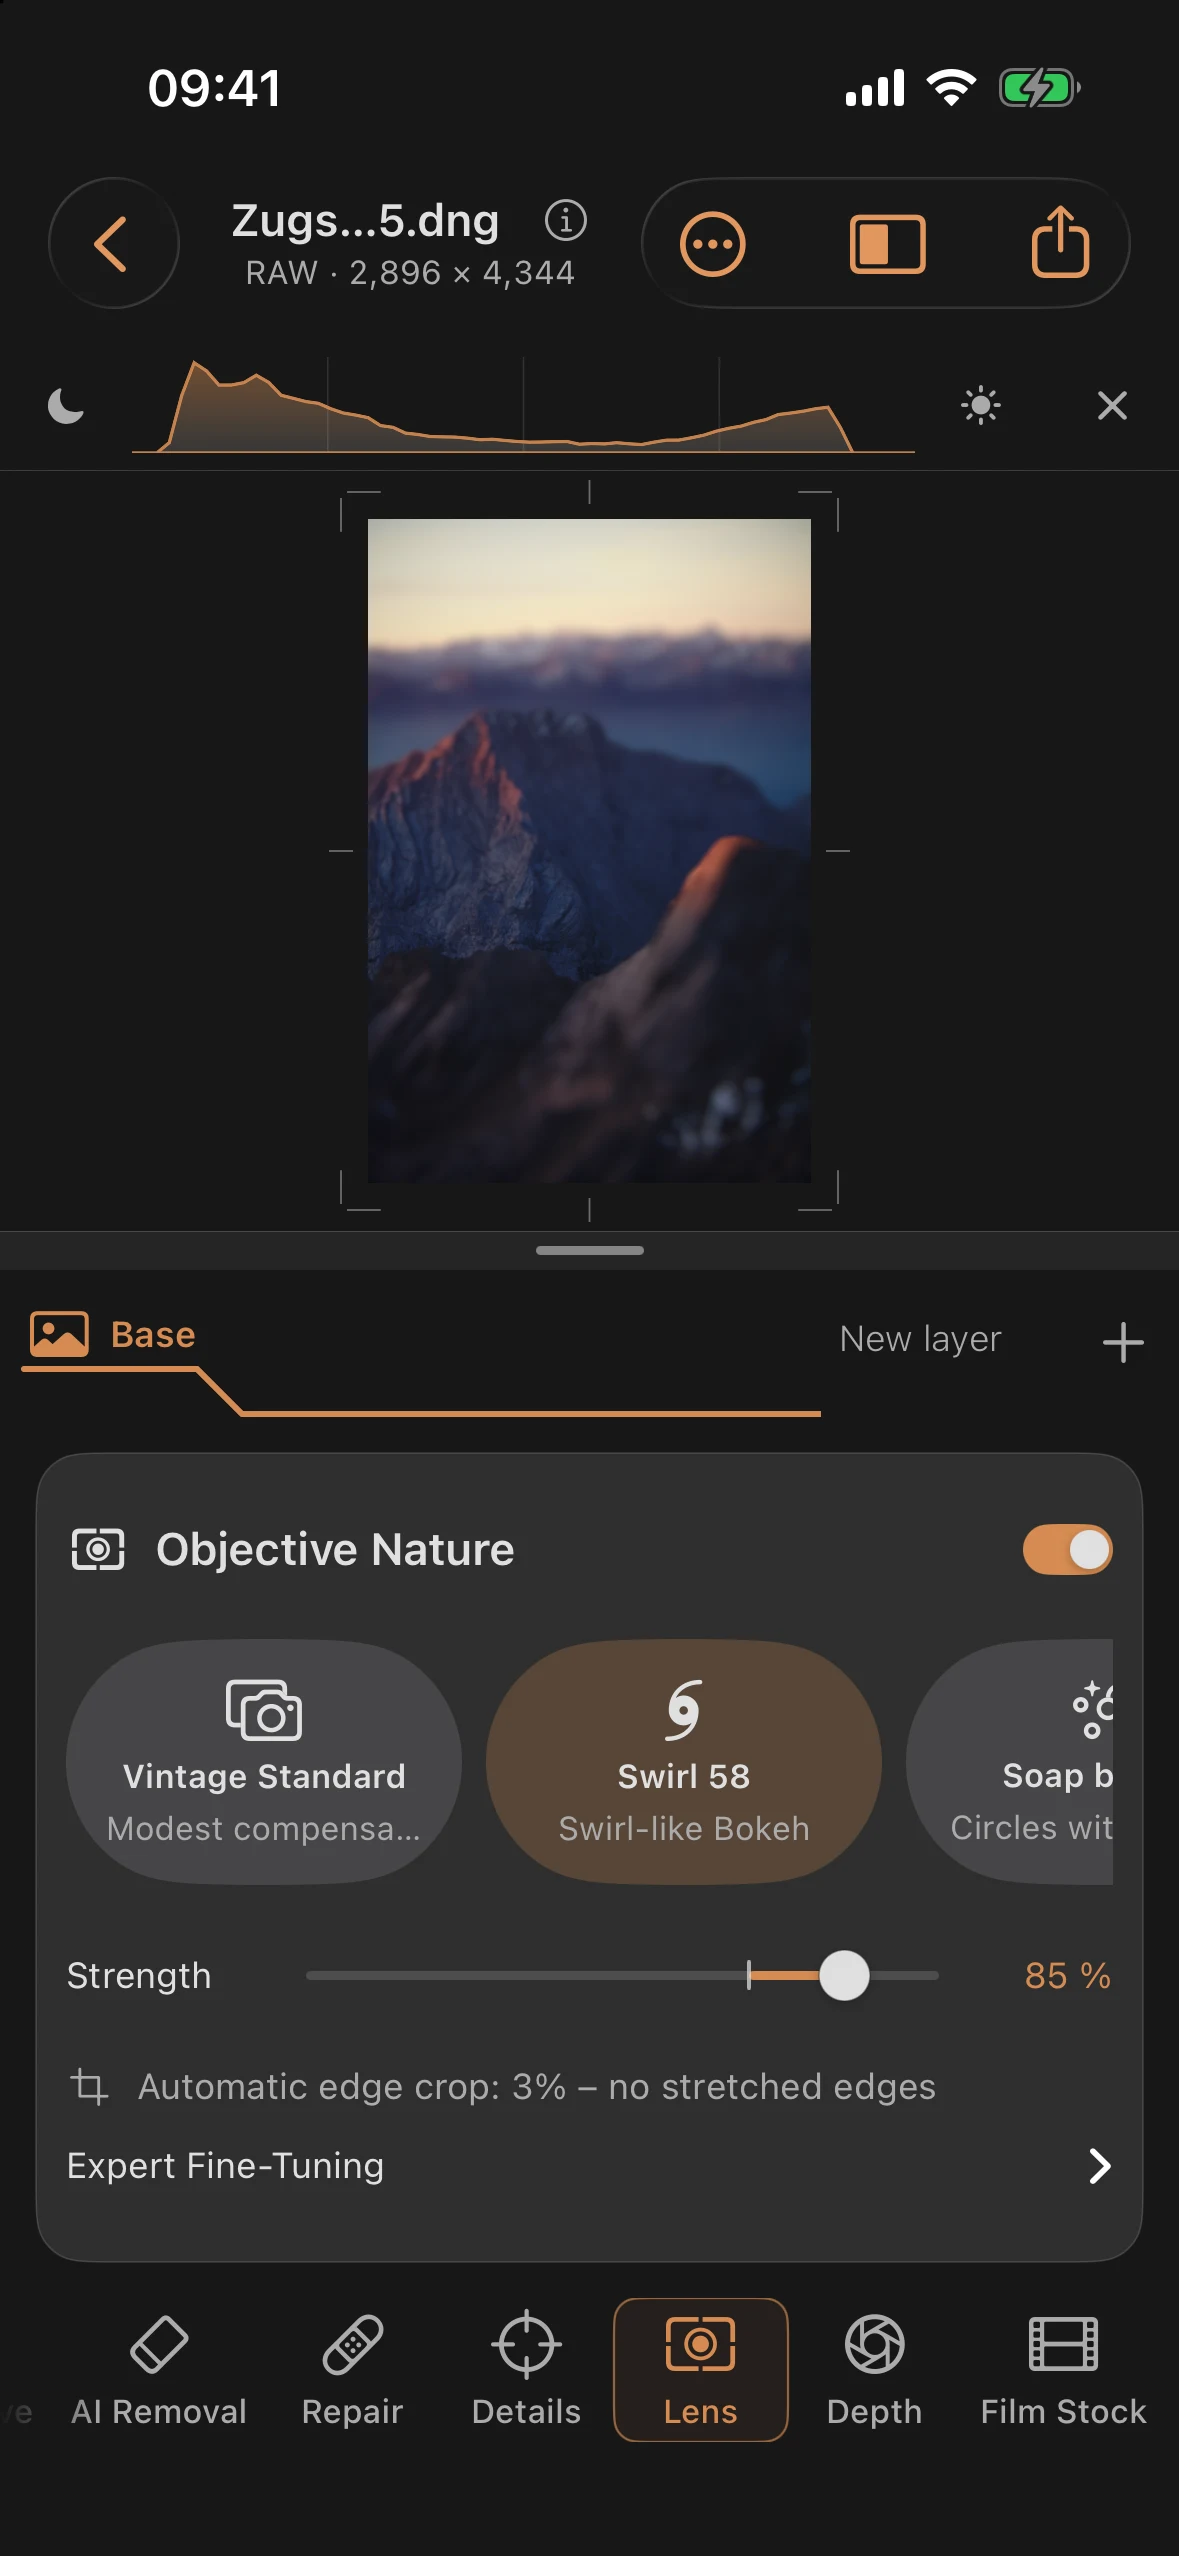
The blur now has volume — but no character yet. That comes from the Lens magazine: choose Swirl 58 at Strength 85%, and in the advanced fine-tuning, Vignette ×1.2. The bokeh starts to swirl around the center, the edge highlights pull into tangential ovals, and the stronger vignette closes the frame — the look of historic portrait lenses whose “flaws” became a signature. Every character is flagged as a simulation and deliberately carries no product names.
Before and after
Before
After
With that, the arc of the series closes: for nine chapters, we retraced darkroom craft — in the tenth, we got to do something Adams’ generation never could. The tool behind it carries both worlds: the precision of the zone system, and a freedom that didn’t exist yet in 1941.