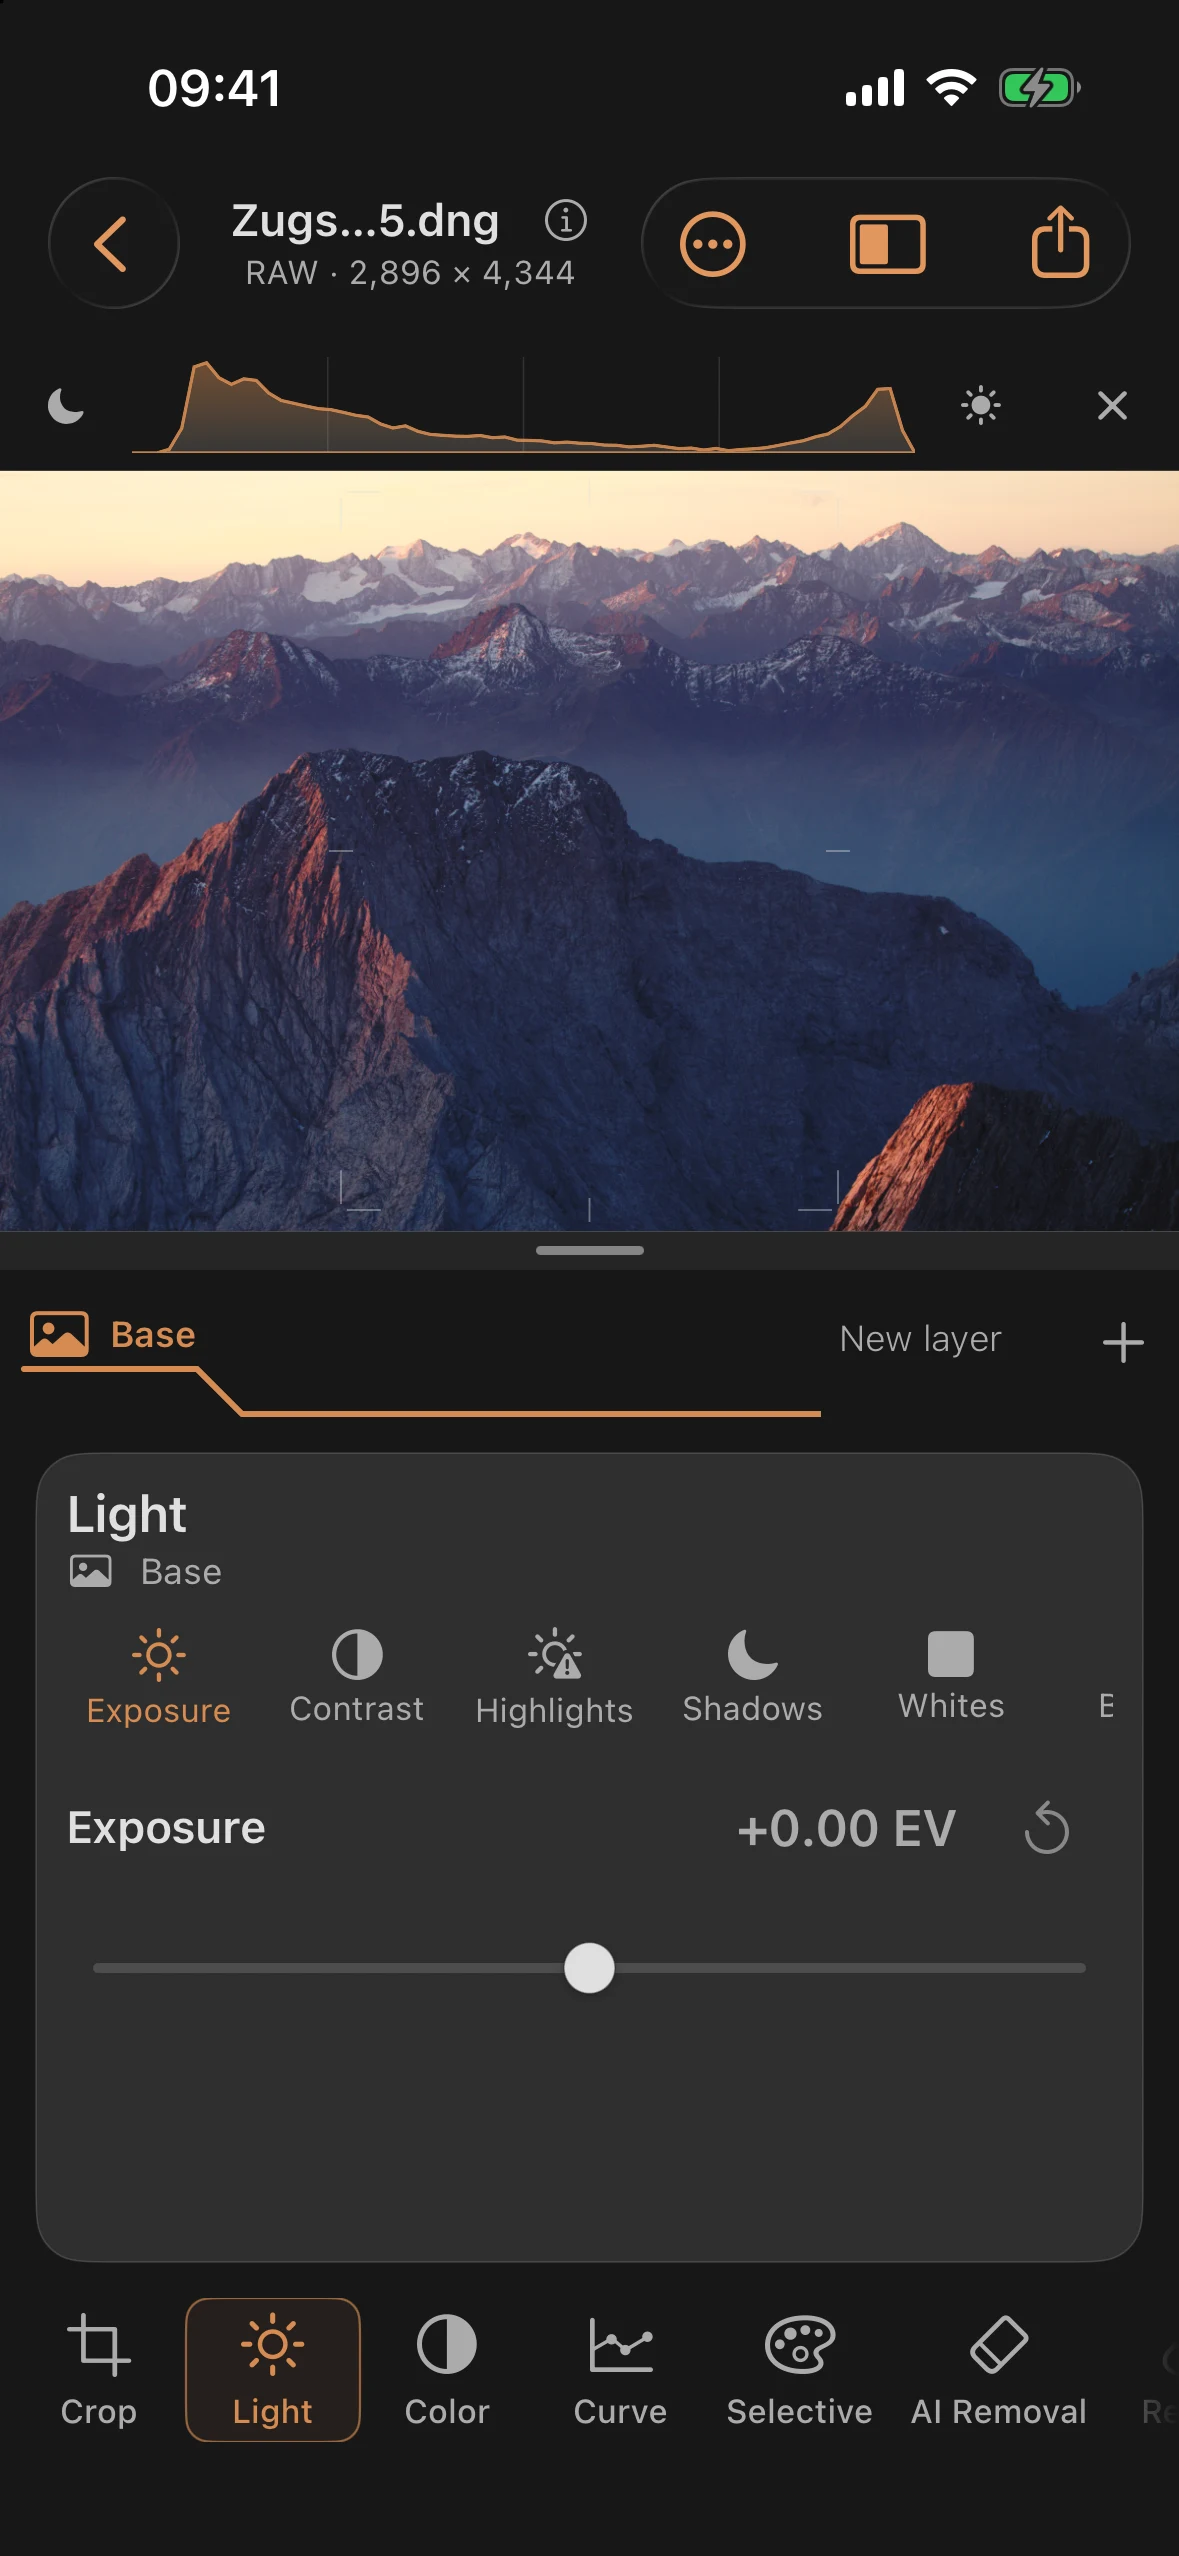
Sample Image: View from the Zugspitze
If you don’t have an image of your own yet, “Example” on the start screen opens a built-in practice image — a complete RAW DNG, not a placeholder.
The image
| Aspect | Value |
|---|---|
| Displayed title | “View from the Zugspitze” |
| Subject | Zugspitze and Eibsee |
| Format | RAW DNG (_90A7945.dng) |
| Photographer | Björn Kindler |
| Capture date | September 13, 2015 |
If the bundled RAW image is ever missing from the app package, a JPEG fallback takes over; the app then reports “Sample Image” instead of “Zugspitze & Eibsee” as the file name. If even that fallback is missing, “The sample image is missing from the app bundle” appears.
A full RAW practice ground
Because the sample image is a real RAW DNG, all fourteen tools are available on it with their full RAW value ranges — unlike a JPEG test image, so without the narrower non-RAW windows for Light, Color, and Details. That makes it a good way to try out every tool in this manual hands-on, without a source image of your own.
Use in the tutorial series
The sample image is the running basis for two chapters of the tutorial series:
- Chapter 5 (“Developing Black and White: Choosing Film, Steering Color”) works with the Film Stock tool on this image.
- Chapter 10 (“What the Darkroom Couldn’t Do: Choosing Depth”) uses it to show Depth and Lens working together.
Practical tips
- Open the sample image before you read a chapter of this manual for the first time — that way you can try every control it describes right away, instead of just reading about it.
- Use it deliberately to compare RAW and non-RAW value ranges: export a copy as JPEG, re-import it via “RAW from Files” or “Select from Photos,” and compare the then-narrower control windows against the original DNG.
- Because the original is never changed on export (see the “Export” chapter), you can start over on the sample image as often as you like without “using it up.”